Showing posts with label Rolled Woven Picot. Show all posts

Wednesday, 24 April 2024

WIPW - Texture

For today's Work In Progress Wednesday I will show you work done on the 

Sunday Stitch School Stitch Sampler

where there are three stitches, two of them are textured.

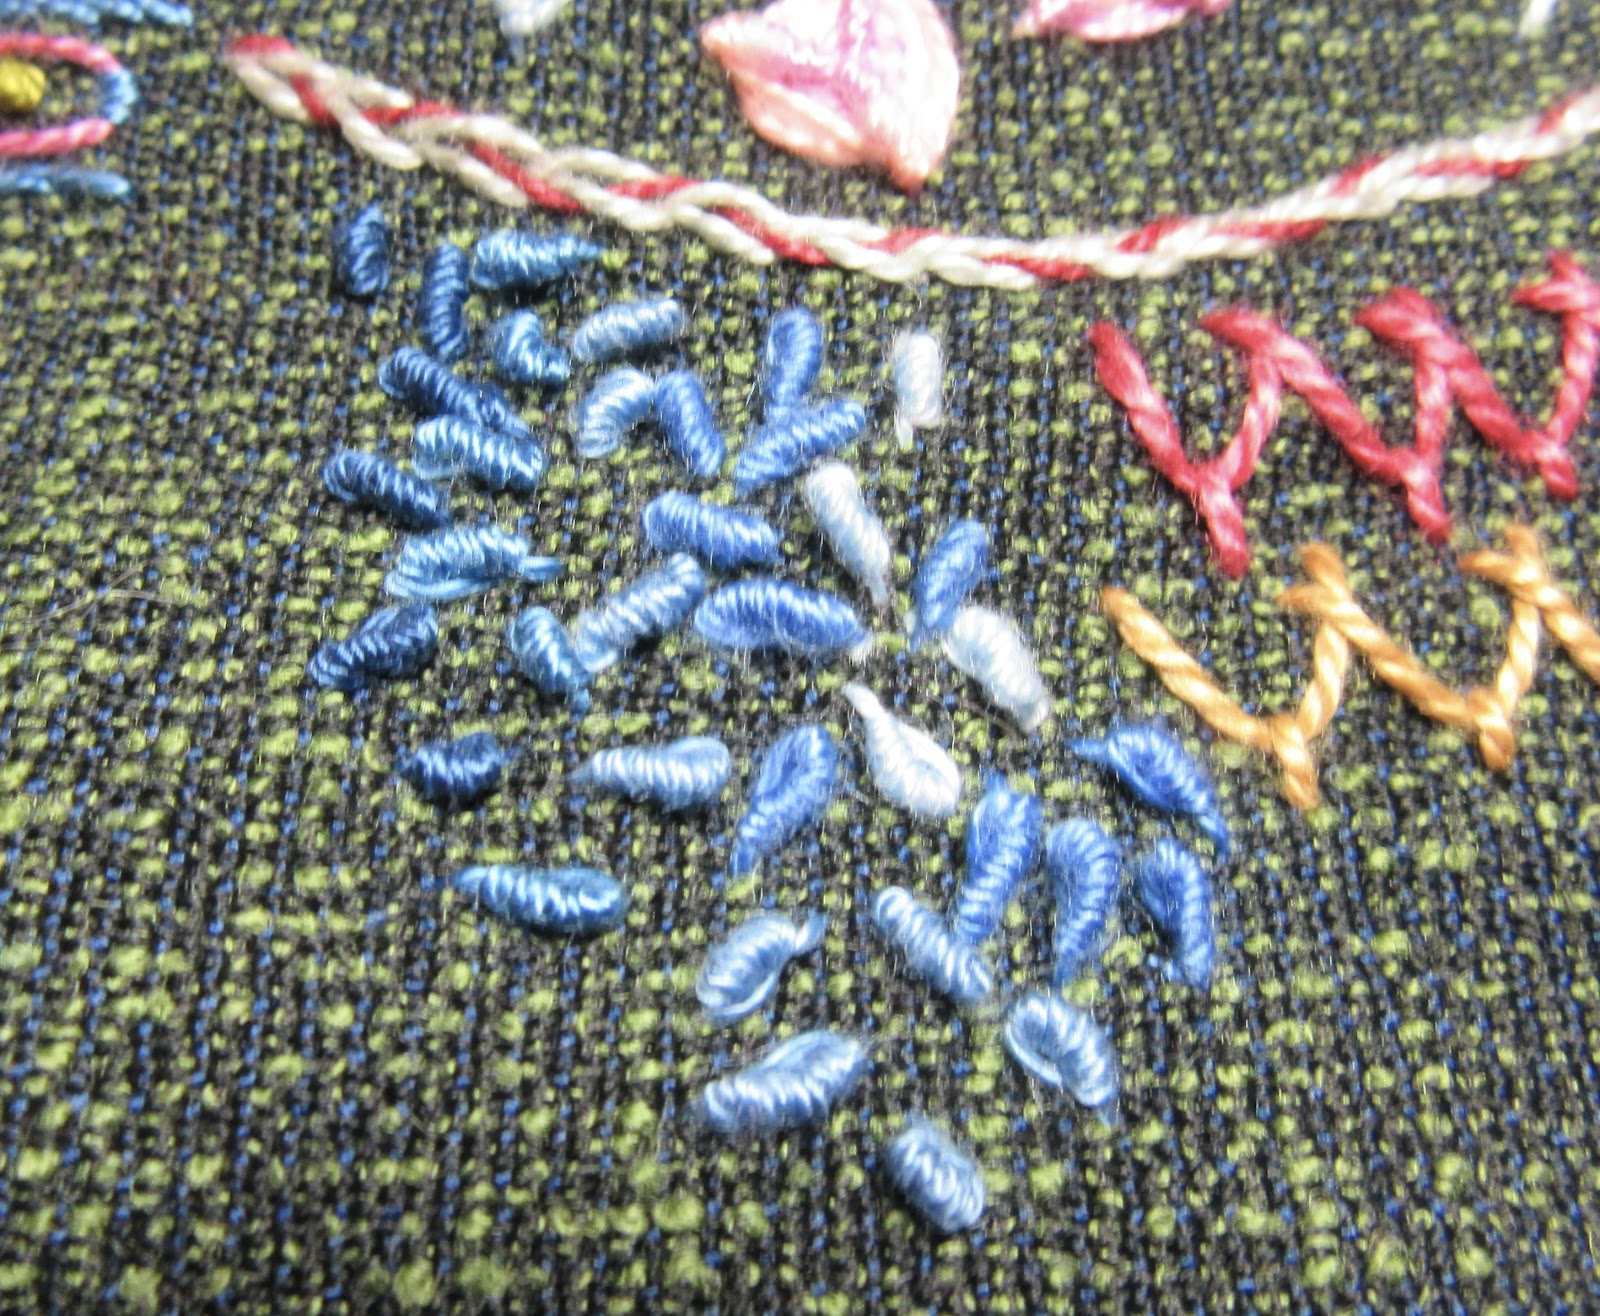
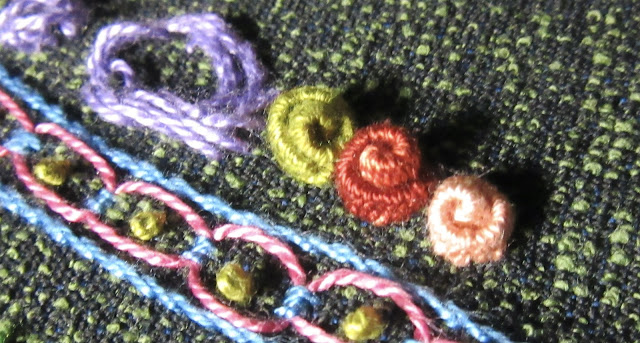
#239 Rolled Woven Picot Stitch (the five rolls on the left), #259 Raised Seeding Stitch (pink and mint green arches) and the flower made of #Romanian Macrame Petal Stitch (light grey)


As you can see, I have been blessed with enough time to do stitches that requires a bit of time. The Rolled Woven Picots need a VERY long thread and weaving it in and out of the 'weft' you have to stretch your arm out a lot. I will have a heavy feeling in my arms tomorrow!

Friday, 10 February 2023

Revision Homework - Stitches 236 - 240

It took me some time to complete this Sunbonnet Sue sampler. Sue herself is very small but still needed to be made up of some of the five stitches. In fact, I managed to add Plaited Fly Stitch for her bonnet, Dutch Cross Stitch for her dress and made a flower with Rolled Woven Picot. The actual flower is rolled but the leaf is left unrolled - so basically it is an Open Base Woven Picot, but it IS longer than that stitch usually is. It was really hard to see the warp and weft.

The chocolate pralines are rather textured, especially the Looped Blanket Stitch and the Rolled Woven Picots. I needed to add a bit of crayon marking and Stem Stitch for the Dutch Cross chocolates or they would not look round.

The text on the card and the outlines of Sue are made with Stem Stitch


The good thing about these chocolates is that they are low in calories and high in fibre.

Happy Valentine!


Sunday, 5 February 2023

Sunday Stitch School - Revision: Stitches 236 - 240

It is time to have another look at the last five stitches we have learnt. Click on the title to be linked to the instructions.

236 Plaited Fly Stitch


The ordinary Fly Stitch looks different when you cram them close together and let them overlap slightly. Work the stitches in a variegated thread and you see even less of the Fly Stitch lurking in there.


237 Roll Straight Stitch


We've already done a line of Roll stitches, called Roll Chain Stitch (#145),  and here is the detached version. On their own, these short stitches look like headless baby shrimp, especially if they are worked in pink.


238 Looped Blanket Stitch


Here is a nice stitch for flowers! The loops are rather loose, though, and snag easily on anything, so care must be taken.


239 Rolled Woven Picot


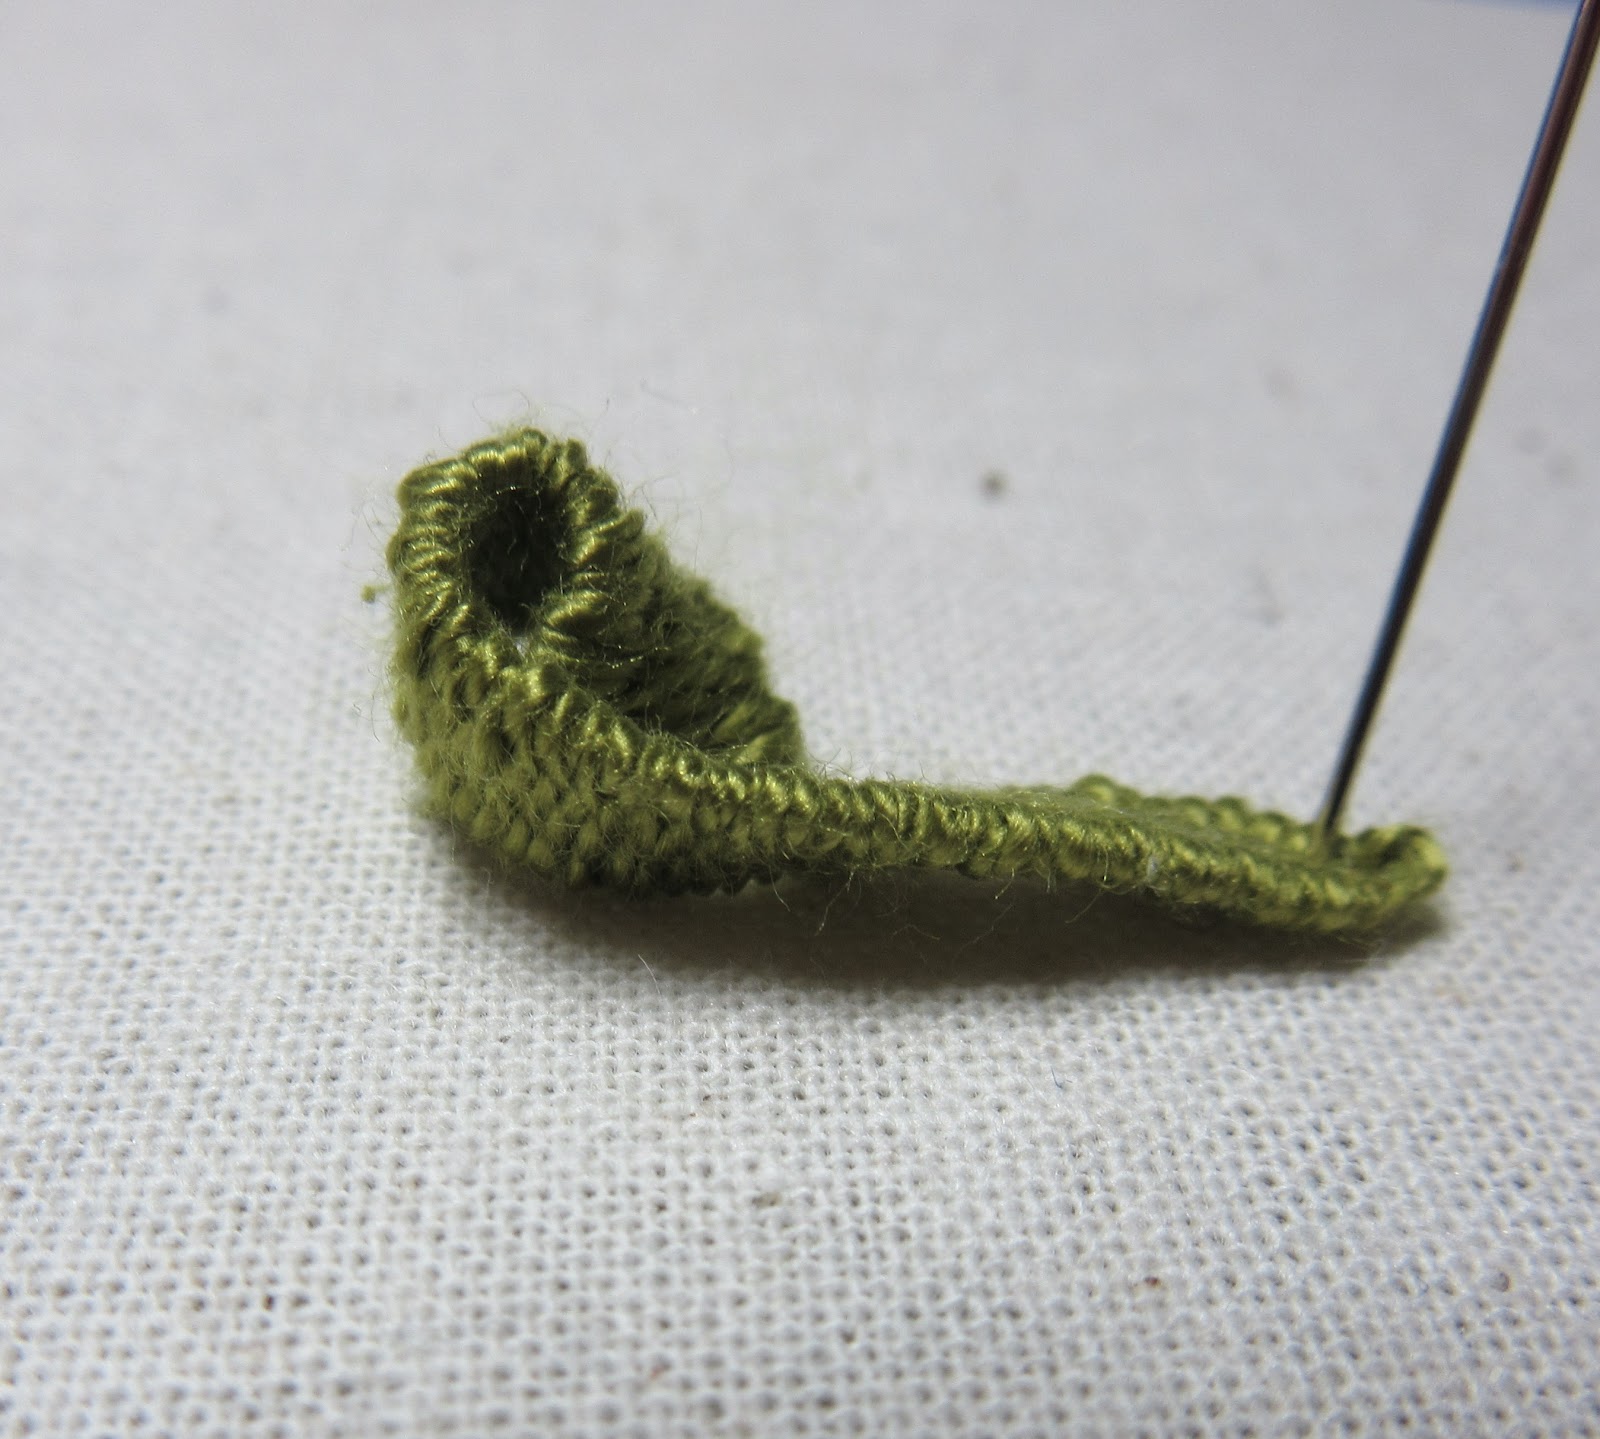
When you have completed this exceptionally long woven picot, you can, as the name suggests, roll it into a 'cinnamon bun' kind of stitch. Or use the long 'tongues' for leaves, e.g. those of the Sansivieria.


240 Dutch Cross Stitch


This is a nice variation of the Cross Stitch. It is especially beautiful as a Canvas filling stitch, but I like in an irregular free style, too.


Homework:

Sunbonnet Sue needs to show her face bonnet again! Make a sampler picture using the above stitches.


Friday, 27 January 2023

Friday Homework for Lesson 239: Rolled Woven Picot

 This stitch is far from difficult, but it does need some time. As you work with a long thread your arm movements are tiring, too.


Aida Sampler


Sunday Stitch School Reference Chart


Mottled Wool Scribble Cloth


Sunday, 22 January 2023

Sunday Stitch School - Lesson 239: Rolled Woven Picot

Today we are learning from the BEST - Mary Corbet of Needle 'n Thread. She has got a tutorial for Rolled Woven Picot.

Let's face it, 


we have made woven stitches before:

With Sharon Boggon's TAST challenge: 

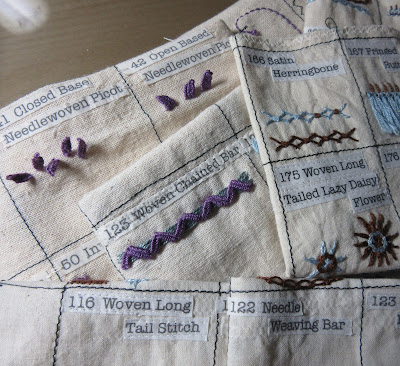
#41 Closed Base Needlewoven Picot

#42 Open Base Needlewoven Picot

#58 Woven Detached Chain Stitch

#77 Woven Cross Stitch

#119 Woven Trellis

#123 Woven Chained Bar 


and here at Sunday Stitch School: 

#116 Woven Long Tail Stitch 

#122 Needle Weaving Bar 

#147 Woven Circle

#175 Woven Long Tailed Lazy Daisy Flower Stitch


Today's stitch is actually the Open Base Needlewoven Picot but made considerably longer. It is then rolled up into something like a 'Swiss Roll Cake'.

Follow my photo tutorial here:

The first thing to do is to stretch 

the fabric tightly in a hoop or frame.

Use a long supporting pin.


Tighten the first two woven stitches as close to
head of the supporting pin as you can.

Pack the following stitches closely, too,
but try not to lose the cone shape of the
picot.


Anchor at the base of the picot

but don't cut the thread.


Remove the supporting pin.

The 'tongue' starts curling up by itself!


Use the pin to roll the picot

into a Swiss roll or Cinnamon bun.


Now take the thread up from the back,


and stitch down the edge around the picot.


Homework:

Add a batch of picots to these samplers.