Showing posts with label Raised Lace Bullion Stitch. Show all posts

Friday, 3 May 2024

Friday Revision Homework - Stitches 281 - 285

Did you know that Sue's parents were diplomats and that is why she spent her childhood and teens in various parts of the world?

Eager to pick up as many languages as possible she attended local schools wherever possible. So during her early teens, she went to a Japanese junior high school and had to follow their rules. That meant wearing the standard school uniform with a pleated navy skirt and white sailor's blouse (middy blouse, derived from midshipman). 

I am sure that you have noticed that during her life, Sue has changed her hair colour several times. In her Japanese school, students had to follow so-called 'black school rules' (controversial school rules) and Sue dyed her hair black and had it cut into a bob so as not to stand out too much. Luckily these rules are gradually disappearing.

The Japanese language was another hurdle to deal with when she was new in school, but math lessons were OK. Sue already knew how to calculate the area (A) of a square (S),  A = S².


Other stitches used, Stem Stitch and Whipped Stem Stitch.


Wednesday, 1 May 2024

WIPW - A Productive Week

It has been a productive week to show for Work In Progress Wednesday.

Sunday Stitch School Stitch Sampler

The following stitches were added:

#261 Y-Edge Stitch (pink thread on turquoise silk appliqué), #262 Star of David Stitch (pink), #263 Six-Pointed Star Stitch (purple), #279 Spinal Double Stitch (light blue and pink variegated and purple)


#283 Raised Lace Bullion Stitch (pale yellow and green)


Sunday, 28 April 2024

Sunday Stitch School - Revision: Stitches 281 - 285

 Five weeks have passed and it is time for another revision lesson. Click on the title and you will get a link to the instructions for each stitch.


281 Rhodes Stitch

This is the basic Rhodes Stitch that all the other variations are based on. It's easy and looks great.


282 Mosaic Filling Stitch

This is such a lovely stitch, and easy to boot. Play with various colours and have fun.


283 Raised Lace Bullion Stitch

Unfortunately, your hair might be in danger if you try this stitch - either your hair will turn white or you will pull it out in frustration - YES it's a difficult stitch. If you can accept that the flower you create is naturally wobbly and wild, then by all means, use it!


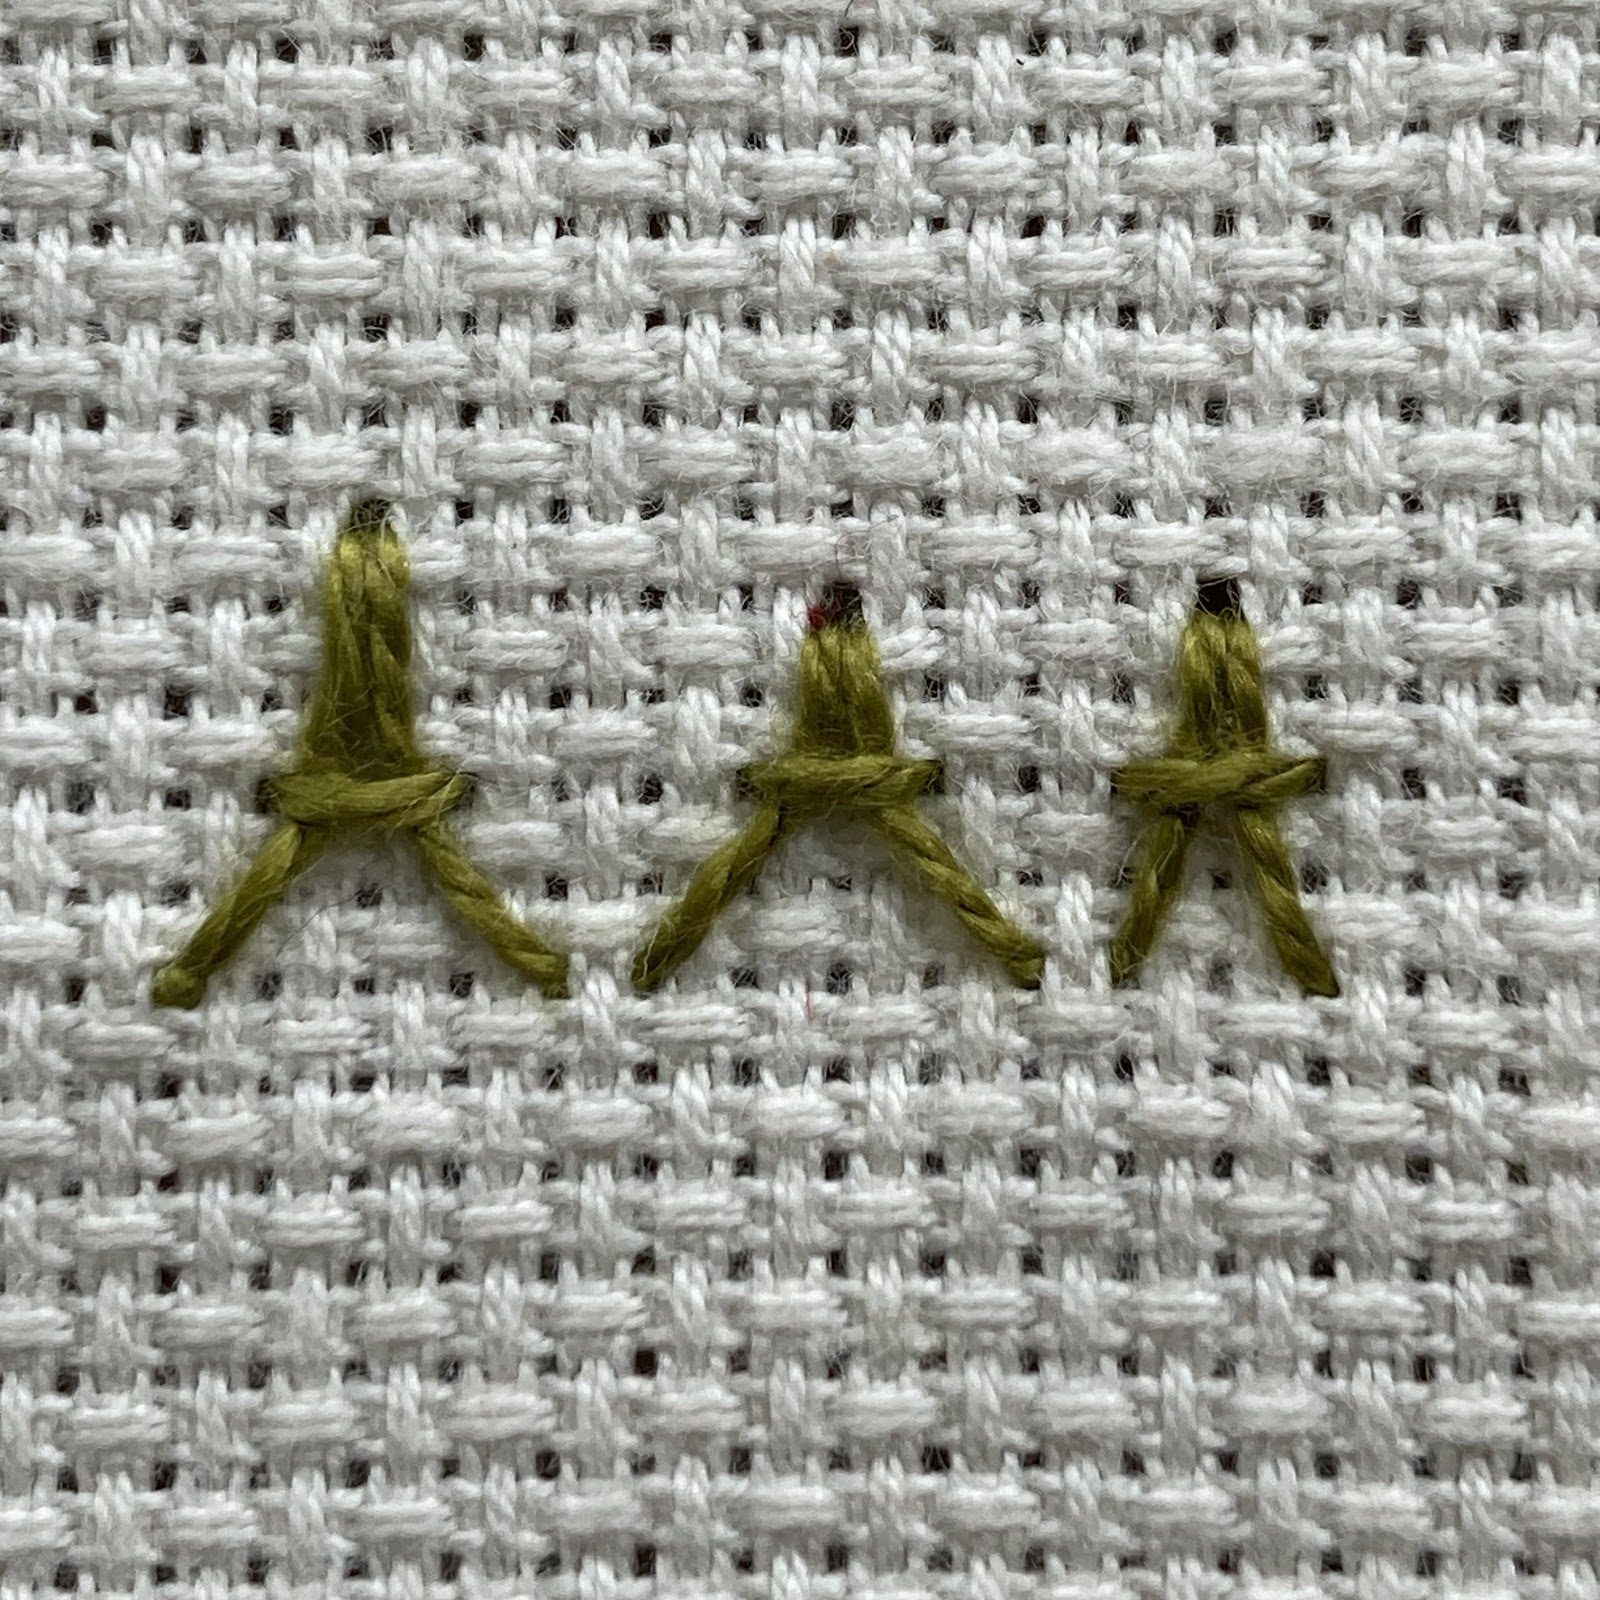
284 A Stitch

Here, on the other hand, is a stitch that is as easy as writing the capital letter A. You can also make it look like the Eiffel Tower or even a child's slide!


285 Triple German Knot Stitch

Any frustration left from working the #283 stitch will be gone when you get to this stitch. It goes like a breeze and you feel so good your hair will grow out quickly and turn back to its natural colour again!


Homework: You will find Sunbonnet Sue in _______. Yes, where do you think she is and what is she doing? 


The hints are:

Rhodes Stitch and A Stitch are most important,

navy blue and white are obvious colours,

Raised Lace Bullion Stitch and Triple German Knot Stitch have been added just for decoration - maybe Sue's XXX has a romantic streak and wanted to spruce up the place...

Friday, 12 April 2024

Friday Homework for Lesson 283: Raised Lace Bullion Stitch

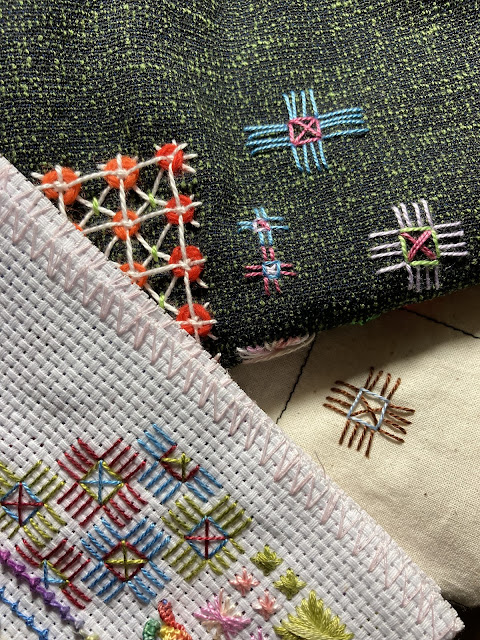
This is a stitch I will NOT want to do again! However many times I tried it would not look like Rosalie Wakefield's neat circle of petals.

Anyway, here goes:

Aida Sampler


Sunday Stitch School Reference Chart


Mottled Wool Scribble Cloth

These are absolutely horrible!

Sunday, 7 April 2024

Sunday Stitch School - Lesson 283: Raised Lace Bullion Stitch

Today's stitch, Raised Lace Bullion Stitch, is from the Rosalie Wakefield's collection of Brazilian embroidery Mille Fiori

It is another tricky stitch, worked with two threads of contrasting colours in two needles.

Follow my photo instructions and get frustrated or have fun!

To make this stitch you will need, 1) two strands of thread of different colours, 2)  two Milliner needles, 3) a safety pin, 4) a pincushion or plastic foam to make the needles stand straight up, 5) bond or nail varnish to stiffen the tips of the thread.


Knot the threads and take each strand up to the front.

Stab the needles so they stand straight up in the pincushion.

.


Take the left thread and make a loop over the left index finger.

Slip the loop over the right needle.


Tighten the loop around the needle.


Take the right thread and make a loop over the right index finger.

Slip the loop over the left needle.


Continue to alternate the loops, and tighten the thread after each loop.


Secure the safety pin in the last loop.


Re-thread BOTH threads in the RIGHT needle.


Hold the loops and the safety pin tightly while you carefully remove the left un-threaded needle.

Pull the right needle through the loops to the back.


It should look something like this:


Take the thread (in this case the blue) out near the starting thread (see arrow). 

Pull the tip of the needle through the last loop and remove the safety pin. Pull thight.

Finally, anchor the thread near where the thread came out (see arrow).


Pull tight, and you should get a ring with petal-shaped loops.

You will need to practise to get a neat-looking ring. I haven't mastered the skill yet!


Homework:

Add here.