At last, the pandemic seems to have taken a holiday, and so can Sue.


At last, the pandemic seems to have taken a holiday, and so can Sue.
Five weeks and five stitches pass by so quickly! Now it is time to look back and review the five latest stitches. Click on the title for a link to the instructions.
A historic stitch that takes you back to the Tudors. With the help of Rachel of VirtuoSew Adventures I have worked this elegant braid stitch into a nice linear stitch. It looks complicated, but actually it is easier than you think.

On the other hand, here IS an easy stitch. Chubby and free.

Here is a chance to be cruel, without hurting anyone - whip the back (stitch)!

Bridge building!


There is no doubt about it, Holly Braid Stitch IS a difficult stitch. I have the feeling, though, that the more you stitch, the better the result will be. So practice makes, if not perfect, at least better.
Also, once you get into the flow, the stitch is quite relaxing. Again, I guess that the more you use it, the better the flow will get and you end up having an enjoyable and relaxing time.
Aida Sampler
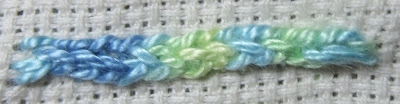
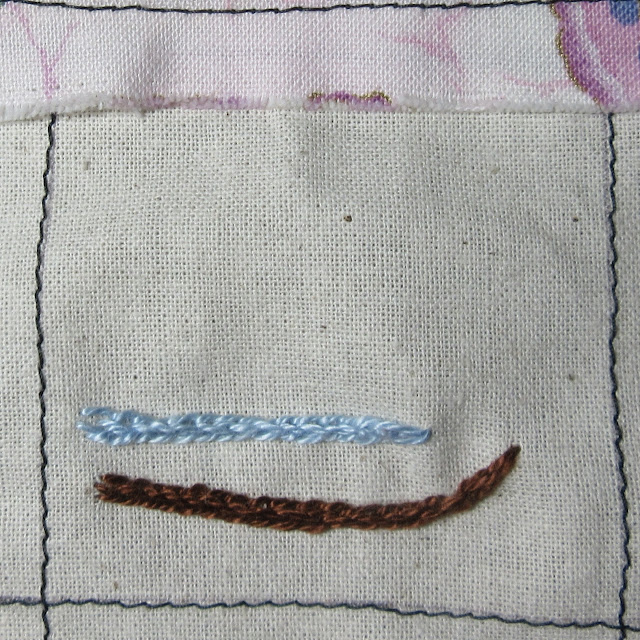
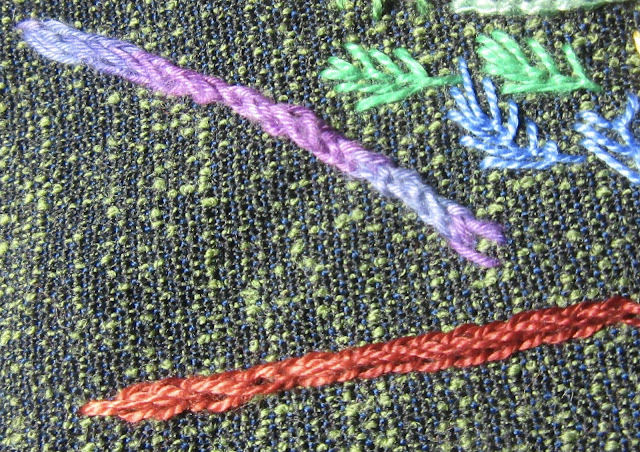
It is time to set out on another stitch adventure - I have five new stitches for us to explore.
The first one will be a challenge, but is it well worth the effort of trying. It is called Holly Braid Stitch.
I first spotted it in Jacqui Carey's excellent book 'Elizabethan Stitches' (a fantastic study of historic stitches)

where today's stitch is shown as a true BRAID stitch. With that I mean a stitch made with a stiff 'thread' like gimp, purl, wire or similar. Such threads are suitable when you make a wide stitch and the result will be similar to a length of upholstery braid.
My second encounter with Holly Braid Stitch was on a blogpost at VirtuoSew Adventures where Rachel had experimented with different threads, some that made, not a wide braid, but a narrower line. I now really wanted to try the stitch with Perle Cotton, one of my favourite threads, to see if it could be a useful linear stitch for freeform embroidery.
Proof that that is possible I found in a floral design Rachel made on this blog post. DO check it out as it also contains an excellent video Rachel has created of how the stitch is worked.
THANK YOU Rachel for the help and constant inspiration you give me.
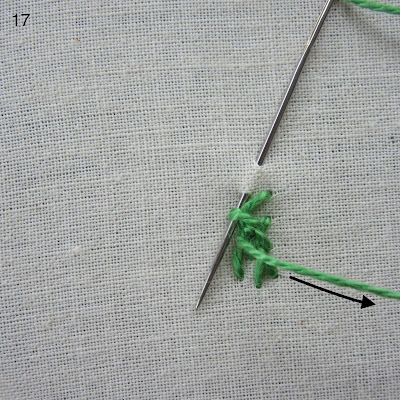
Following is my set of photo instructions for Holly Braid Stitch:
You need to follow this diagram to start the stitch line.




Isn't this a real stitch adventure?
Homework:

