Showing posts with label orts. Show all posts

Tuesday, 10 February 2015

Testing Clover's Embroidery Threader

Do you remember one of my purchases at Tokyo International Great Quilt Festival was an embroidery threader?

On the left is a traditional threader, easy to find anywhere (I would think), and on the right, with a green plastic handle, Clover's embroidery threader.

They are used in the same way; inserted into the eye of the needle, loaded with thread and pulled out. The difference is that Clover's version is suitable for long-eyed needles (crewel, chenille, tapestry, darners, larger beading).

Now a similar threader can of course be made with a piece of paper:
This method is often found in embroidery books (Mary Thomas's Dictionary of Embroidery Stitches, The Essential Guide To Embroidery...)

★The advantage of the paper method is that the paper is thin and a single strand of thread does not create any bulk.
★The advantage of Clover's threader is that it is sturdy and long lasting. 

I have found my new threader very useful for threading those short strands of thread, orts, I am trying to use on my Pile 'em On project.


Sunday, 21 December 2014

Spear the Spare Orts

What to do with orts (small snippets of thread you usually throw away) has become a fun project for me.
How about spearing the spare orts to spare the planet; a smart way of sparing yourself the trouble of tossing the orts away, not going spare by your untidy sewing area and enjoying thread play in your spare time?


1. Collect your orts. Thread a needle with a longish thread and make a sturdy knot.
2. Spear the orts onto your needle
 3. until you have a good number of orts on the needle

 4. Fix the speared orts to the fabric with a suitable stitch. I used Chain Stitch.
Have a fun day!

Sunday, 14 December 2014

Trapping Orts in a Ring

Here is a new tip for what to do with short orts.

If you have a spare key ring like the one in the photo, and snippets of thread,
trap the orts between the springs,
then fasten the orts to the fabric with a stitch. I used Back Stitch, then covered the remaining metal ring with Buttonhole Stitch.
If you give it a try, I hope you'll have as much fun as I did.

Wednesday, 10 December 2014

WIPW - The Swedish Cushion Completed!

If you click here and read the information on Pintangle you will learn all about Work In Progress Wednesday.

How quickly Wednesdays come around! It is time for another WIPW report.

Kafferepet
I have completed the Woven Crosses that anchor the lace. That means that the top of the quilt is finished. Yes!  A picture will be shown next week.

Here I have collected the material for the hanging sleeve and the label that I hope to start work on soon.

Pile 'em On
More orts and stray thread have been worked into the 'mess'. The latest addition were the purls I made.

TASTy Beads Galore
I was most impressed by some stunning flowers Chitra, of Jizee6687's Weblog, made on her sampler with TAST #139 Beaded Barb Stitch. I wanted to make something similar. Alas, my colours are dull and the spacing not so impressive; I'll have to try again.
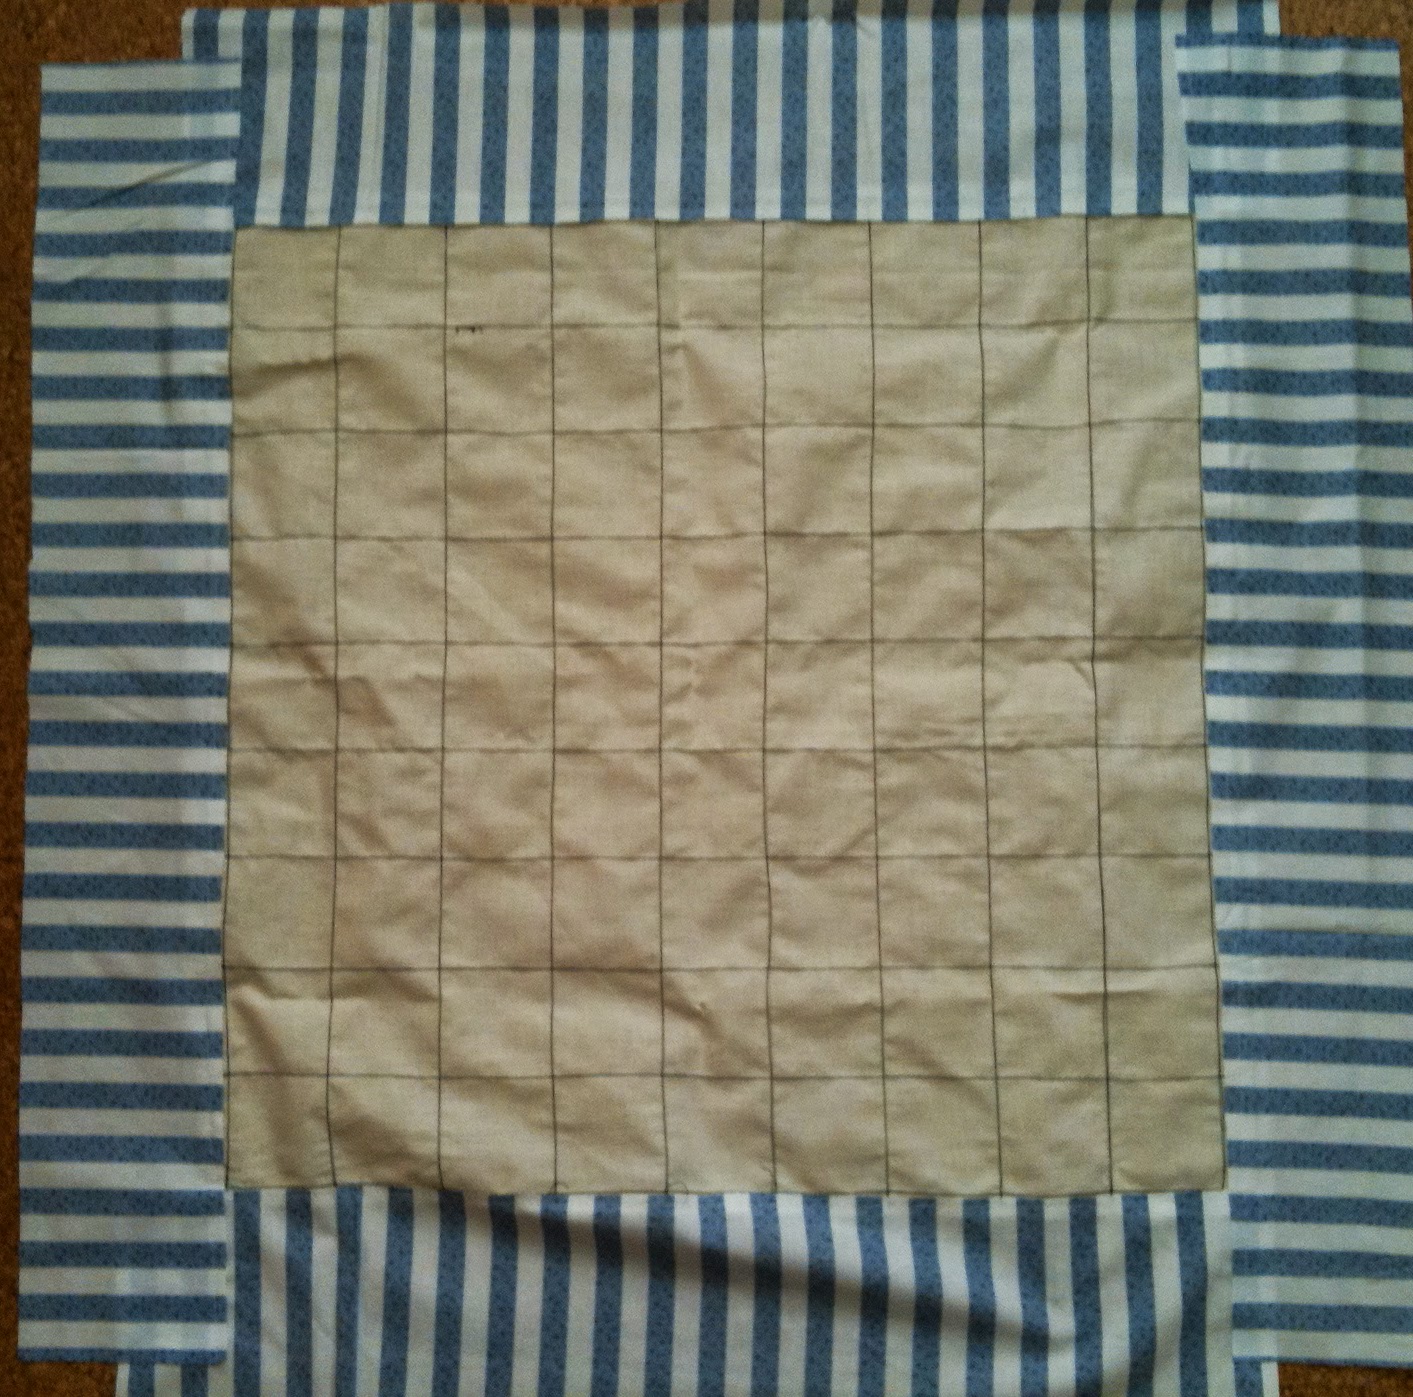
TAST Reference Chart
I stitched down the labels for the latest ten stitches.
Then I prepared another sheet for future TAST stitches. There are 81 squares! Sharon, I hope you don't feel this as any pressure, but I'd love to have them all filled with TAST stitches eventually!!!
Chicken Scratch
Out of the blue I had to make another train trip. I let the Chicken loose and she Scratched hard and actually completed the design.
Before I turn this into a cushion I will work another pattern of thread in some areas to add a bit of pizzaz.

The Swedish Cushion
A cushion that is completed, however, is the Swedish one.
The full panel looks like this:
and contains 124 different TAST stitches (the 16 beaded TAST stitches are not included). 
In addition I have used Cross stitch for the initials and Anundsjö Stitch for the small blue and yellow emblems.
If you look closely you can see that in many areas I have used a mirror image and tried to use stitches that were as similar on either side. In the end that gave me a headache; I had added TAST #132 Kiko's Flower in one of the paisley designs:
and got no TAST stitch that would balance the act in the other paisley. It felt as if I had painted myself into a corner and could not get out... What to do? Well, I had seen Kiko's Flower in the Totsuka Embrodery Stitch Book #8 and the same author has a similar stitch in another of her books, Basic Stitch, that looked about the same. So I added that, the Triangular Bullion Stitch:
So there are in total 127 different stitches.
The made up cushion looks like this on one side,

and this, on the other side.
Work on the cushion was started in the middle of August last year, and it has taken a year and a half to complete it.
The fabric is cotton and easy to work on, but hard to photograph. The threads are mainly perle 8, stranded floss and coton a broder. In each corner there is a tassel of red ribbon, and by opening the zipper on one side you can remove the inner cushion.
It will be a delight to have this cushion on display and I am sure it will give me a lot of inspiration for future projects.

Thank you for all the support and encouragement you have given me.

Friday, 5 December 2014

Turning orts into purl

While I was reading the comments on my blog post 'What to do with short orts' I started thinking of Goldwork and got the idea of making purl out of orts.

Instead of winding the short thread ends round a skewer I used a needle,

and soon had these pretty curls,
which I then filled with  strands of other threads.
The result was couched down on my 'Pile 'em On' piece.
As you can see, I messed them up a bit.

If I had starched the thread before curling it on the needle, or indeed added bond and let it dry, I would have got stiff purl, almost similar to Goldwork purl.

Monday, 1 December 2014

What to do with short orts

If you are collecting even short pieces of thread - orts, what can you do with them?
Well, why not curl them?
Wind them round a stick, bamboo skewer or similar.
Roller iron them.
Pull them off the stick carefully.
Couch them down and you get recycled thread waste. Pile 'em on.