Here, Sunbonnet Sue is at work. She is on a photo assignment at an art gallery.

Other stitches used are Stem Stitch and Split Stitch.

I don't know anyone who changes her hairstyle and hair colour as often as Sue does!
Here, Sunbonnet Sue is at work. She is on a photo assignment at an art gallery.
Let's review the latest stitches.
It's a charming and easy stitch.

It looks more complicated than it is.

This IS complicated, but once you get used to it, at least it gets EASIER.

324 Raised Spider Chain Stitch
You can choose how much padding you want underneath the spider's web. For a really high dome, use wadding instead of a build-up of thread.

This elegant type of embroidery requires a bit of practice. I am glad I finally added it to the collection of stitches, as it is one of the basic stitches.

Homework:
Let's Sunbonnet Sue illustrate the five stitches.

I used two methods to raise the foundation for this stitch.
1) I followed the instructions of Needle 'n Thread by piling straight stitches on top of each other.
2) I also used a ball of wadding to lift up the Spider Daisy Stitch.
Aida Sampler
The problem with Aida is that you have that grid of fixed holes. For this stitch, you need to spread the stitches differently, so I had to stitch in between the holes.

Sunday Stitch School Reference Chart
Working on the plain weave was easy peasy. The angle of the photo does not show the dome like swelling, but it is there.


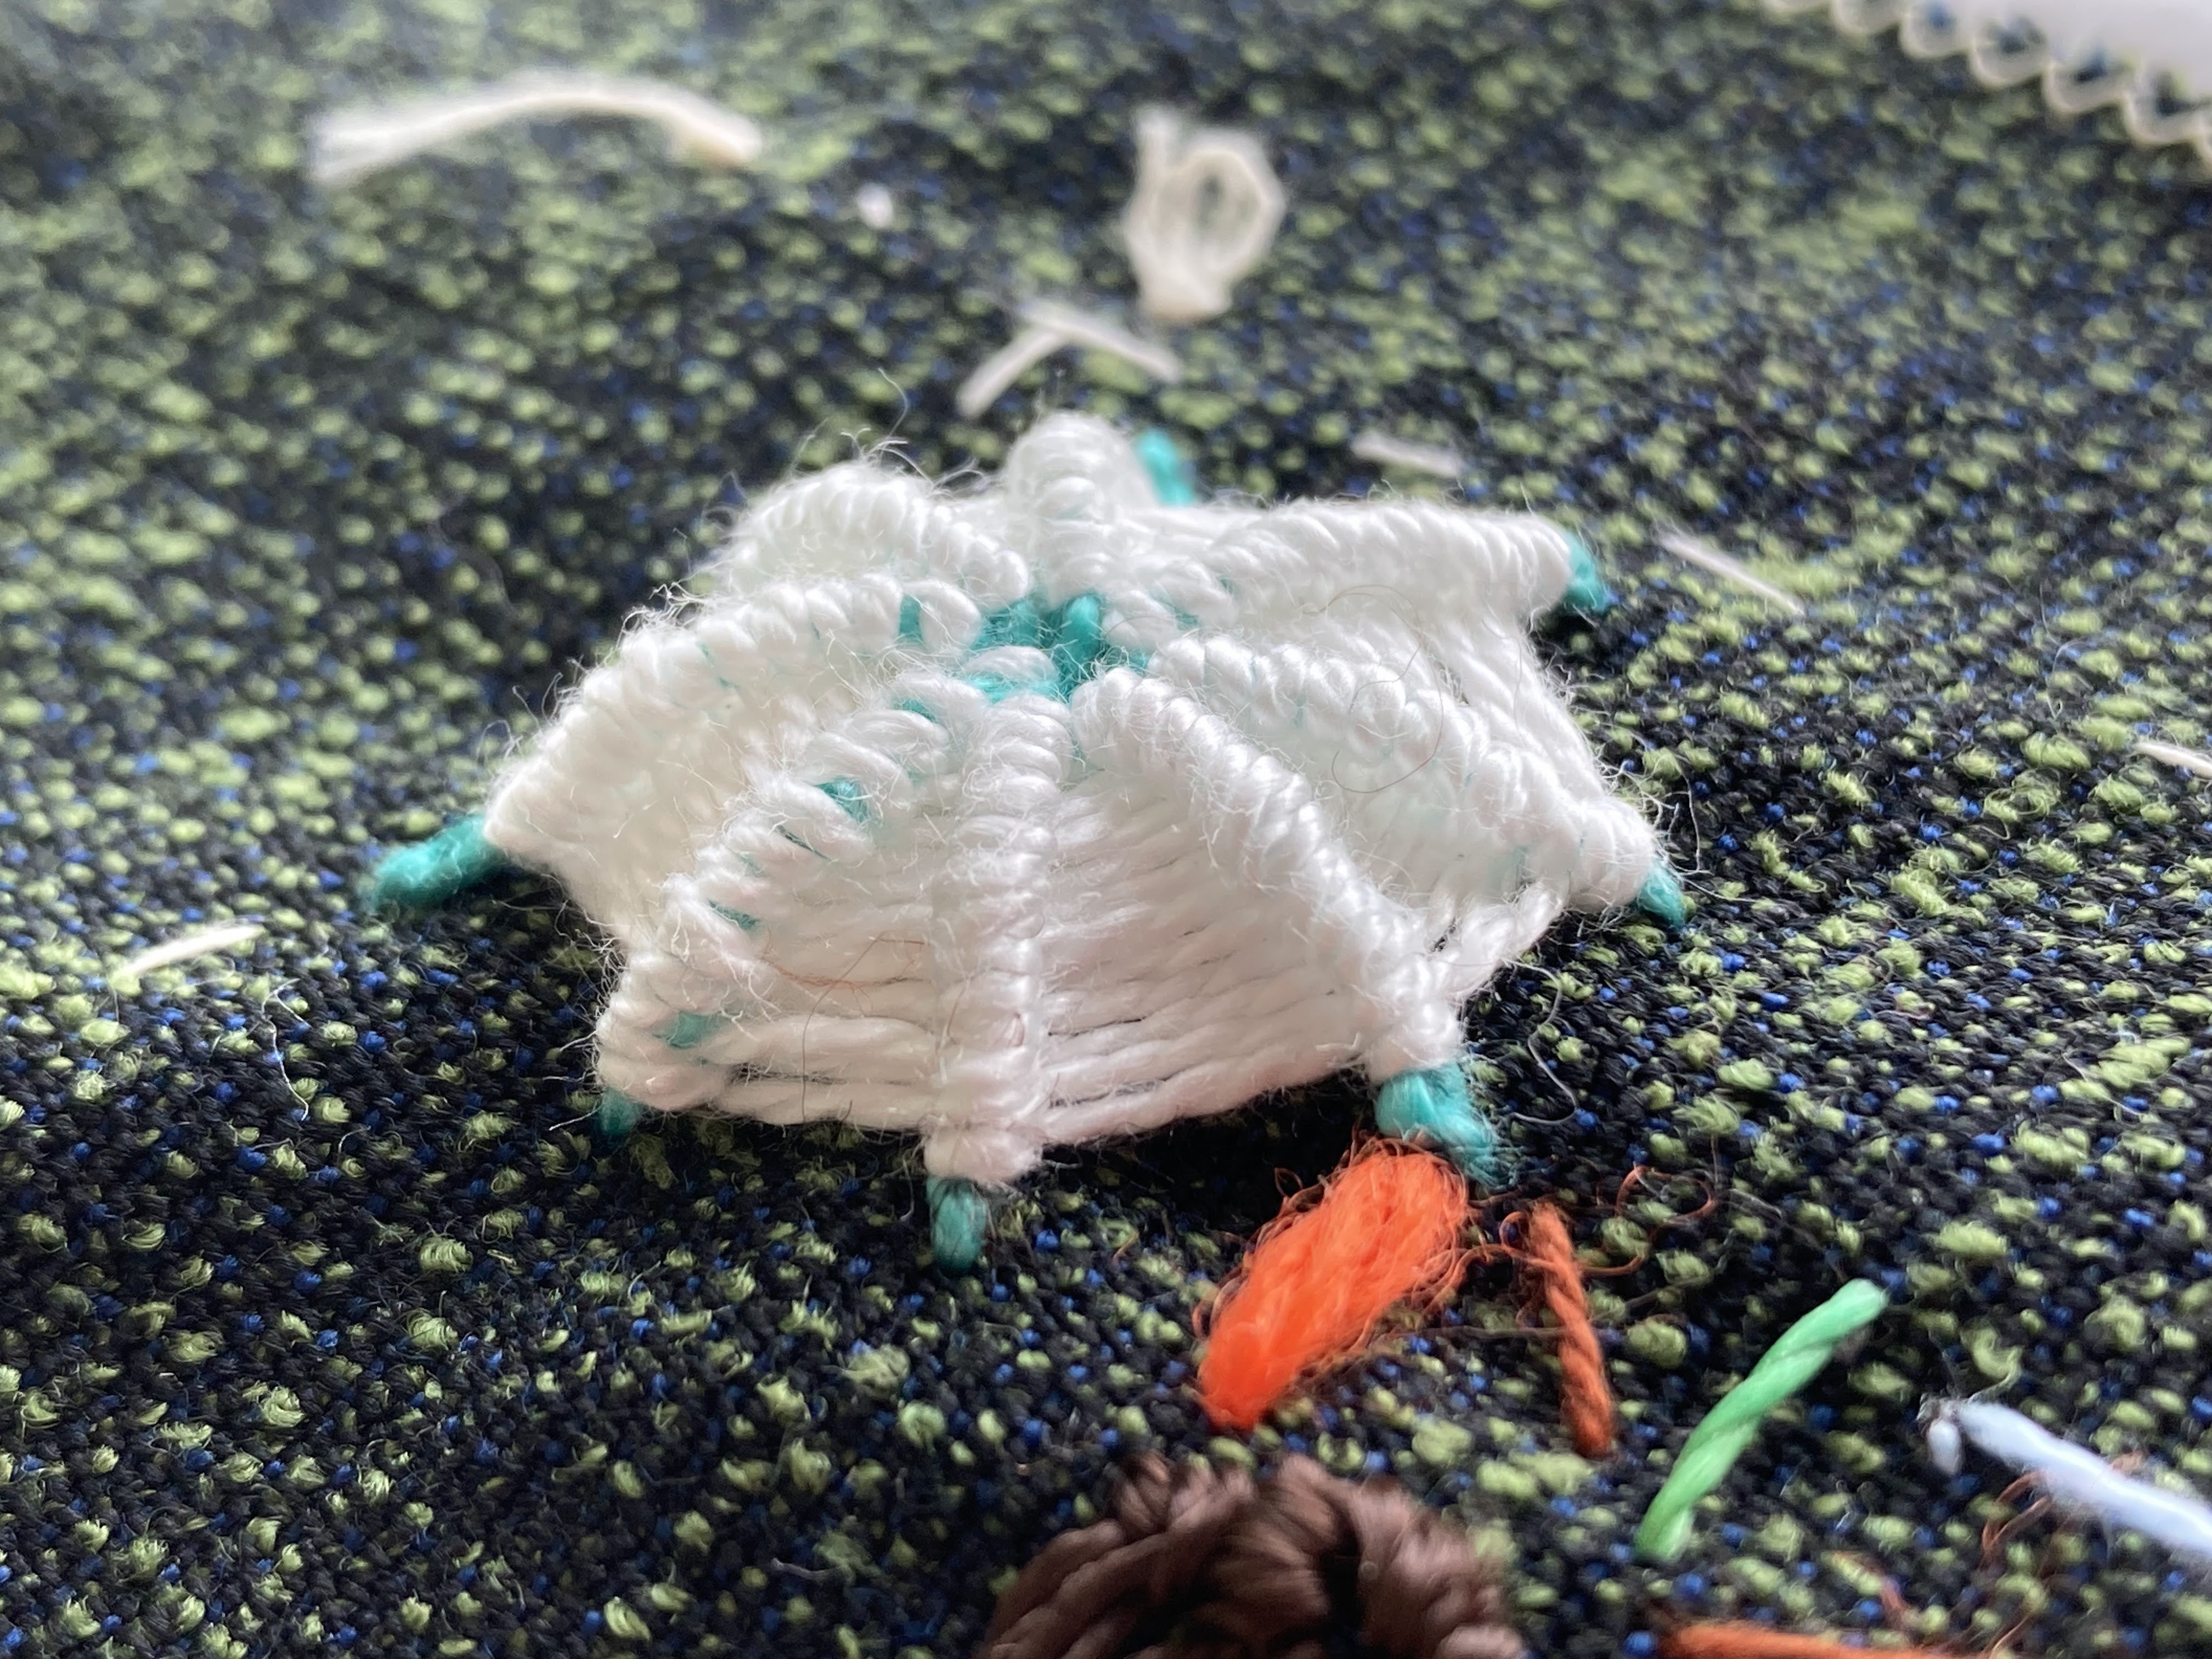
It was more impressive than the stitched padding.
Today, we are going to learn from one of the best embroidery teachers there is - Mary Corbet of Needle 'n Thread.
Mary always encourages her readers to play with stitches and has created a series of tutorials called Stitch Fun.
Here at Sunday Stitch School, we previously learned one of her Stitch Fun stitches, #144 Raised Daisy Stitch and now it is time for the Raised Spider Daisy Stitch.
It is a cousin of, or at least looks similar to, TAST #115 Whipped Long Tail Chain Stitch, but note that today's stitch is not based on the Long Tail Chain, but the Lazy Daisy Stitch.
Please check out Mary Corbet's Stitch Fun tutorial here.
or follow my photo instructions:
On your fabric, mark a circle and
a point for each Lazy Daisy Stitch.

Surface Straight Stitches.

stitch over the previous stitches.


a little hill.


building up a hill on the back.


the wrapping. Come out in the middle of
the hill and place the thread between two petals,
(1 and 8).

Daisy Stitch 1.


more padding stitches, it would have been
more impressive...


Homework: Add to the samplers

