At last, the pandemic seems to have taken a holiday, and so can Sue.


At last, the pandemic seems to have taken a holiday, and so can Sue.
Five weeks and five stitches pass by so quickly! Now it is time to look back and review the five latest stitches. Click on the title for a link to the instructions.
A historic stitch that takes you back to the Tudors. With the help of Rachel of VirtuoSew Adventures I have worked this elegant braid stitch into a nice linear stitch. It looks complicated, but actually it is easier than you think.

On the other hand, here IS an easy stitch. Chubby and free.

Here is a chance to be cruel, without hurting anyone - whip the back (stitch)!

Bridge building!


This stitch gives us a chance to play with various threads. The threaded part especially is where the more challenging threads, fuzzy ones, knotted ones, thick ones and so on, can be used.
However, a foundation fabric with a good grid will give you a better Blanket Stitch base to work on, as you can see on the Aida Sampler.
Aida Sampler
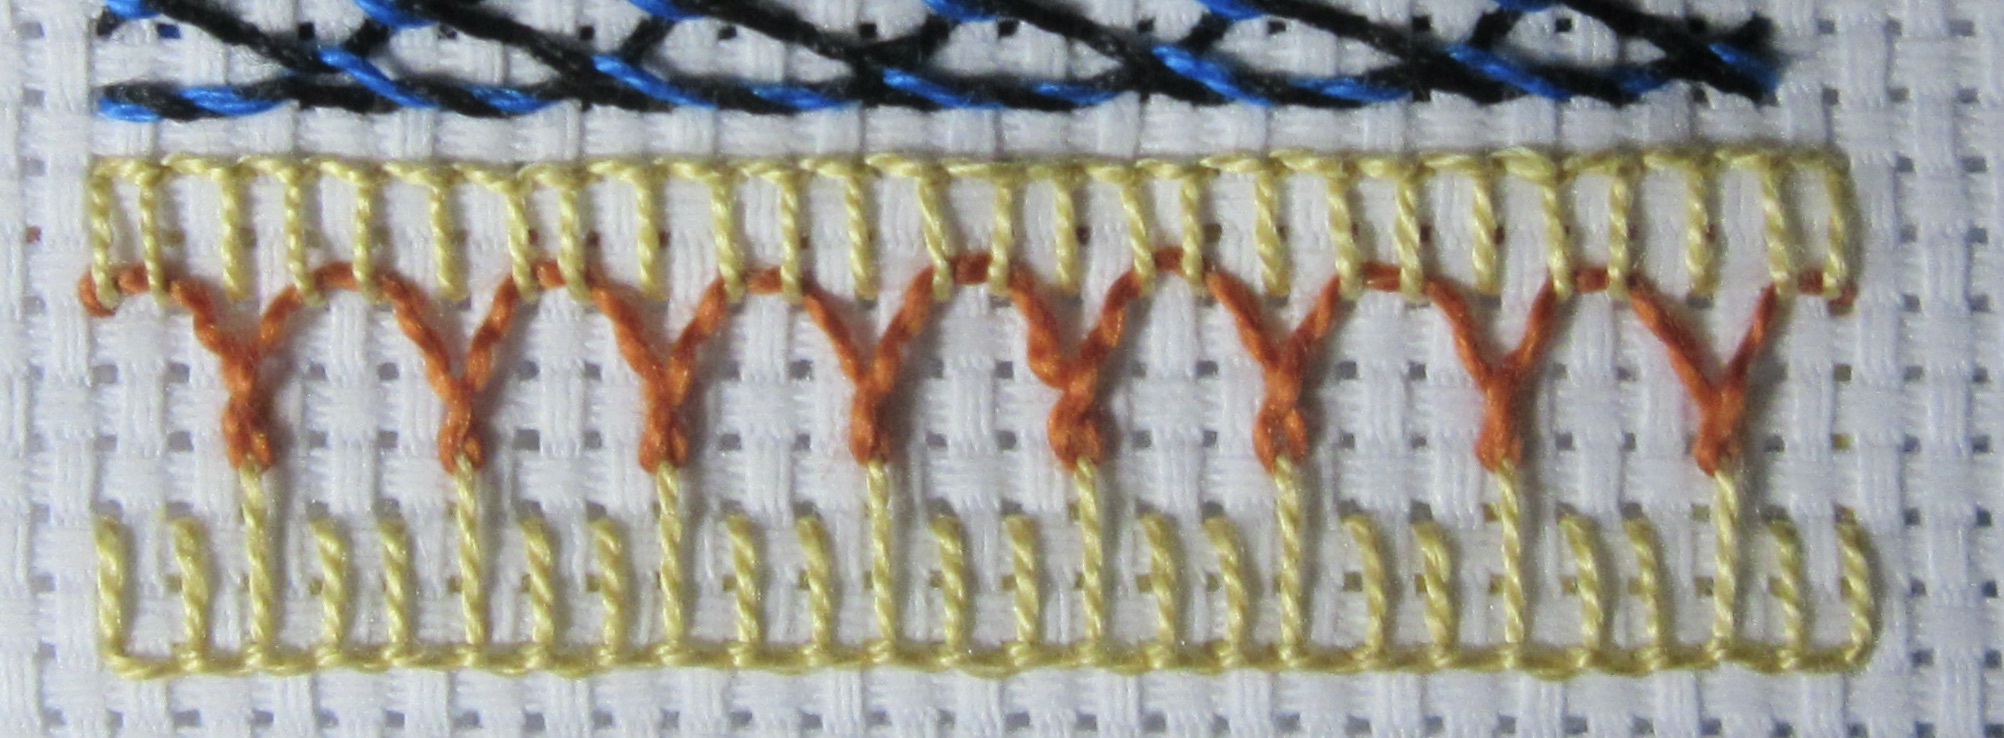


Like last week, we are again going to use two threads/colours.
The stitch is called Threaded Blanket Stitch and basically it is made up of two opposite rows of Buttonhole Stitch, that are later threaded together in an attractive way.
I learned it from Anita at Artistic Fingers. See her excellent tutorial here.
Or use my picture step-by-step instructions below.
Make a row of Buttonhole Stitch with even spacing and height.


