Friday, 18 May 2018

Friday Revision Homework - Stitches 56 - 60

Here is my homework for the most recent five stitches I've learned at Sunday Stitch School.

The linear stitch, Knotted Running Stitch, is rather knobbly so the outline of this Sunbonnet Sue picture is a bit jagged.

56 Detached Twisted Chain Stitch
57 Figure-Eight Knot Stitch
58 Twisted Shell Chain Stitch
59 Knotted Running Stitch
60 Petal Stitch

were used to show what Sue does on Saturday mornings.


Thursday, 17 May 2018

STUMPWORK TUTORIAL - Behind the Neck and Clothing

Previous parts of the tutorial can be found here:


Part 5 - Behind the Neck and Clothing


Here is the fifth part of a tutorial for stumpwork portraits, inspired by Fay Maxwell, whose excellent book Ladies with Hatitude I warmly recommend.

BEHIND THE NECK

If you want a scarf, necklace or collar to go behind the neck, this is how to add it.


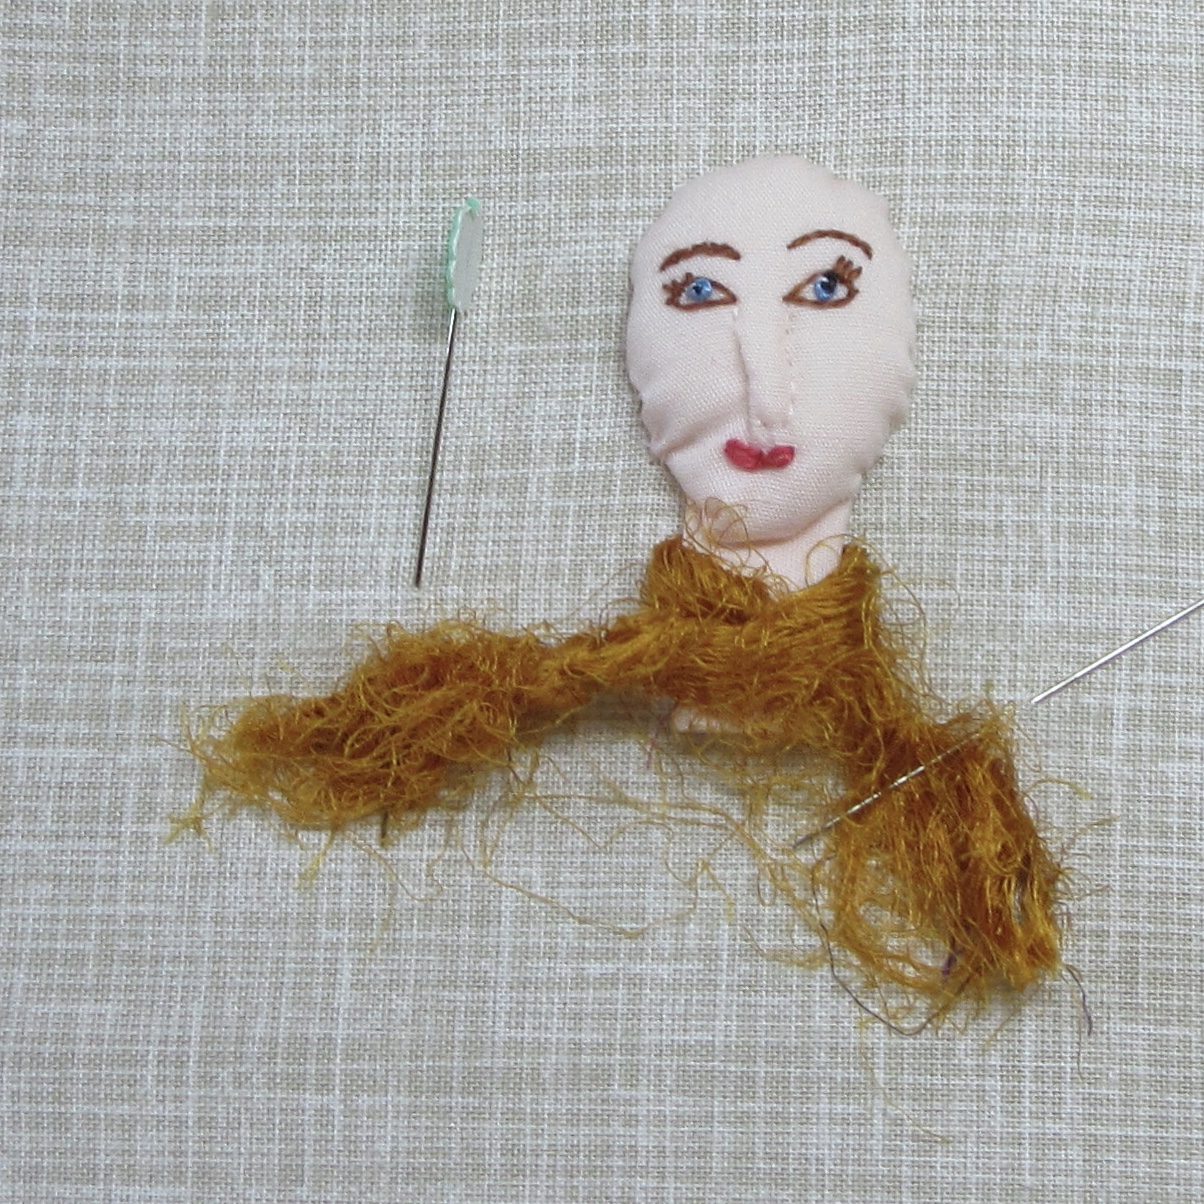
 Tie a short length of banana silk around the neck,

or a bit of ribbon,

or a string of beads.

Here is how I used a scrap of fabric.
Place it behind the neck,

  fold it over,

and fasten with a bead.

To make a coat with a collar,
fold the 'collar' and turn over


 Insert another piece of fabric for a dress inside the coat.

Turn in the raw edges. 

(As you can see, there is no need to cut the scraps to shape. By turning in the raw edges you will get a bit of bulk and that adds to the 'padded stumpwork' look.)

Make a simple ruffed collar by gathering a strip of fabric.


I finally dressed this portrait like this:
I took a scrap of fabric in an odd shape,

 folded in the raw edge at the top and made a V-shaped fold for the neckline.

 I pinned in the raw edges on the sides to make 'shoulders'.

I slipped a ribbon behind the neck.

Before doing anything else,
I finished the face by stitching down the neck and the chin to the background fabric, 

 and evened out her chin line. The lady got a facelift!

Then I stitched the sides and top of the 'dress'.

A smart way to decorate the clothes is to use embroidery stitches.
I selected the Basque Stitch

to make a fringed edge at the bottom.

The ribbon was fixed round the neck with a French Knot, and cut.

Next Up, Part 6 - Hairdressing. The lady has an appointment with the hairdresser's on Saturday. Until then, have fun with the clothes.

Wednesday, 16 May 2018

WIPW - A Finished Block

It has been a productive week, and here is my Work In Progress Wednesday report.

Crazy for Crazy

I finished the light teal/peach block.
I cut the red dyed canvas into a ribbon and attached it to the block with Cross Stitch.
I fastened two metal rings with Buttonhole Stitch in variegated Perle #12.
I used a pleated ribbon to make a circle.
Inside the circle I placed a button that I had covered with a Ribbed Wheel. A tutorial for this technique can be found at Kate Davies Designs.
I used Stem Stitch to outline the plum blossom design on the upholstery fabric in the middle of the block.
I made another Dorset Button.

I put the black bias tape on the edge.

Tuesday, 15 May 2018

STUMPWORK TUTORIAL - Lips

Previous parts of the tutorial can be found here:


Part 4 - Lips


Here is the fourth part of a tutorial for stumpwork portraits, inspired by Fay Maxwell, whose excellent book Ladies with Hatitude I warmly recommend.

LIPS
Use two strands of either skin-toned thread for a natural look, or a lipstick colour.


Two Straight Stitches for full lips and a serious look, 

or two Lazy Daisy Stitches for a sweeter look.


Next up, Part 5 - Behind the Neck and Clothing, will be posted on Thursday.