It is time to fill in a gap in my collection of stitches. Here is one of the basic and most important stitches that I have not yet added. The Long and Short Stitch.
In my opinion, the best instructions can be found at RSN's Stitch Bank. You can also see photos in A-Z of Embroidery Stitches volume 1.
I have added my own photo tutorial here:
Draw the outline.

short stitches.


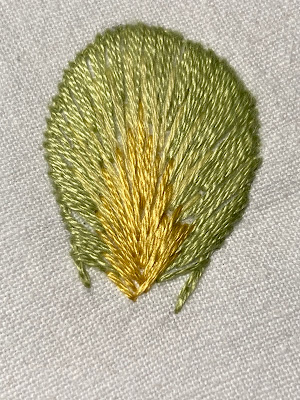
Long and Short stitches

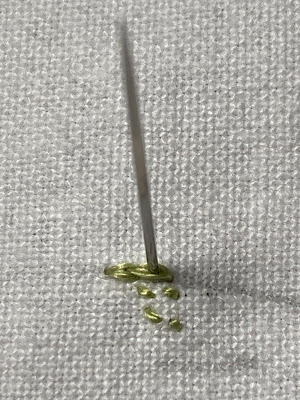
Then insert the needle just outside the Split Stitch line.


filled in the area you wanted.
Change to a different shade of thread.


Work in the opposite direction. Start in the outer areas,
between the long and short stitches. Insert the needle
in the centre void.
Homework: Try to add here. It will be difficult, if not
impossible to work on the Aida fabric.
4 comments:
This is a great stitch for leaves and petals.
Your leaf is so pretty. I think I might struggle with getting the spacing right on this very simple stitch.
One of my least favourite stitches, although it can be very beautiful!
Long and Short Stitch is super useful and effective. Good tutorial.
Post a Comment