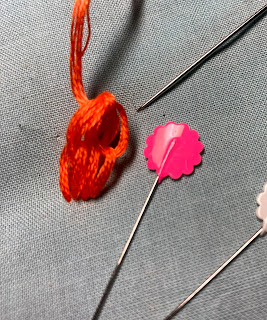
I got a request to make a tutorial for a 'Floating Buttonhole Stitch,' described as a three-dimensional embroidery stitch. Not having heard of such a stitch, I searched high and low, and found nothing that fitted that name or image.
I was then shown a picture (instagram?), that seems to have been taken from a book and by studying the photograph I think I know how to make this stitch.
In my eyes it is made up of loops rather than Buttonhole so have taken it upon myself to call it Floating Loop Stitch.
If anyone have heard of a Floating Buttonhole Stitch, or seen anything similar to what I will show below, please leave a comment.
Work Floating Loop Stitch like this:
Use a pin to work the loops over.
Make three loops in this way.
to left through the 'tunnel'.
Instead of biting the fabric, go through
Place a new pin for the second set of loops.
Go under the new pin to make a loop.
the left loop in the first set.
and tighten.
tighten into a knot.
Help the stitch to stand up right from
loose bit of thread.
There you have it.
Place five or more in a circle and you
have a beautiful ring of petals. Fill the
centre with French Knots or beads.
It is not the easiest of stitches, and needs to be handled with great care afterwards - it is easy to snag and pull it out of of shape. Suggestions for improvement are welcome.
Homework:
The three usual samplers.


4 comments:
Oh, such wonderful texture!
This one does look difficult.
Very interesting stitch. May need a bit of study/play before I can show the Teacher
Now that's an interesting one. The first three loops are fairly standard, and can be turned into a slightly raised leaf shape, but the next layer of loops turn it into something altogether different!
Post a Comment