Wednesday 27 February 2019

WIPW - Brazilian Embroidery

Here is my Work In Progress Wednesday report.

Crazy for Crazy
I made use of the Methodist Knot stitch to outline some petals. These will be filled with some other stitches, maybe next week. In the centre of the flower I will add a crocheted ornament.
Curved lines of One-sided Buttonholed Chain Stitch were also added.


NEW
A Study In Brazilian Embroidery
I have this friend, this very generous friend, who has on several occasions sent me goodies from her stash.

Among the gifts are several hanks of hand-dyed Z-twisted rayon thread, for Brazilian Embroidery.
From my own stash I picked out a piece of golden green silk that I will work on.

With my friend's help I have also downloaded a booklet from the internet:
I am all set to start exploring the beauty of Brazil.
Thank you dear M.

Sunday 24 February 2019

Sunday Stitch School - Revision: Stitches 86 - 90

The last five stitches have all been very different. Anklet Stitch was a new find, Open Wave Stitch a nice filling stitch, Zig-zag Cable Chain a revelation, Chequered Chain Band a source of great confusion and finally Methodist Knot Stitch an easy and interesting linear stitch.

Let's review them. Click on the title for instructions and related blogposts.
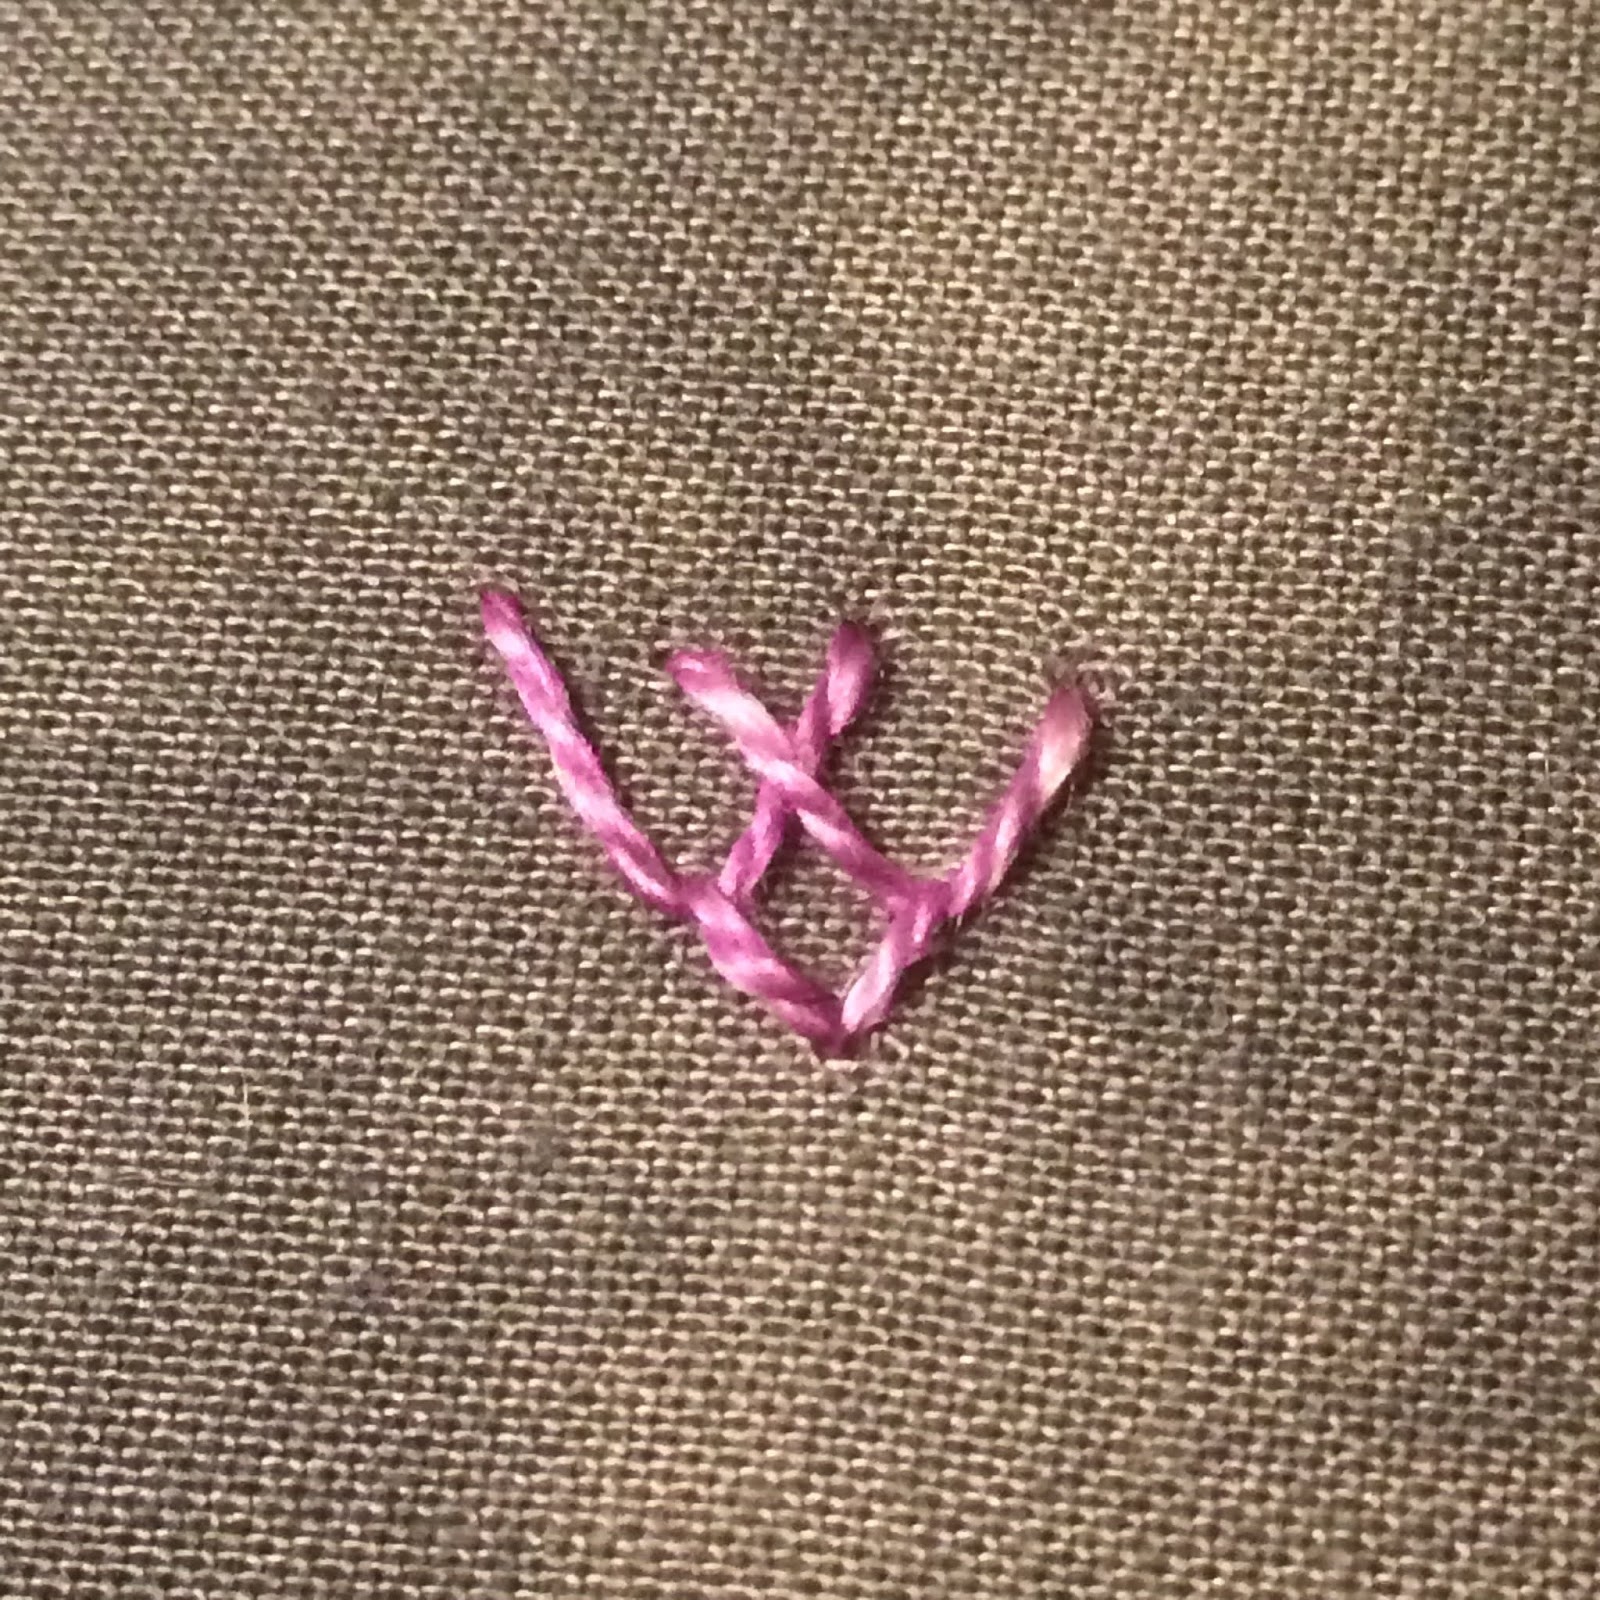
86 Anklet Stitch
I found this stitch in a Swedish book, it turns out it is an Indian stitch, called Muvvala, which means anklet.
I like the potential this has to make a nice border, or to be used as individual ornamental stitches.
It is slightly difficult to get even on plain weave, but on Aida or even weave you get instant success.

87 Open Wave Stitch
This stitch is great for quickly filling a large area.

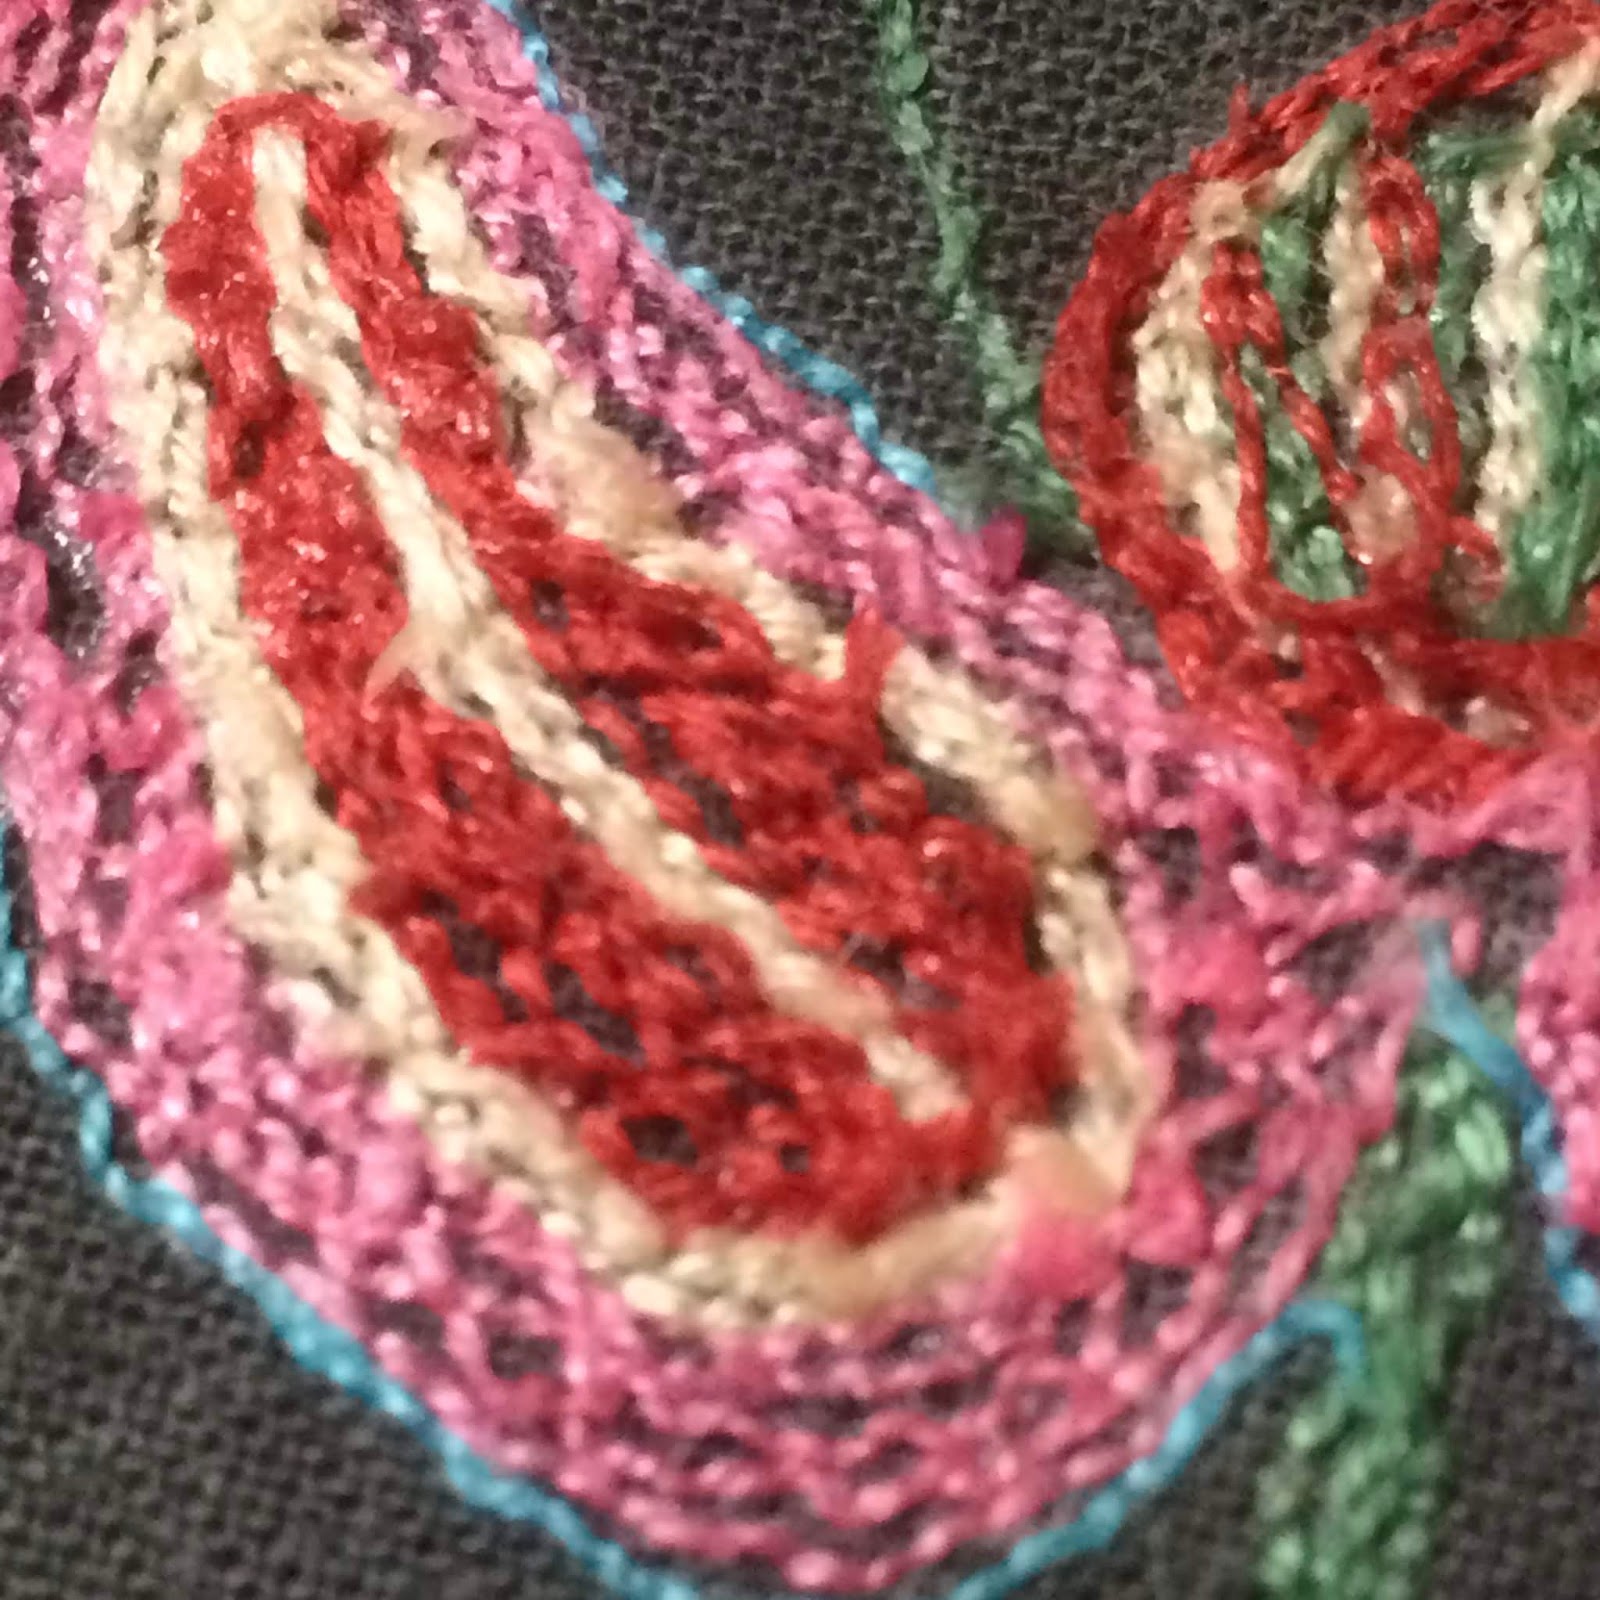
88 Zig-zag Cable Chain Stitch
I am sure I am not the only one who has had problems with making the Zig-zag Chain Stitch lie flat and even. 
It has a sister stitch, the cabled version, Zig-zag Cable Chain Stitch, and this is the solution to our problems. That little cable link is all that is needed to tame the unruly loops.

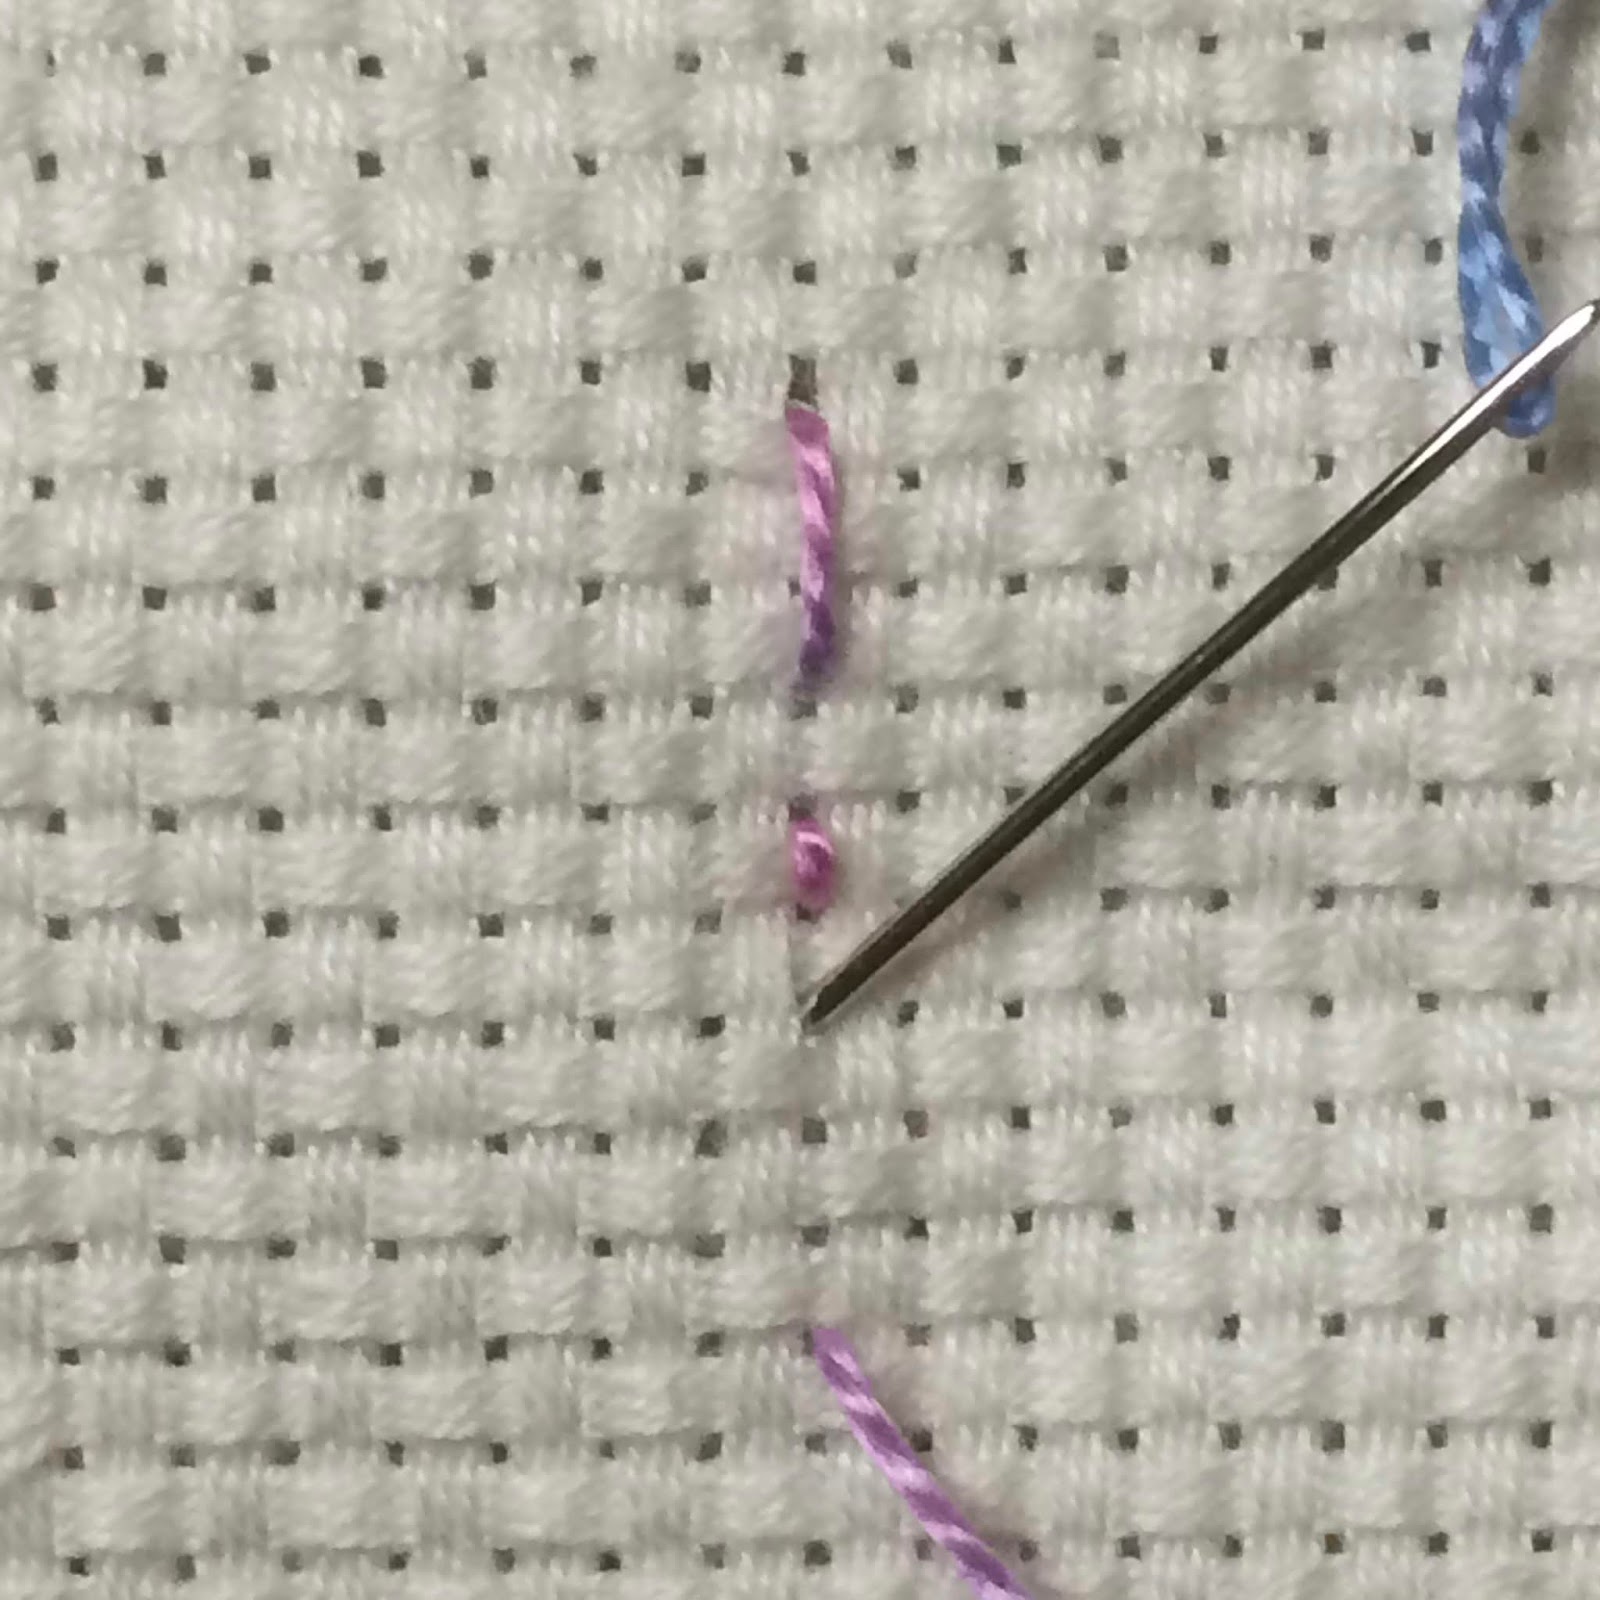
What a stitch! I found it in books and online, but all instructions were confusing. 
So I thought I was smart when I made my own photo instructions and marked the most important of the four threads with a star. 
However, where I found this easy to understand, my photos have been confusing for others. Instead of a nice 'Magic Chain' look, the threads tangled up in knots. I am so sorry for all the 'try, and try agains' that have been going on.
I have now updated the instructions with additional photos that I hope clear up the knotty problem.

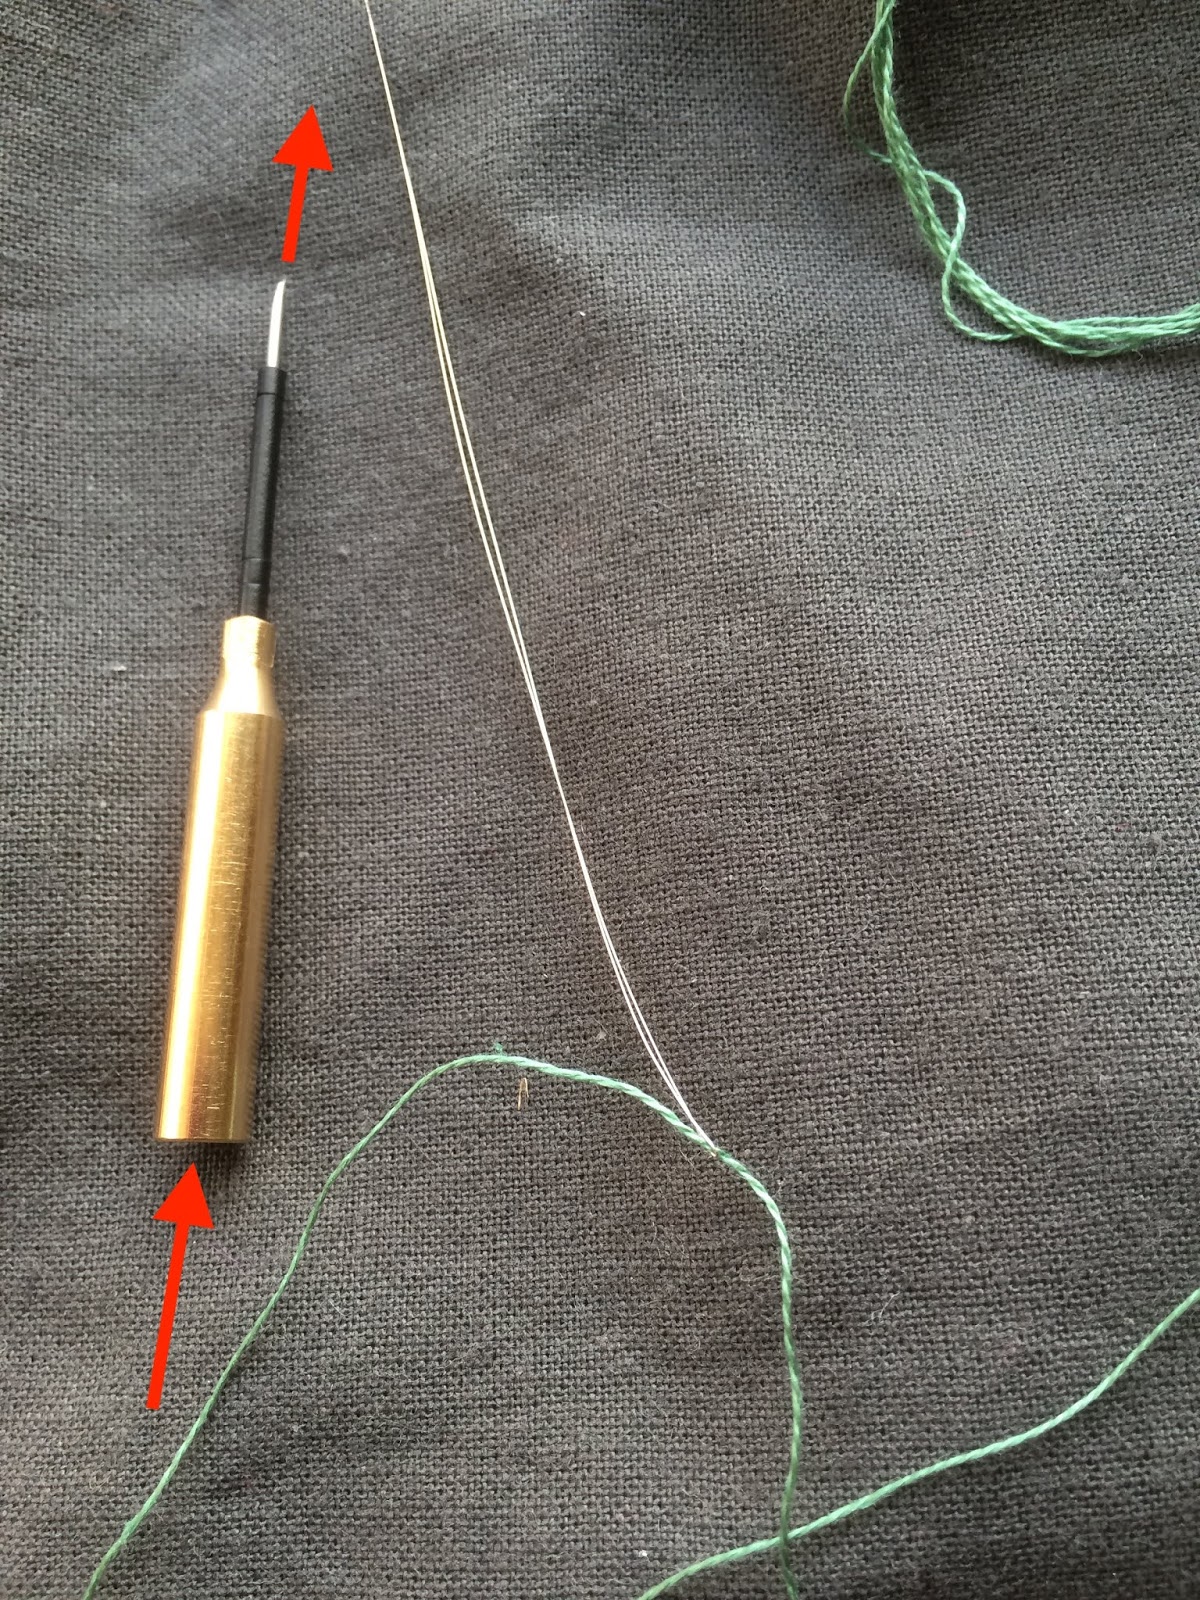
This is basically a quilting stitch, used by Methodists obviously.
It uses up a LOT of thread as it is based on Back Stitch, and is difficult to reverse stitch.
Furthermore, on the back, you get 'toe-catching' long stitches.
On the other hand, it is a sturdy and strong stitch holding the layers together, and to boot, it's easy to stitch.

Homework:
As usual, the revision homework is to use the five stitches above in a Sunbonnet Sue design.
What is Sue up to this time, I wonder?


Friday 22 February 2019

Friday Homework for Lesson 90: Methodist Knot Stitch

This was so easy and so fast I completed my homework in a jiffy!

Aida Samper

Sunday Stitch School Reference Chart
 

Teal Wool Tailoring Scribble Cloth

Oh, if all stitches were as simple as this one!


Wednesday 20 February 2019

WIPW - In the Post

For this week's Work In Progress Wednesday report I can show three finishes and some purple progress.

Crazy for Crazy
I dug into my purple thread stash to add the following.


Punch Needle Greeting Card
I completed the punch needle design. This is the front.

 On the back the stitches are flatter.

To secure the stitches before cutting the loops open, I spread a thin layer of glue on the back.

 I then started cropping the loops into 'velvety' pile.
The easiest way is to fold the fabric over a finger to see where to cut.

The cut pile makes a deeper, darker shade of each thread.
Compare the uncut left side with the cut area on the the right.

Finally I made it into a card.
It's a rather gloomy card with the black background.
Lesson learned!

The second
Greeting Card
was sewn in the style of Karin Derland.
Instead of the boiled wool foundation I used felt from my stash.

The third
Greeting Card
project is completed, but I won't show any clear details yet. Here is a fuzzy teaser.


All three cards are now in the post.

Leafy Note

At the quilt show last month I was given a beautiful hand-bound notebook with a delicate leaf on the cover.
I decided to use the book to note down my needlework finishes 2019.
I am happy to add a number of new drawings for this WIPW report.


Sunday 17 February 2019

Sunday Stitch School - Lesson 90: Methodist Knot Stitch

Do you remember stitch # 83 Mennonite Tacks Stitch? It is one of the utilitarian quilting stitches. Today we will look at another of them, the Methodist Knot Stitch.

I found this very simple explanation at Textile Research Centre about Methodist Knot Stitch, and at Roz-Counterpane, this description of the stitch.

Linear stitches, or individual stitches that can be used for lines, are always useful. However, I would call the Methodist Knot Stitch a 'thread-eater' as it is made up of two Back stitches of various lengths. Now is that useful or not? Only if you want to lighten your thread stash!

This is how to work it:
 Take a long Back Stitch,

and then a short Back Stitch.
Finished!

Then continue with the next stitch in the same way.

 until you have a line like this


Homework:
Add a few lines on these pieces.


Friday 15 February 2019

Friday Homework for Lesson 89: Chequered Chain Band

Although this is a tricky stitch, it IS possible to tame it and get good results.

Aida Sampler

Sunday Stitch School Reference Chart
I worked it on a curve, which I had read would be unsuitable. I think it looks ok!

Teal Wool Tailoring Scribble Cloth


Wednesday 13 February 2019

WIPW - Four Projects!

This week's Work In Progress Wednesday report tells about four new projects.

Crazy for Crazy
I have started piecing a new crazy quilt block.

Greeting Card 1
I have just selected the fabric for this one.

Greeting Card 2 - Embroidery on Felt
For this card I will work on felt and use inspiration from this book.


Greeting Card 3 - Needle Punch Embroidery
At the quilt show in Tokyo Dome I was inspired by Cecile Franconie's fluffy embroidery
to do something with my punch needle set.

Do you know about Igolochkoy, the original Russian punch needle embroidery?
You need: tightly woven fabric, a special hoop, the punch needle, a very thin and long needle threader, stranded embroidery floss

Place the fabric back side up in the hoop and stretch really drum tight. Draw the design on the back.


Use the thin and long needle threader to take one long strand of floss through the needle from the bottom to the tip. 


Then let the needle threader take the thread through the little hole at the side of the needle's tip.

You are now ready to start stitching, or rather punching the needled through the fabric.


Go down and up while moving a tiny step forward - imagine you are a sewing machine!
Note that this is the back.

On the front you have these loops, like a terry towel.

The back


The front.
 Once the whole area is filled I will cut some to look like fluffy velvet.
More next week.