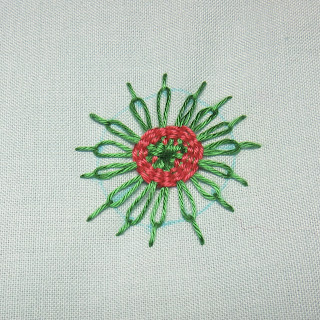
Today I will let Madam Totsuka teach us a combination stitch that results in a flower. It is easy as I am sure you know the two basic stitches already. The stitch can be found in Totsuka Embroidery Stitch Book #8.
The Woven Long Tailed Lazy Daisy Flower Stitch (that's a mouthful for you!) is made up of a circle of Lazy Daisy stitches with a long tail. These are later woven from the centre and out.
Before we do the stitch tutorial I want to point out that you need an uneven number of Lazy Daisy petals to weave them beautifully.
Here is how to divide a circle into an uneven number of equally large parts.
Let's say you want to have five equal parts.
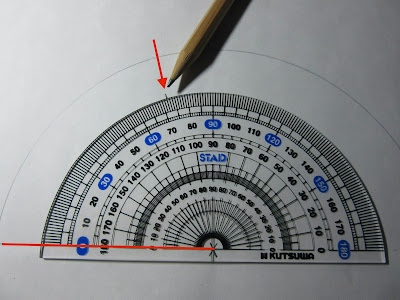
A circle is 360º, so divide that with 5. You get 72º. (360 ➗5 = 72º).
Draw a circle, find and mark the center point.
Then draw a line from the centre to the edge.
This line is marked in red below.
Place a protractor on this line,
making sure the centre of the circle
and the protractor disc line up.
Mark 72º.
Draw the new 72º mark line
(here is green).
Find and mark the other three 72º lines.
Now for the stitches.
Mark the foundation fabric.
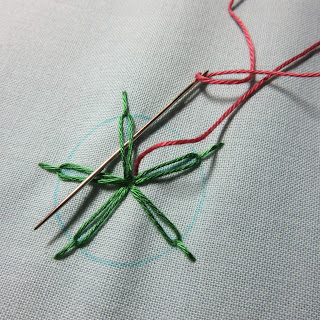
Make a Long Tailed Lazy Daisy stitch at each
72º spot, starting in the middle.
Anchor with a long tail.
Come out from the middle again and
make a new Lazy Daisy on top of each line.
When you have completed the circle, take another
thread and exit the background fabric in the middle.
Take the needle under and over the spokes
until your Woven Long Tailed Lazy Daisy
Flower is blossoming. Either like this or

like this, with more arms.
Homework:
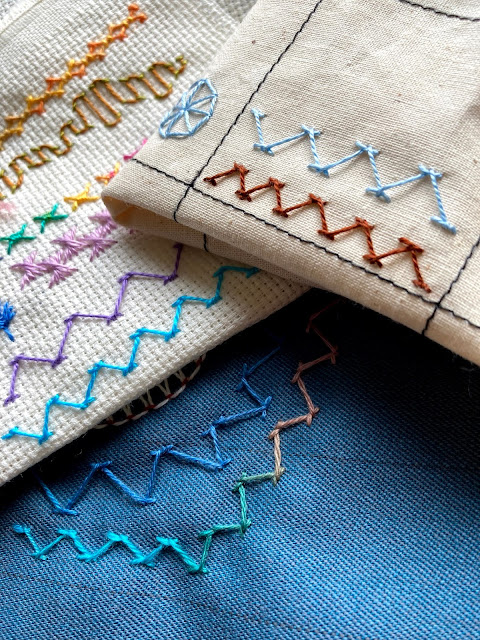
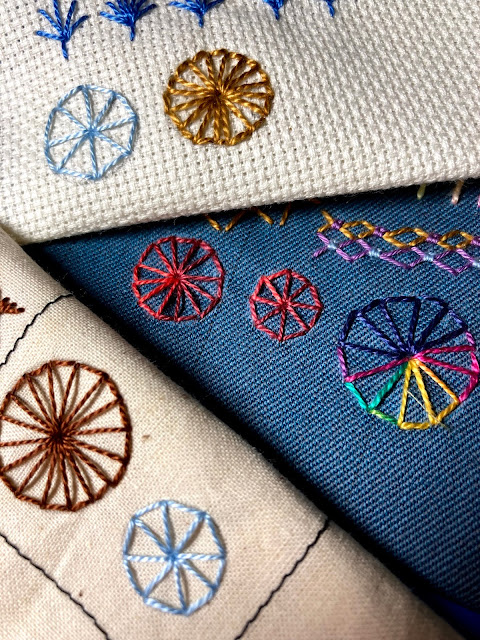
Add this stitched flower to the three samplers.


