In 2013, while I took part in TAST (Take A Stitch Tuesday), Sharon Boggon introduced us to two versions of the Buttonhole Picot. You can see her instructions here.
This link will show you the blog post I wrote about it, TAST #88
For today I want to introduce you to the Ring (Buttonhole) Picot as found on Arts&Design.
It is also featured in Mary Thomas's Dictionary of Embroidery Stitches.
In the instructions mentioned above, the work is done right to left. I prefer to do my Buttonholes the other way around, so please note that in MY tutorial the stitch direction is left to right.
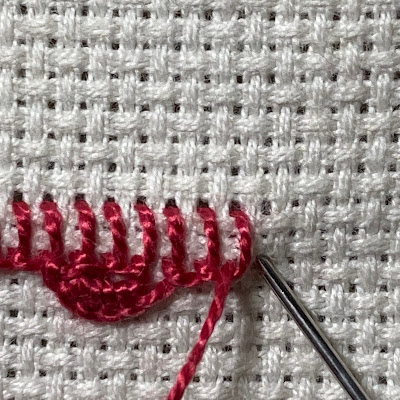
Here is my photo tutorial:

between stitches number three and four,
underneath the thread ONLY, from down to up.

without biting any fabric, I made five detached
Buttonhole Stitches from left to right.


(to have even numbers of stitches at the beginning
and end of the line).

Homework:
Add here.

5 comments:
This would be a very pretty edging!
It does make a lovely edging, doesn't it!
This looks great and I will have to try it! I have done similar stitches so it should be easy for me.
That makes a lovely edge.
Congratulations on your 300th lesson. I can't help but be surprised and respect the amount of lessons you have accumulated over the years.😊
I will keep this in mind as an effective stitch for edging. Thank you for your always easy to understand lessons.🙋
Post a Comment