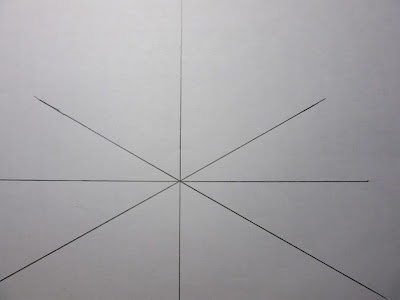
Hi, and welcome to Sunday Stitch School. Today we won't be learning a new stitch! Instead, we will be preparing for next week's stitch, which is a six-pointed star.
In the past, I have made a number of hexagon templates from scratch while carefully looking at the instructions, but after a few weeks, I always seem to forget the technique.
Therefore I wanted to record the process, as this will help me make both hexagons and stars with six tips. Once this is published on the blog, I can always go back and find the instructions whenever I need to.
.................
Things needed:
a sheet of paper, a pencil and a protractor.
Later on, a ruler, an eraser, a circle template, a piece of template plastic, a stiletto/awl or other sharp instrument for piercing, a marker with permanent ink and a pair of scissors.
1. Draw a straight line.
4. Place the protractor on the horizontal line.
5. Make pencil marks at 30º and 150º.
10. Draw several more circles and mark the spots where the circle meets the straight lines.
11. For a permanent template, trace the dots onto a piece of template plastic.
12. Use a sharp pointed stiletto or awl and make holes in the plastic.
13. Use markers with permanent ink and fill in the triangles created between the dots.
16. You need a pair of scissors to cut out the hexagon template. It is then easy to trace the shape onto scrap cards for hexagon quilt making.


4 comments:
Thanks for sharing your template creation.
I love not only the hexagon but also the work of thinking about something like a blueprint and comleting the design.
Just curious, how much time did it take to create the hexagon? Is it a special size?
Fantastic!
I've not seen this construction before - I was taught a compass-&-straight-edge construction instead.
Post a Comment