Sunday, 6 September 2020

Sunday Stitch School - Lesson 145: Roll Chain Stitch

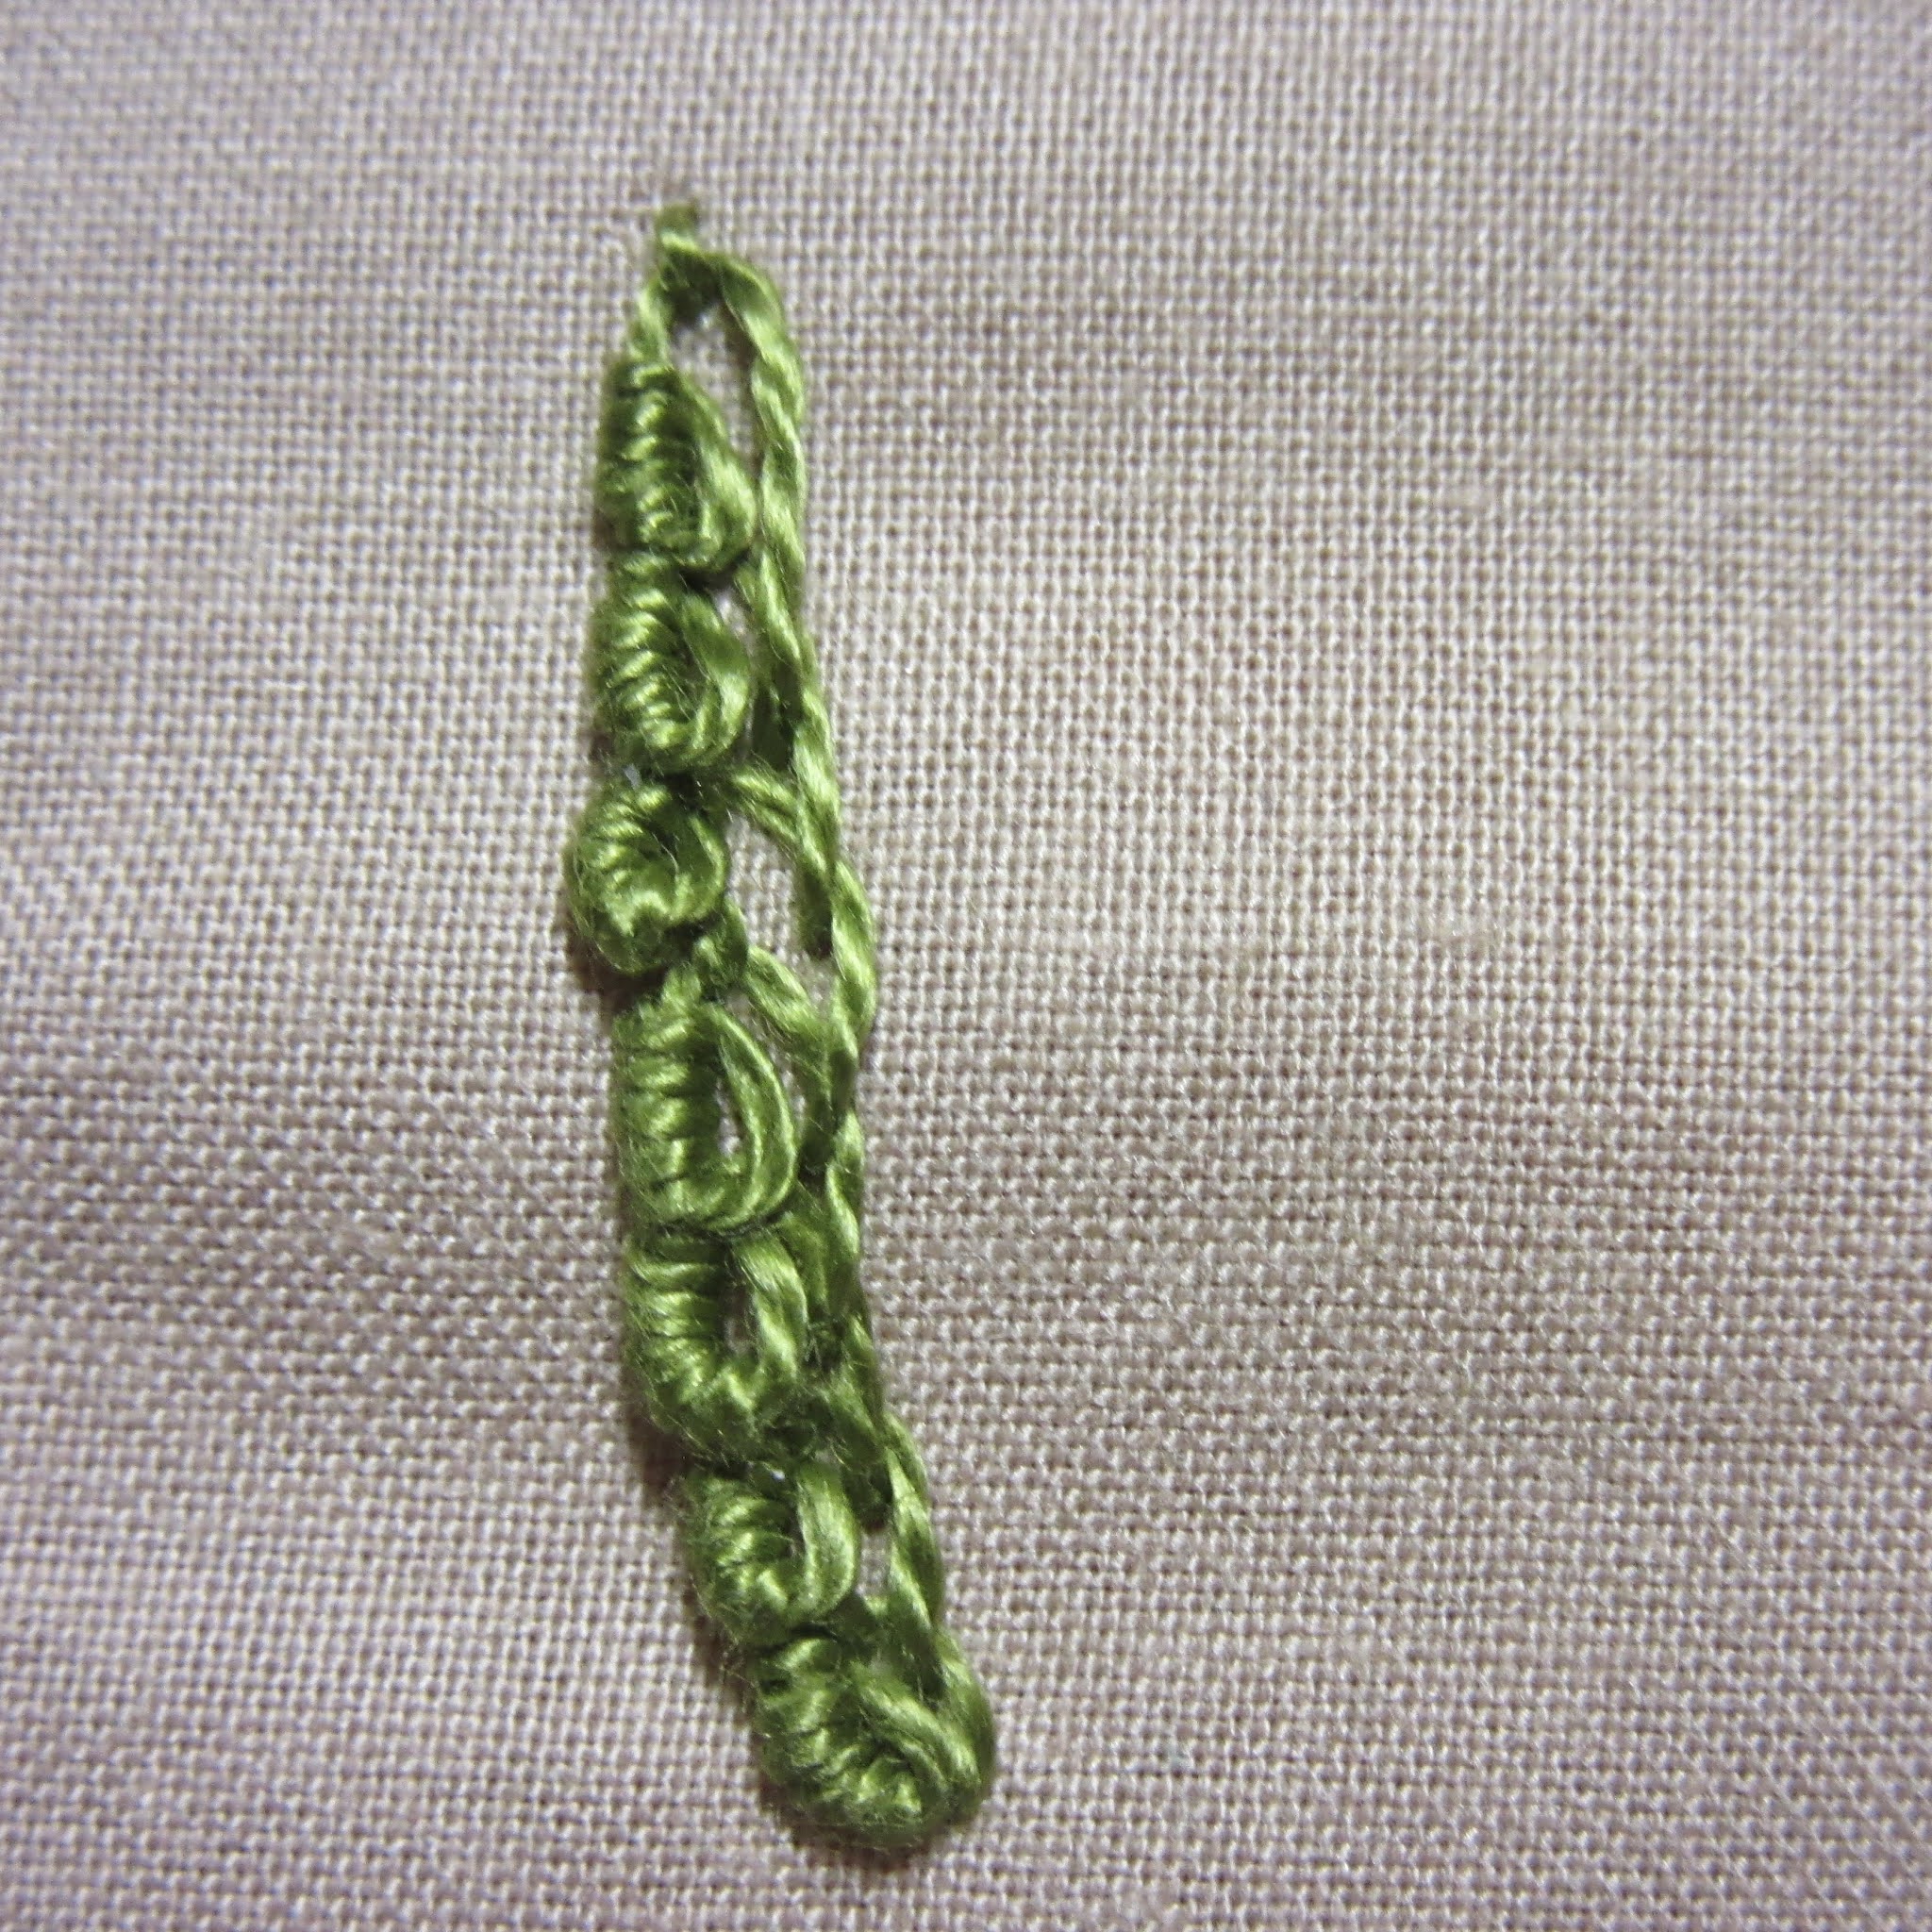
Hello, and welcome to try out a Chain Stitch variation - the Roll Chain Stitch. It is also known as Shell Chain Stitch.

I first found it on a Japanese blog, published by Miharu-san. The post is all in Japanese, but the pictures are very clear and easy to understand. Click here to check.

You can also find several videos on YouTube.

Anyway here are my pictures and commentary:

I suggest using Perle or another thread with a good twist.


Take the thread out of the fabric.


Place the needle on top of the fabric, next to where the thread came out.


Press down your thumb and hold tight.


Start wrapping the thread round the  needle, I used five wraps.


Push the wraps together, place under your thumb and hold tight while pulling through.


Insert the needle at the base of the stitch, take it out at the top,
place the thread under the needle to make a parallel Chain Stitch.


Now make a new stitch in the same way.


Insert the needle inside the first chain, come out at the top of the second stitch, 
place the thread underneath the needle to make another Chain Stitch.


Continue in the same way.


When you have finished, anchor the last stitch.


By all means, keep better tension than I have done!

Homework:
Add Roll Chain Stitch to these three samplers.


I made this blog post using Blogger's new interface. I certainly hope the published result is better than the Preview! 
WHY must things that have worked well for a long time, have to be changed? Is it just for the sake of change? I can certainly not see any improvement with the new interface! Sigh!   


Friday, 4 September 2020

Friday Homework for Lesson 144: Raised Daisy Stitch

This is such a delightful stitch, although it takes some time to do the basic stitching before you can cover it with Lazy Daisy Stitch.

Aida Sampler


Sunday Stitch Reference Chart


Teal Wool Tailoring Scribble Cloth

Here you can see how nice the stitch looks on a curved bar. I love the little 'dots' along the line where the stitch has been anchored.


Wednesday, 2 September 2020

WIPW - Back to Normal

I think I am back to normal when it comes to stitching. Here is my Work In Progress Wednesday report.

Tvistsöm Cushion
2 1/2 rows were added. That means I am working on #55.


Freeform Embroidery
The three new stitches are: Danish Knot, Upright Cross and Granitos.

Crazy for Crazy
I secured the bead weaving block with a Buttonhole Stitch, the ribbon was flanked by Herringbone Stitch and Top Knotted Buttonhole. Then I decorated one seam with Woven Zig-zag Chain.

Log Cabin Challenge
Nineteen seams on the cushion flimsy were decorated with Triangular Feather, Scroll, Buttonhole Bar, Chained Cross among other stitches.
They are marked in yellow.

10 new blocks for the quilt were pieced. I now have a total of  224 blocks. I begin to see a little bit of a dent in the stash of strips... How many more blocks can I make?


This progress is nothing special, so no need to comment.

Sunday, 30 August 2020

Sunday Stitch School - Lesson 144: Raised Daisy Stitch

Hello, it's Sunday and time for a new stitch, or should I say a new treatment of an old stitch.

Anyone who is familiar with Mary Corbet and her Needle n' Thread might have seen this new way of using Lazy Daisy, or Detached Chain Stitch. Read about Raising Up the Daisy Stitch by clicking on the link. Enjoy her clear pictures and the neat stitches.

Basically for this week's stitch you make a ring of many layers of Stem or Split Stitch, and over those you add Detached Chain Stitch.

My thinking is that you can just as well make a straight or curved line of padding and cover them with Detached Chain Stitch.

Here are my photo instructions for a circle.

Mark two circles on your fabric.

Work a circle of Stem Stitch (or Split Stitch)
inwards from the outer edge .


After you have filled the marked area,
build more stitches on top.
Try for a doughnut or lifebuoy shape.

Now place Lazy Daisy Stitch over 
the rounded shape.


First make North, South, East and West.
Then add the stitches in between.

Until you have something like this.

Mary Corbet added Straight Stitch to cover the gaps, and filled the void in the centre with  French Knots.

Homework:
Play around with this shape here: