How about an invisible stitch? There is a way to start an individual stitch without leaving long threads on the back or secure threads with a knot.
Look at 'Just String's blog posts for beginning and ending the L Stitch.
Below you can see my photo tutorial.
I also want to see if the stitch can be used to make the letter L. After all, L stands for a lot of good things like LOVE, LIBERTY, LOG CABIN QUILTS, LOLLIPOPS, LIFE, LEMONADE, LADY, LEGEND, LIFE SAVER, LILY, LONDON, LYCHEE, LEARNING, LACE, LITERATURE...
Start with a waste knot, then take some diagonal stitches.
Make a small Back Stitch.
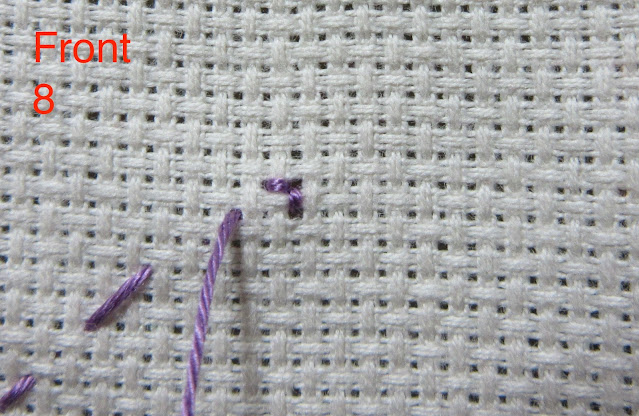
Make the corner or the L.
,
Push the needle under the diagonal stitch to trap both ends of the thread.
Both threads are held down as you can see.
Look at the front again.
Let's make some real stitches on top of the little L Stitch, e.g. a Cross Stitch.
You can hardly see the little L underneath.
So it is time for a large L Stitch. Or two, or three...
Place a small L Stitch underneath.
Turn to the back, snip off the waste knot and diagonal starter stitches and the final bit of thread. You can hardly see where the ends are.
Turn to the back, snip off the waste knot and diagonal starter stitches and the final bit of thread. You can hardly see where the ends are.
Homework:
Scribble L's here to your heart's content.


4 comments:
Your scribble cloth looks amazing! Love it!
Such a subtle little trick!
I have used the L stitch when started a thread on canvas and it works well.
I though this little technique was really important.
Post a Comment