It is time for the 15th and last block of the Green Man Quilt. Here I have used the Stained Glass technique with bias tape.
First, you need to make the bias tape. Cut a length of fabric, like a ribbon, on the diagonal.
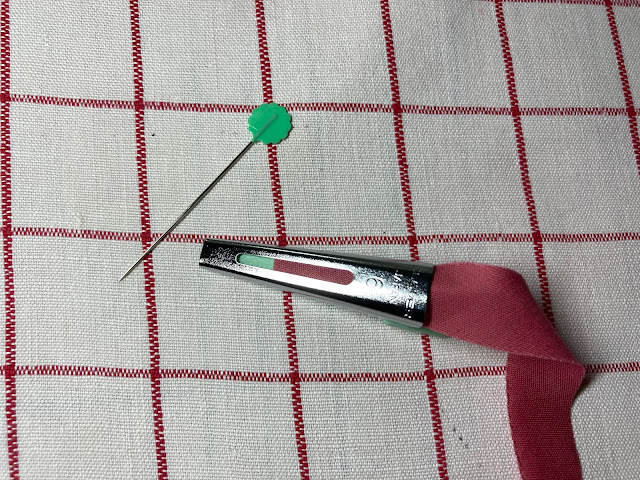
In the picture, you can also see a bias tape maker. With the help of a pin, insert the end of the tape into the wider end of the tape maker.
Use the pin to pull the tape out through the narrow end.
Turn the tape maker upside down and you can see how the bias tape has been folded.
use your iron to press the folded tape flat.
The next step is to cut the pieces to be appliquéd and place them next to each other.
Place the bias tape over the two raw edges and stitch down.
Voila! You have the beginning of a stained glass window!
There are plenty of bias tapes for quilting, sold by the roll, if you don't want the trouble of making your own tapes.

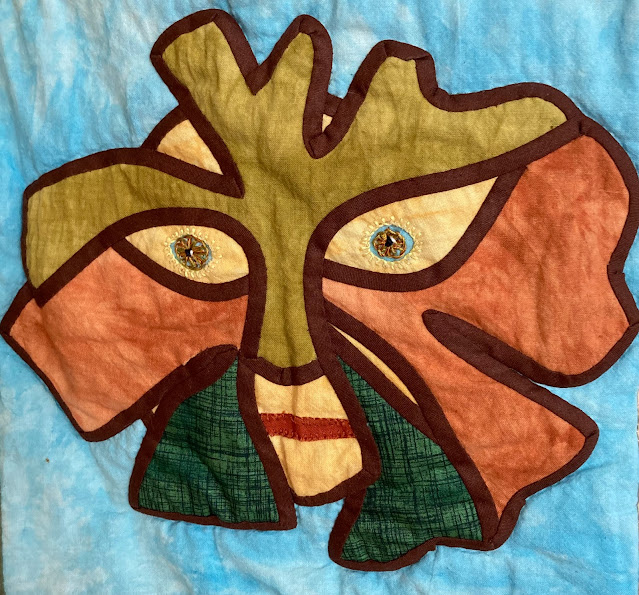
Here is the Green Man.
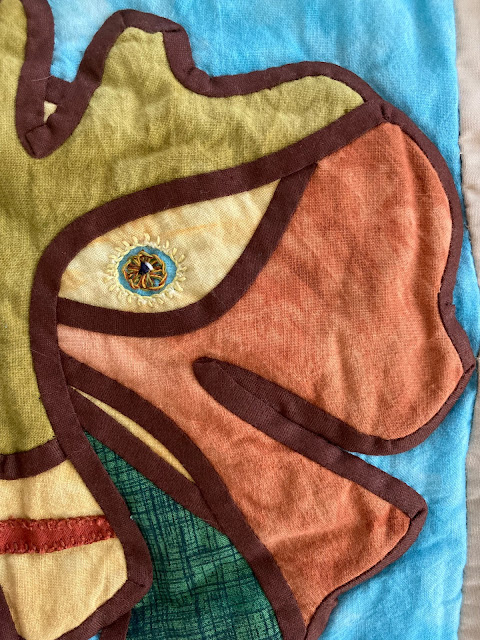
His eyes are reverse appliqué with embroidery. The mouth is Buttonhole Appliqué.
Unfortunately, some areas are worn and the raw edges are coming out. I will do some repairs and show you at a later stage.
To be continued...


8 comments:
I have one of those bias tape makers but I have never tried this stained glass technique.
So clever and fun! Thanks for the tutorial, you make it look easy.
Another pretty green man, it's a pity you have to repair it. I made a stained class quilt this way many years ago. The tape-maker was very easy to use.
I haven't got a tape maker but it looks like a useful tool to have. Your green man is looking very colourful today.
That stained glass technique is versitile isn't it.
That's looking good - really effective!
The eyes are amazing on this one!
The presence of bias tape in this Green Man is amazing.
I also learned for the first time that you can make bias tape.😵
Post a Comment