Today I want to show how I mount the TAST pieces on cardboard.
Things needed: cardboard, pins, thread, needle, scissors
First I remove the embroidery from the hoop, press it and cut it large enough to cover front and back of the cardboard + a generous seam allowance.
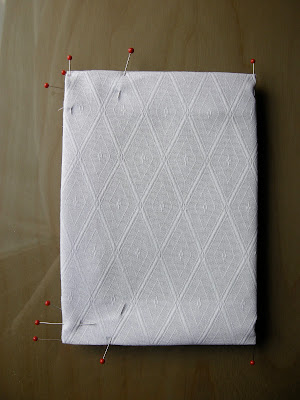
I pin the first fold, then the top and the bottom.
Finally I pin the fold over the back.
I stitch the sides together with ladder stitch.
When done, I press on a label on the back.
Completed.


6 comments:
Thank you for showing how you mount a piece.
I was wondering how long the skirt of the gown is.
Fantastic!!!! This look really good. Thank you for the tutorial.simple and quick!!!!
Well, the gown is 10 cm from the top of the straps to the hem of the skirt.
Thank you, Latha.
It is an easy way to finish the small TAST embroideries. I can store the cards in a box or display them leaning against something. With a few strands of string on the back, the cards can also be hung.
There is a great feeling of satisfaction when each TAST project is done. I have enough UFOs as there is!
just beautiful Queenie, and thank you for the tutorial - I have needed something just like this!
So lovely!
Post a Comment