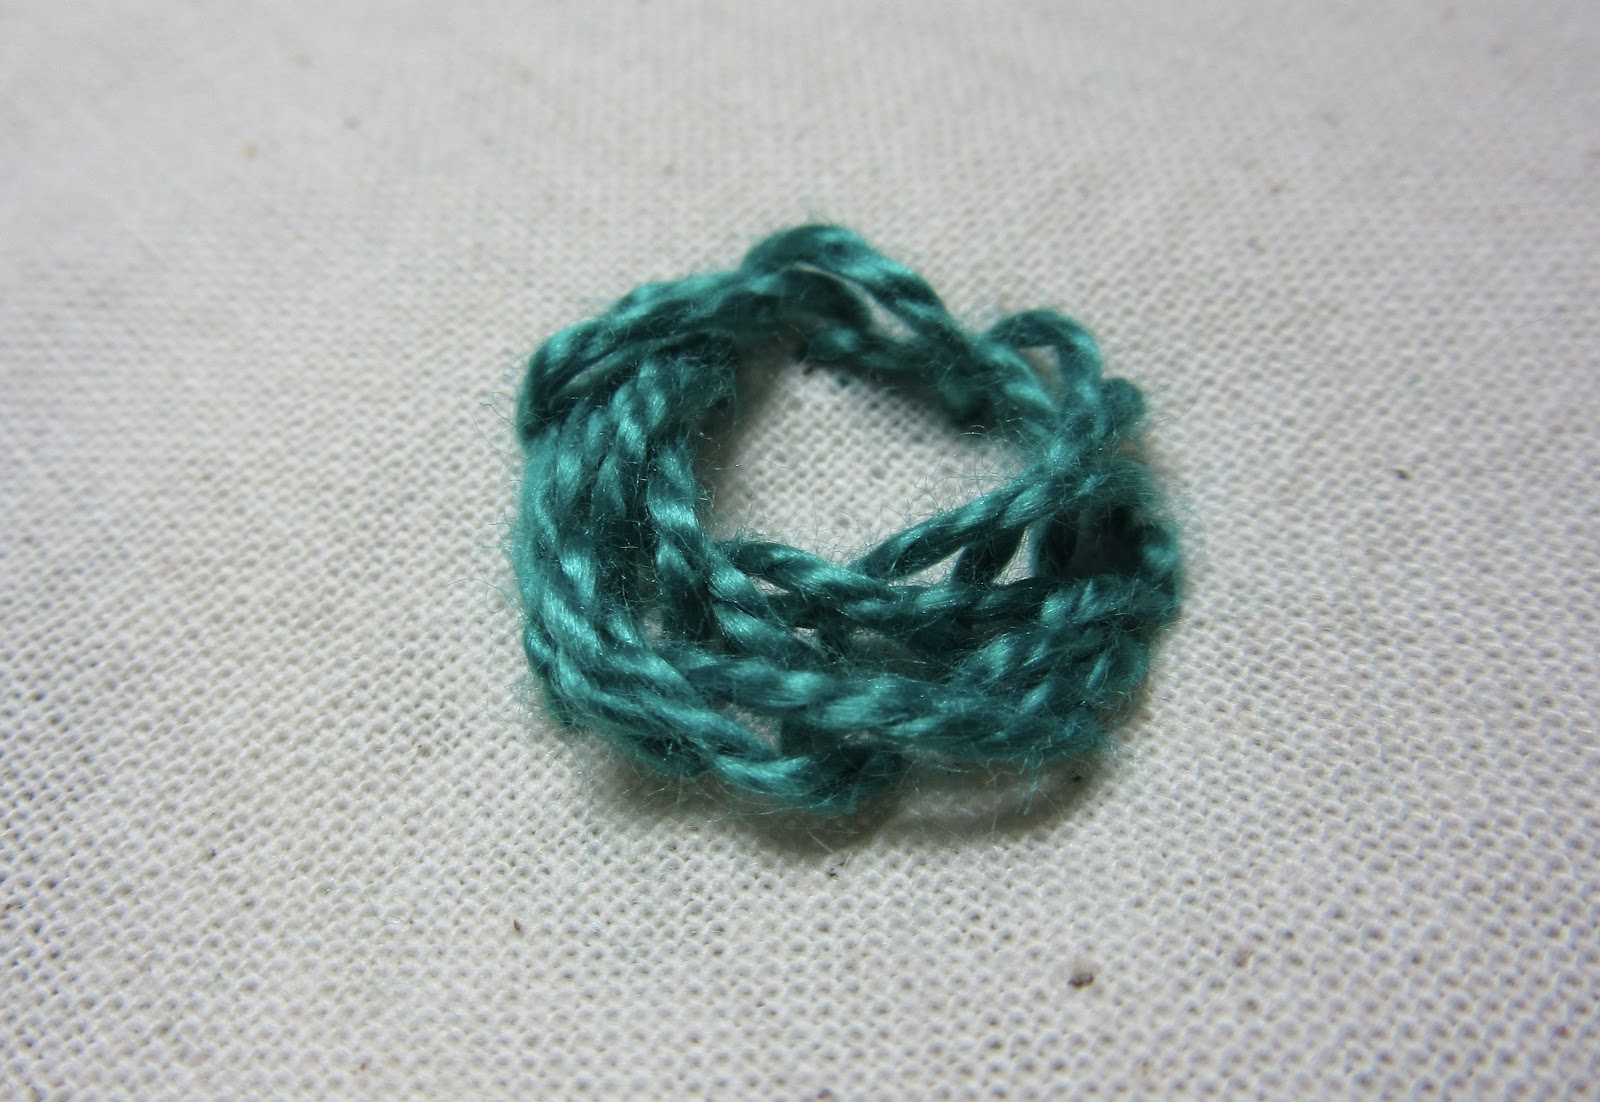
Today we are learning from the BEST - Mary Corbet of Needle 'n Thread. She has got a tutorial for Rolled Woven Picot.
Let's face it,
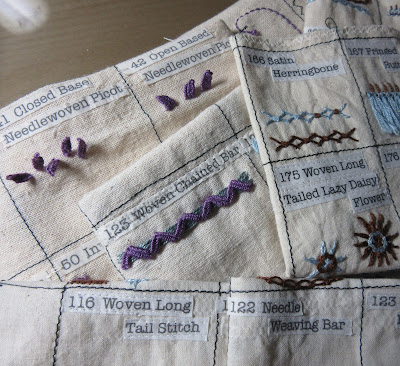
we have made woven stitches before:
With Sharon Boggon's TAST challenge:
#41 Closed Base Needlewoven Picot
#42 Open Base Needlewoven Picot
#58 Woven Detached Chain Stitch
#77 Woven Cross Stitch
#119 Woven Trellis
#123 Woven Chained Bar
and here at Sunday Stitch School:
#116 Woven Long Tail Stitch
#122 Needle Weaving Bar
#147 Woven Circle
#175 Woven Long Tailed Lazy Daisy Flower Stitch
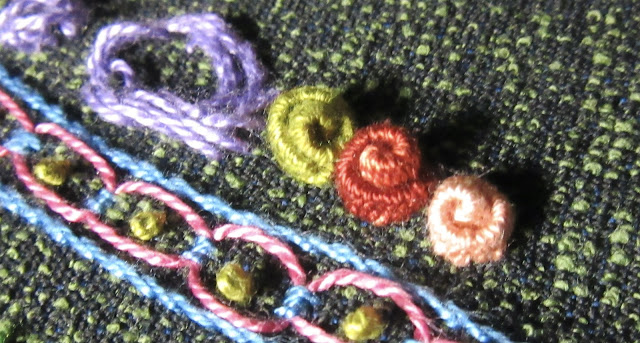
Today's stitch is actually the Open Base Needlewoven Picot but made considerably longer. It is then rolled up into something like a 'Swiss Roll Cake'.
Follow my photo tutorial here:
The first thing to do is to stretch
the fabric tightly in a hoop or frame.
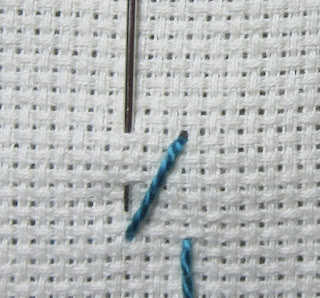
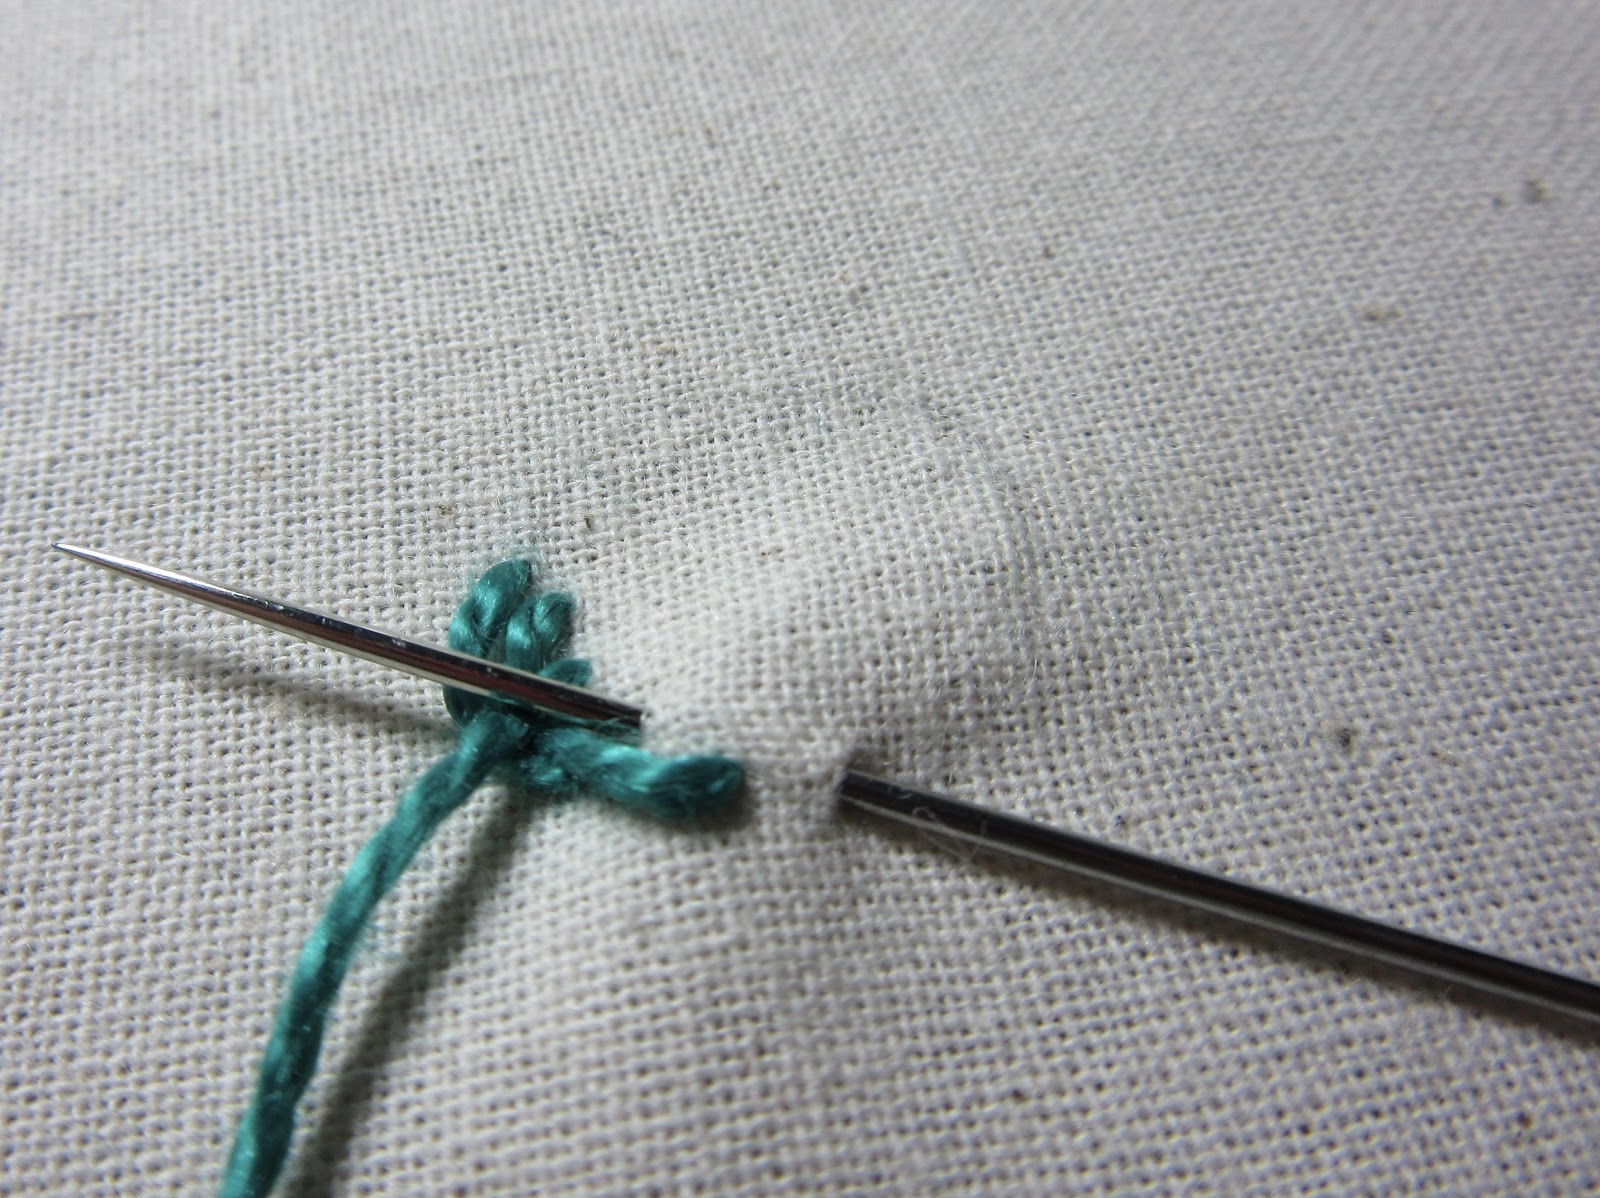
Use a long supporting pin.
Tighten the first two woven stitches as close to
head of the supporting pin as you can.
Pack the following stitches closely, too,
but try not to lose the cone shape of the
picot.
Anchor at the base of the picot
but don't cut the thread.
Remove the supporting pin.
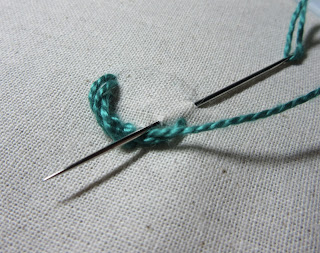
The 'tongue' starts curling up by itself!
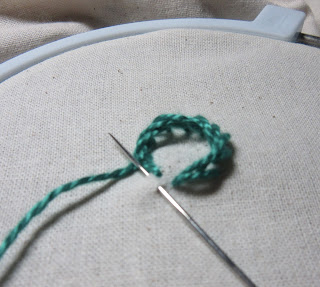
Use the pin to roll the picot
into a Swiss roll or Cinnamon bun.
Now take the thread up from the back,
and stitch down the edge around the picot.
Homework:
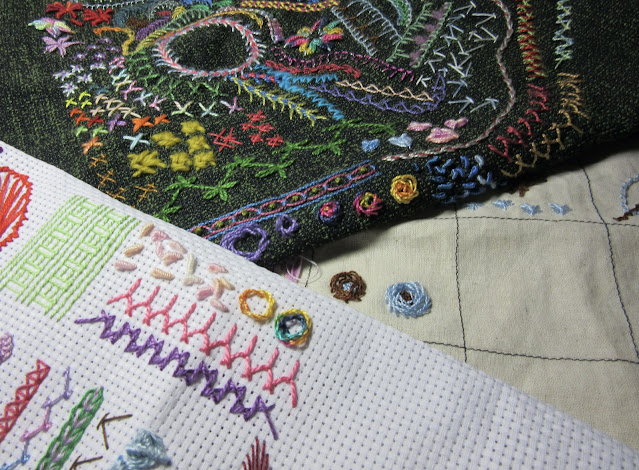
Add a batch of picots to these samplers.

