There has been a lot to learn since last week's lesson. I have worked hard at the set homework.
Let's start with the monogram on the tea towel.

I stitched it with a piece of waste canvas, which helped to keep the stitches even.

After stitching, I sprayed the canvas with water, waited until the starched threads had softened and picked them out with a pair of tweezers.

I am quite pleased with the result.

By paying attention I managed to make the back rather even, too. Most stitches are vertical and the crosses or horizontally drawn threads are few.

I am the student of this course, but in a way also the teacher, so I will give myself 'Well Done' for this part of the homework.
The free pattern
The object with this homework was to make the thread lie flat on the cross and the back look neat.
I added another target, to make individual stitches without the thread traveling on the back.
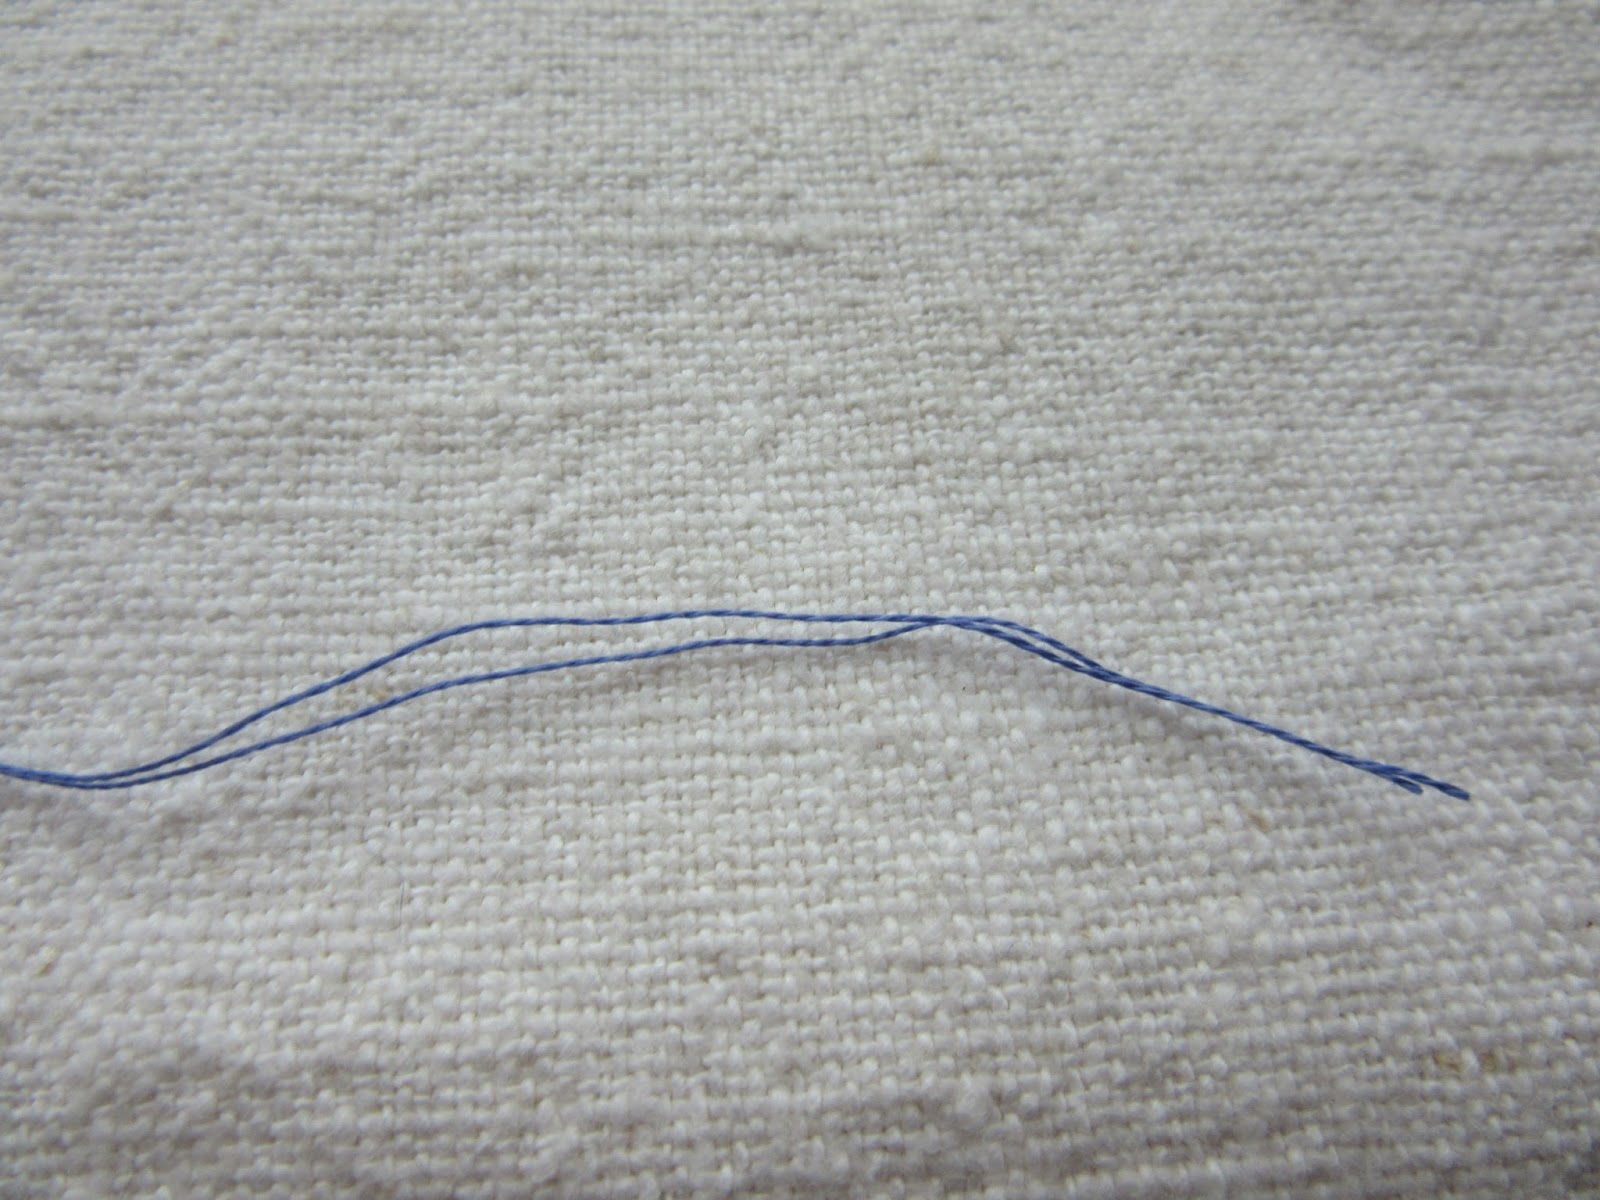
The first thing I did was to separate the two threads by pulling them out one by one from the six strands of floss. This is also known as 'stripping'.

Since then I have been given the advice by Carorose to dampen the strands with a sponge before threading the needle. I have yet to try this, but Carorose is a highly professional needlewoman and have made more Cross Stitch work than anyone I know.

I paid attention to check that the two threads were parallel even in the first part of the cross.
I did this with a tip I once got from a Japanese embroidery book - roll the needle between the thumb and index finger to untangle the threads. I blogged about this back in 2013.
I think this method works rather well.
Next let's focus on individual Cross Stitches without the thread traveling on the back.
On the internet I found something called the Pinhead Stitch.
Begin by anchoring the stitch like this:


Then make the Cross Stitch itself.


Finally anchor the stitch under the Cross Stitch.


Snip off the thread ends on the back.

The completed piece.


I think the Cross Stitch is one stitch I no longer need to get crossed with!
10 comments:
You have done a good job queenie. The back of my cross stitch doesn't look neat. Information of doing a single cross stitch with the thread parked inside it is useful.
the waste canvas is great when working on a plain fabric, not seen the single cross stitch done before makes more sense that carring threads behind the back as they can show and spoil the overall effect, you are taching us well teacher.
The 'S' looks so neat. You give us so many tips and links to improve our work and they are appreciated. I've saved the link and printed the page so I can practise. The reverse side of your last stitching is inspiring. You should be Very happy with your results.
I didn't know about the Pin Head Stitch until I started searching online. I am learning quite a lot!😊
I wonder how my grandmother stitched her tea towel without waste canvas! With this smart tool, it was easy!
Yes, it was a 'neat' font for Cross Stitch. This is such a basic and popular stitch I thought it was time I learned it properly so did study quite a lot.
Thank you for your kind words.
Thanks for sharing the tips and links in working this stitch. Never bothered to work cross stitch neatly. will watch from now on.
Chitra
On clothing or tea towels that will be laundered frequently it is more important that the threads are fastened well than that the stitches are even - they will get distorted in the washing machine anyway.
On decorative embroidery, samplers and doilies, I want my stitches to be neater.
Thank you for the Pinhead stitch tutorial. I am currently working on a little bit of "secret" stitching which has floating single stitches. I hope I get this stitch right. Can't show it until after Valentine's Day!
Thanks again for your tutorial!
Barbara x
I was happy to have found it on the internet. It is especially good on sheer fabric where you don't want a traveling long thread on the back show through.
Looking forward to your post after Valentine.
Post a Comment