Hello there.
This week's stitch is a filling stitched called Blanket Stitch Honeycomb. I found it at Sarah's Hand Embroidery Stitch Tutorials where you can see a photo tutorial.
On YouTube, there is this neat video.
Both these tutorials show clearly how to stitch so I recommend that you have a look.
However, I wanted my edges to be a bit neater and have made some changes:
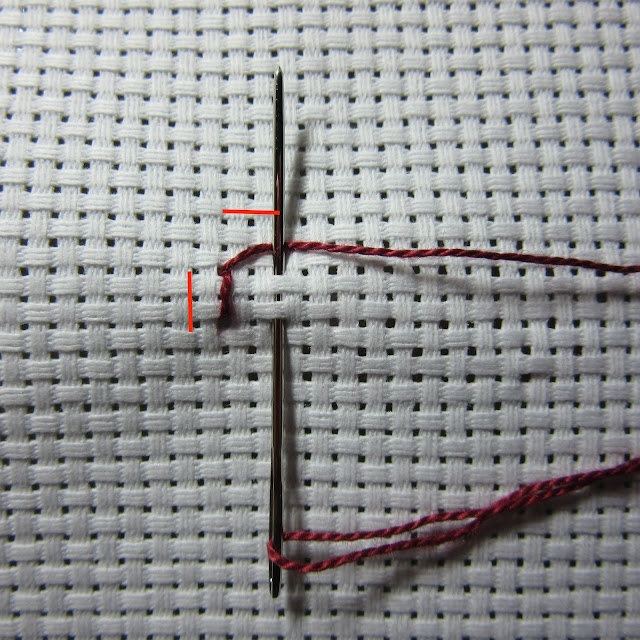
Start with an upright Back Stitch

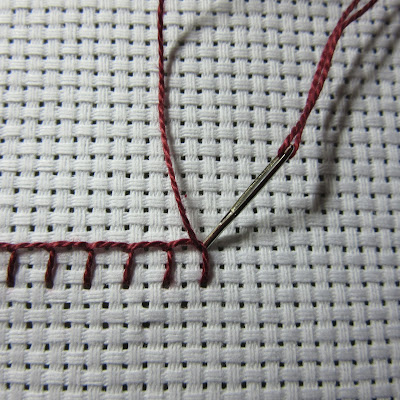


Are you confused? Have you fallen asleep after seeing all these pictures? With a bit of patience and care it is quite straight forward.
Homework:
Add to the samplers.

6 comments:
No I'm not confused! Very good tutorial and an impressive stitch with many possible uses, good filler and good texture. Thank you for sharing.
That's an intriguing stitch. Much better on a grid, I suspect!
I like this one.
I think I would have to rule all my lines first if not using Aida fabric.
It's a pretty filling stitch and I think it's a nice one to play with.
It took a lot of patience and care to take all those photos and post them! It looks like a fun stitch.
Post a Comment