Today, we are going to learn from one of the best embroidery teachers there is - Mary Corbet of Needle 'n Thread.
Mary always encourages her readers to play with stitches and has created a series of tutorials called Stitch Fun.
Here at Sunday Stitch School, we previously learned one of her Stitch Fun stitches, #144 Raised Daisy Stitch and now it is time for the Raised Spider Daisy Stitch.
It is a cousin of, or at least looks similar to, TAST #115 Whipped Long Tail Chain Stitch, but note that today's stitch is not based on the Long Tail Chain, but the Lazy Daisy Stitch.
Please check out Mary Corbet's Stitch Fun tutorial here.
or follow my photo instructions:
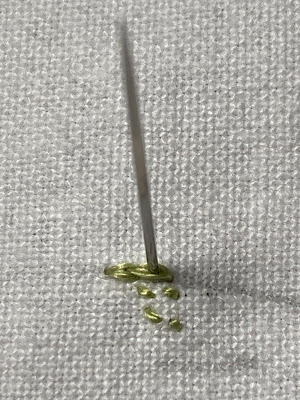
On your fabric, mark a circle and
a point for each Lazy Daisy Stitch.
Starting from the middle, work a few short
Surface Straight Stitches.
Then change the stitch direction and
stitch over the previous stitches.
Gradually increase the length of the stitches.
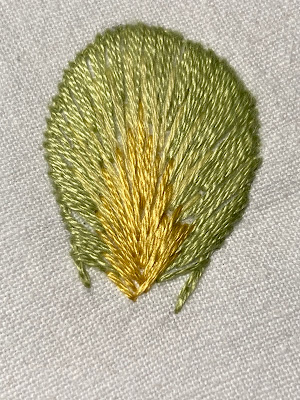
You have soon covered the circle with
a little hill.
By using
Surface Straight Stitch, you avoid
building up a hill on the back.
Now exit from the centre of the hill.
Make Lazy Daisy Stitches.
Keep them loose and airy.
Change to a different coloured thread for
the wrapping. Come out in the middle of
the hill and place the thread between two petals,
(1 and 8).
Go under the first Lazy
Daisy Stitch 1.
Make a Back Stitch over 1 and 2.
You have thus wrapped the first LDS (1).
Repeat this process with 2 and 3 in the same way.
Go on to 3 and 4, and so on.
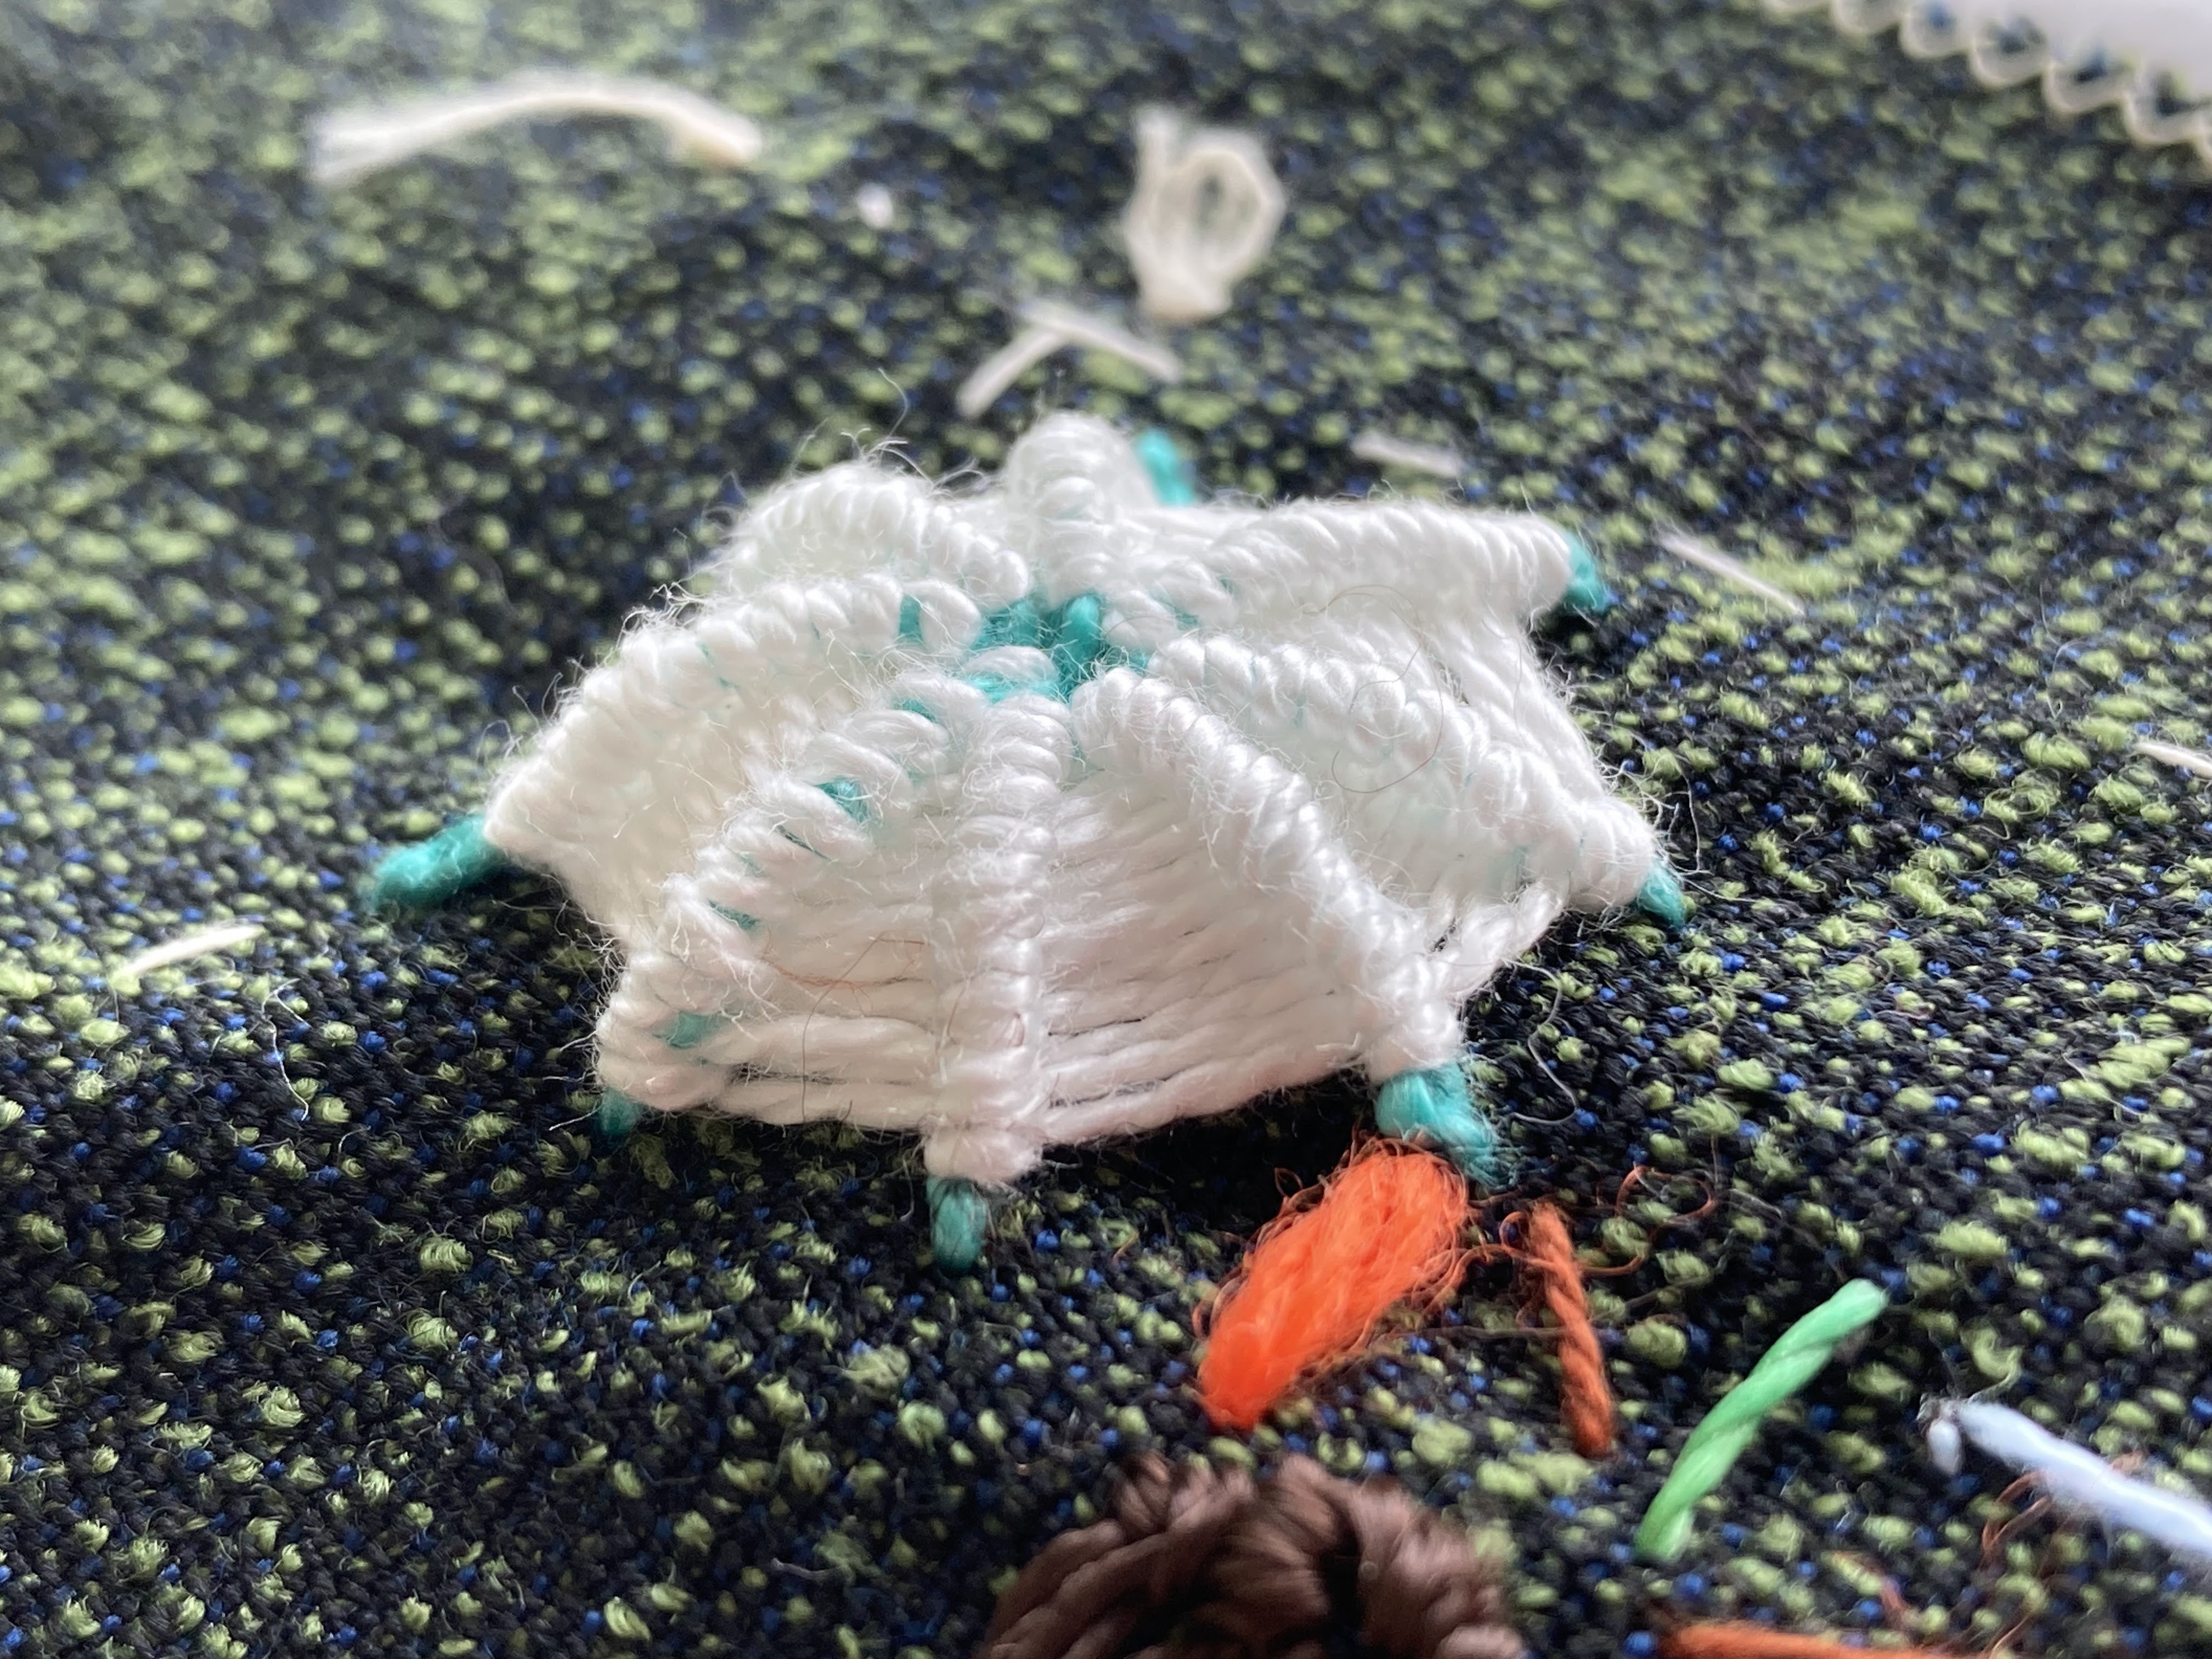
Gradually, you will see the ribs forming.
Stop when you have covered the hill.
Anchor underneath the hill.
Hm, this hill is not that high... If I had added
more padding stitches, it would have been
more impressive...
Never mind, it is still quite a nice stitch.
Homework: Add to the samplers