Friday, 16 May 2025

Friday Homework for Lesson 323: Maltese Cross (according to Mary Thomas)

 Once you get the hang on the stitch order and the lacing, this will be an easy and smooth stitch. It will take time to get to that stage and I don't blame anyone for giving up! Nevertheless, the result is impressive and decorative. The design makes one think of Indian Kutchwork, Celtic and Old Nordic designs of the Vikings, ornaments on Chinese and Korean garments, officers' uniforms .... Embroidery brings the world together!


Aida Sampler


Sunday Stitch School Reference Chart


Mottled Wool Scribble Cloth

It is nearly impossible to mark this fabric, so I eyeballed it. Hence, we have a wobbly cross!


Wednesday, 14 May 2025

WIPW - Starting Phase 2 - The Assembling of Hexablooms

Finishing a project, or a phase of a project, is always rewarding, and one can sigh in relief. 

As always, it is exciting to start something new, whether it is a fresh project or a new phase of an ongoing one.

This Work In Progress Wednesday report is happy to announce the start of Phase 2 of 

Hexablooms

with plans for how to assemble the 377 blocks. I will have no time limit or deadline for this phase, but work as fast and often as I feel right - after all the rainy season and then the sweltering summer months are approaching.

After having sorted the blocks into piles by colour, which I reported on last week, I made a rough sketch of how the colours would be spread out over the quilt.

 It has always been my idea to let blocks of colours blend into each other, something like this.


I started with the top left corner of yellows and oranges and laid out the blocks until I had a pattern I liked. 


I will fill in the voids with single white hexagon shapes made from an old sheet that has frayed around the lace insert, and which I can't be bothered to mend. Recycle is the word!

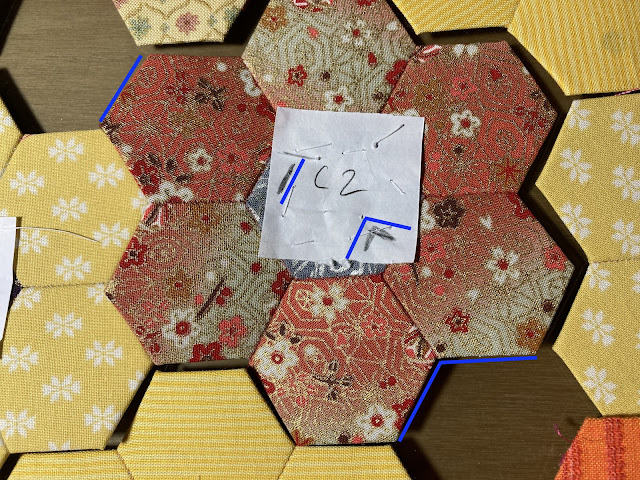
The next step was to number each block and stitch on a little paper label with the code A1, B1, C1... A2, B2, C2...

The letters stand for the columns and the numbers for the rows.


Furthermore, I marked a straight line and a V on the paper to show where the white hexagon should go.

Once this was done, I got started on joining the hexagon blooms together.

The hexagon cards are still inside, so the work looks stiff and buckled.

Below, you can see how the white sheet hexagons have been added.


Bookmark

As promised, from now on, I will only show the reverse of the cross-stitch so as not to reveal the motif.

Most of the progress was in the white area.


Sunday Stitch School Stitch Sampler

I added more blue sequins and almost halft the sampler is complete.


Sunday, 11 May 2025

Sunday Stitch School - Lesson 323: Maltese Cross (according to Mary Thomas)

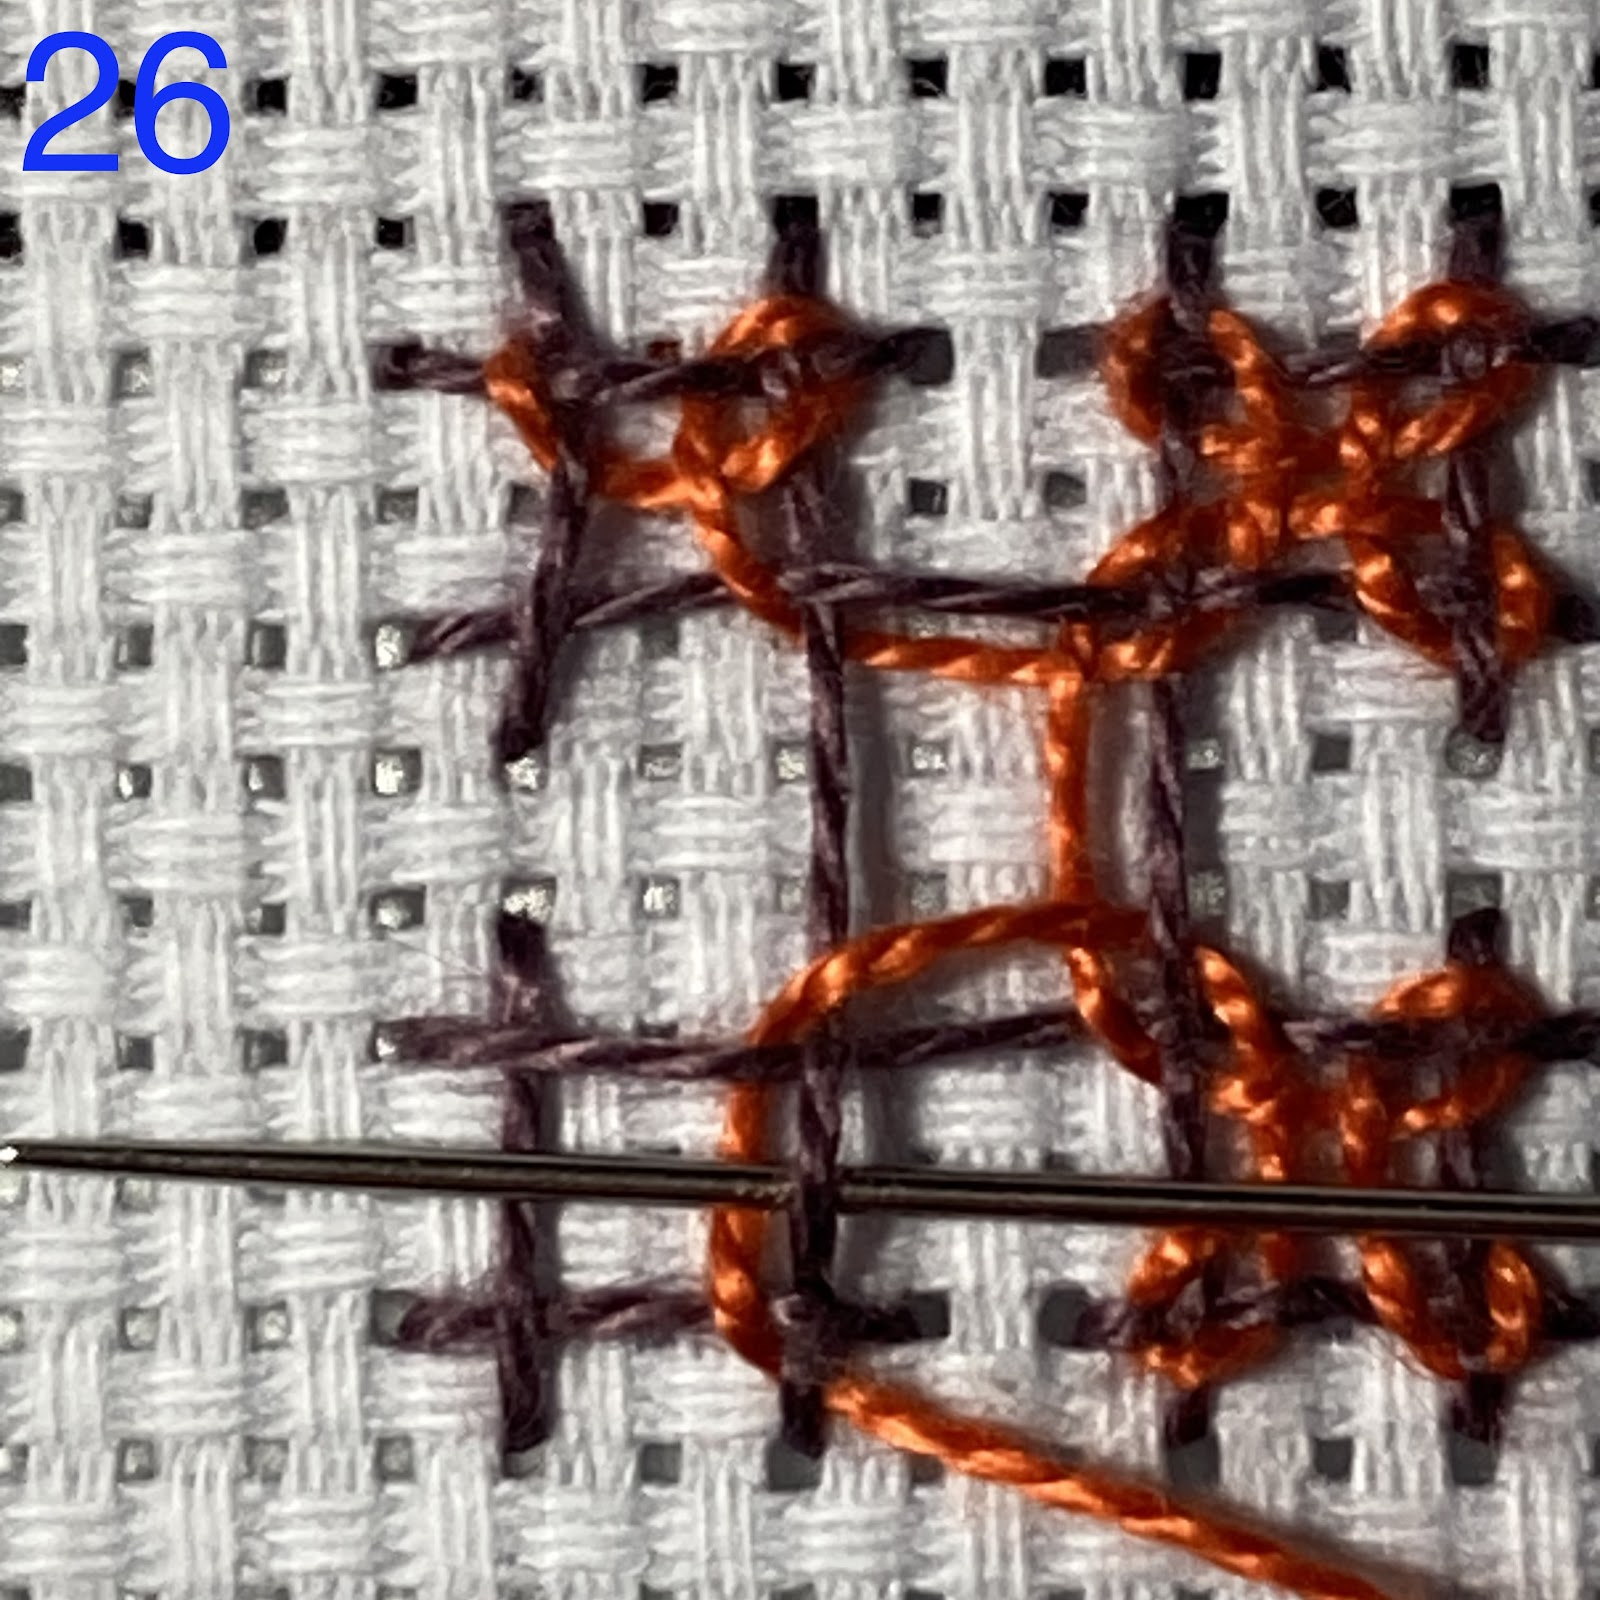
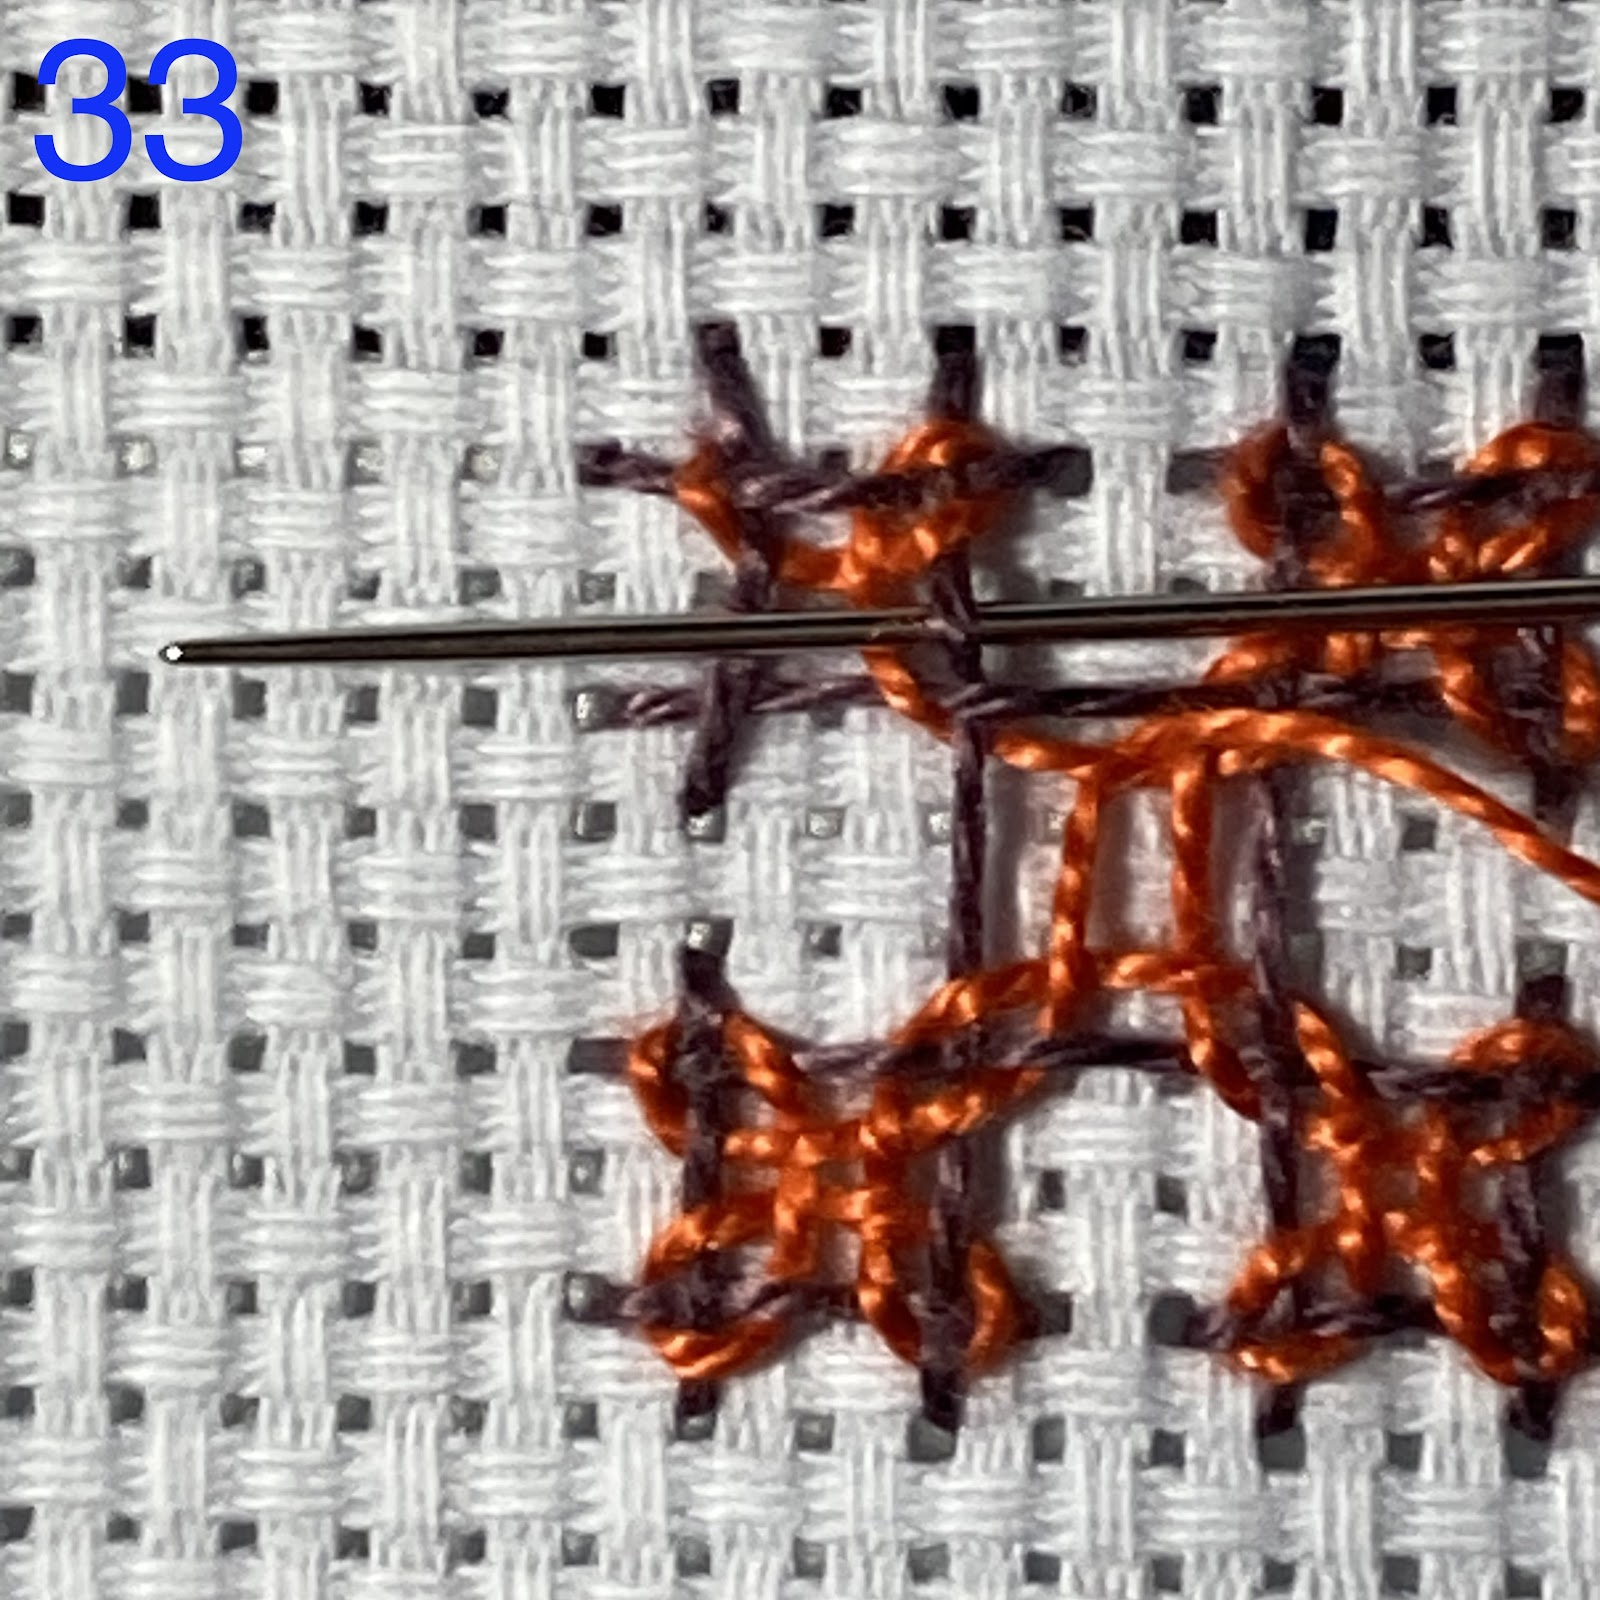
Sunday Stitch School #131 Interlaced Cross is a single unit. Today we are making five of them into one stitch.

There appear to be several stitches called Maltese Cross. I first saw a stitch with this name in Mary Thomas's Dictionary of Embroidery Stitches. Actually, her book also includes a filling stitch version by the name Maltese Cross Filling Stitch. If you have the book, check out pages 74 and 110.

Then I found in the Royal School of Needlecraft's Stitch Bank a stitch under the name Maltese Cross. It is totally different from the two in Mary Thomas's book. In fact, it is made up of a Half Rhodes Stitch, you know shaped like an hourglass, on top of another, at a 90ยบ angle, thus forming a cross. Have a look here.

Let's work the first of these stitches today. Kim of Kimberly Ouimet has an excellent photo tutorial.

In India, this type of embroidery would be called Kutch Work. 

Shami Immanuel of My Craft Works has created numerous tutorials with accompanying photos. Check them out, please.

Bhavani Harikishnan of Kutch Work Tutorial has some tips for stitching.


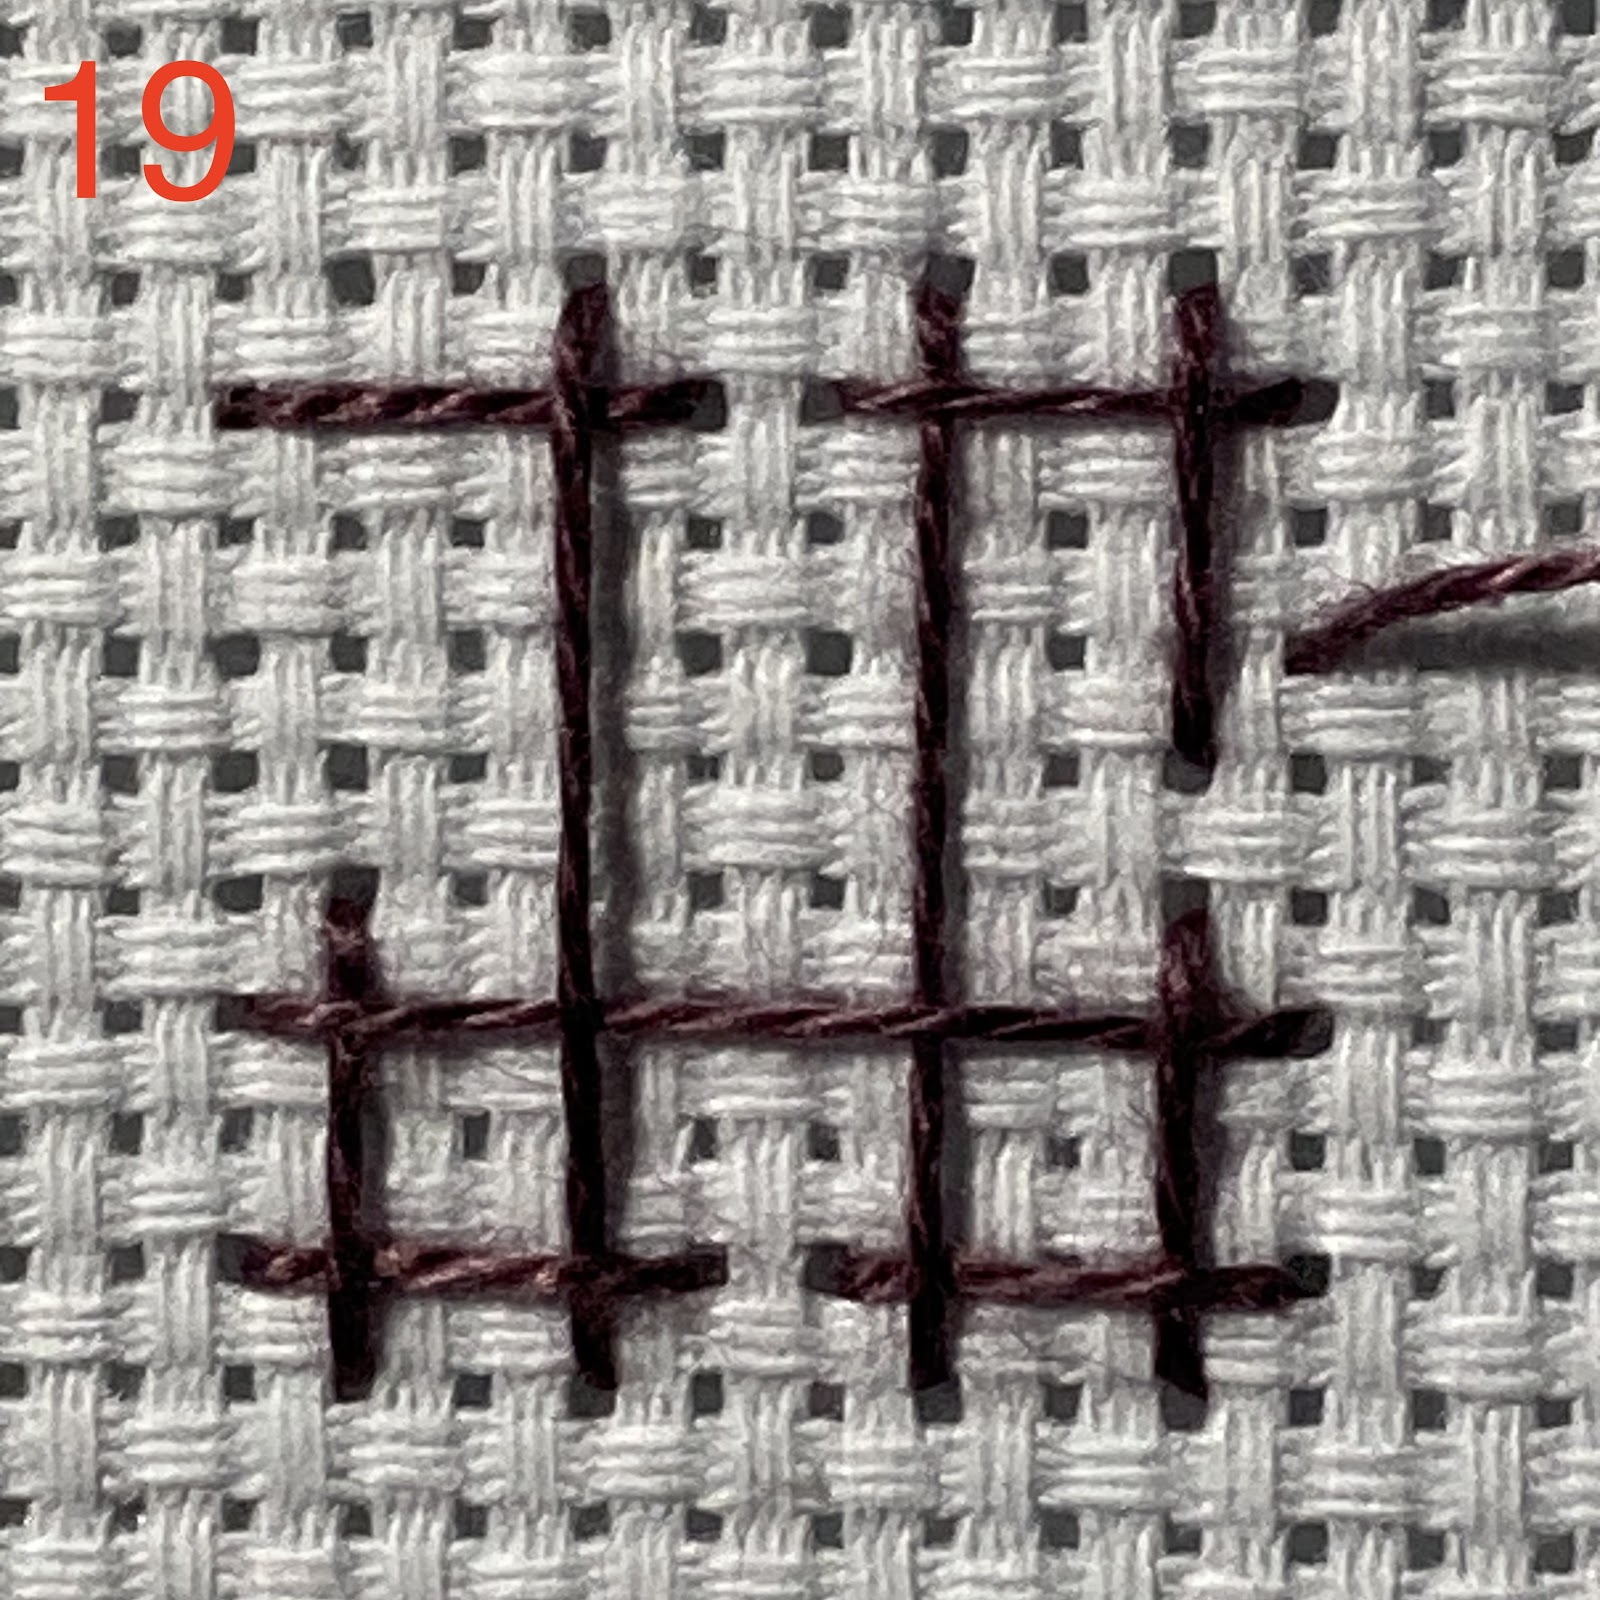
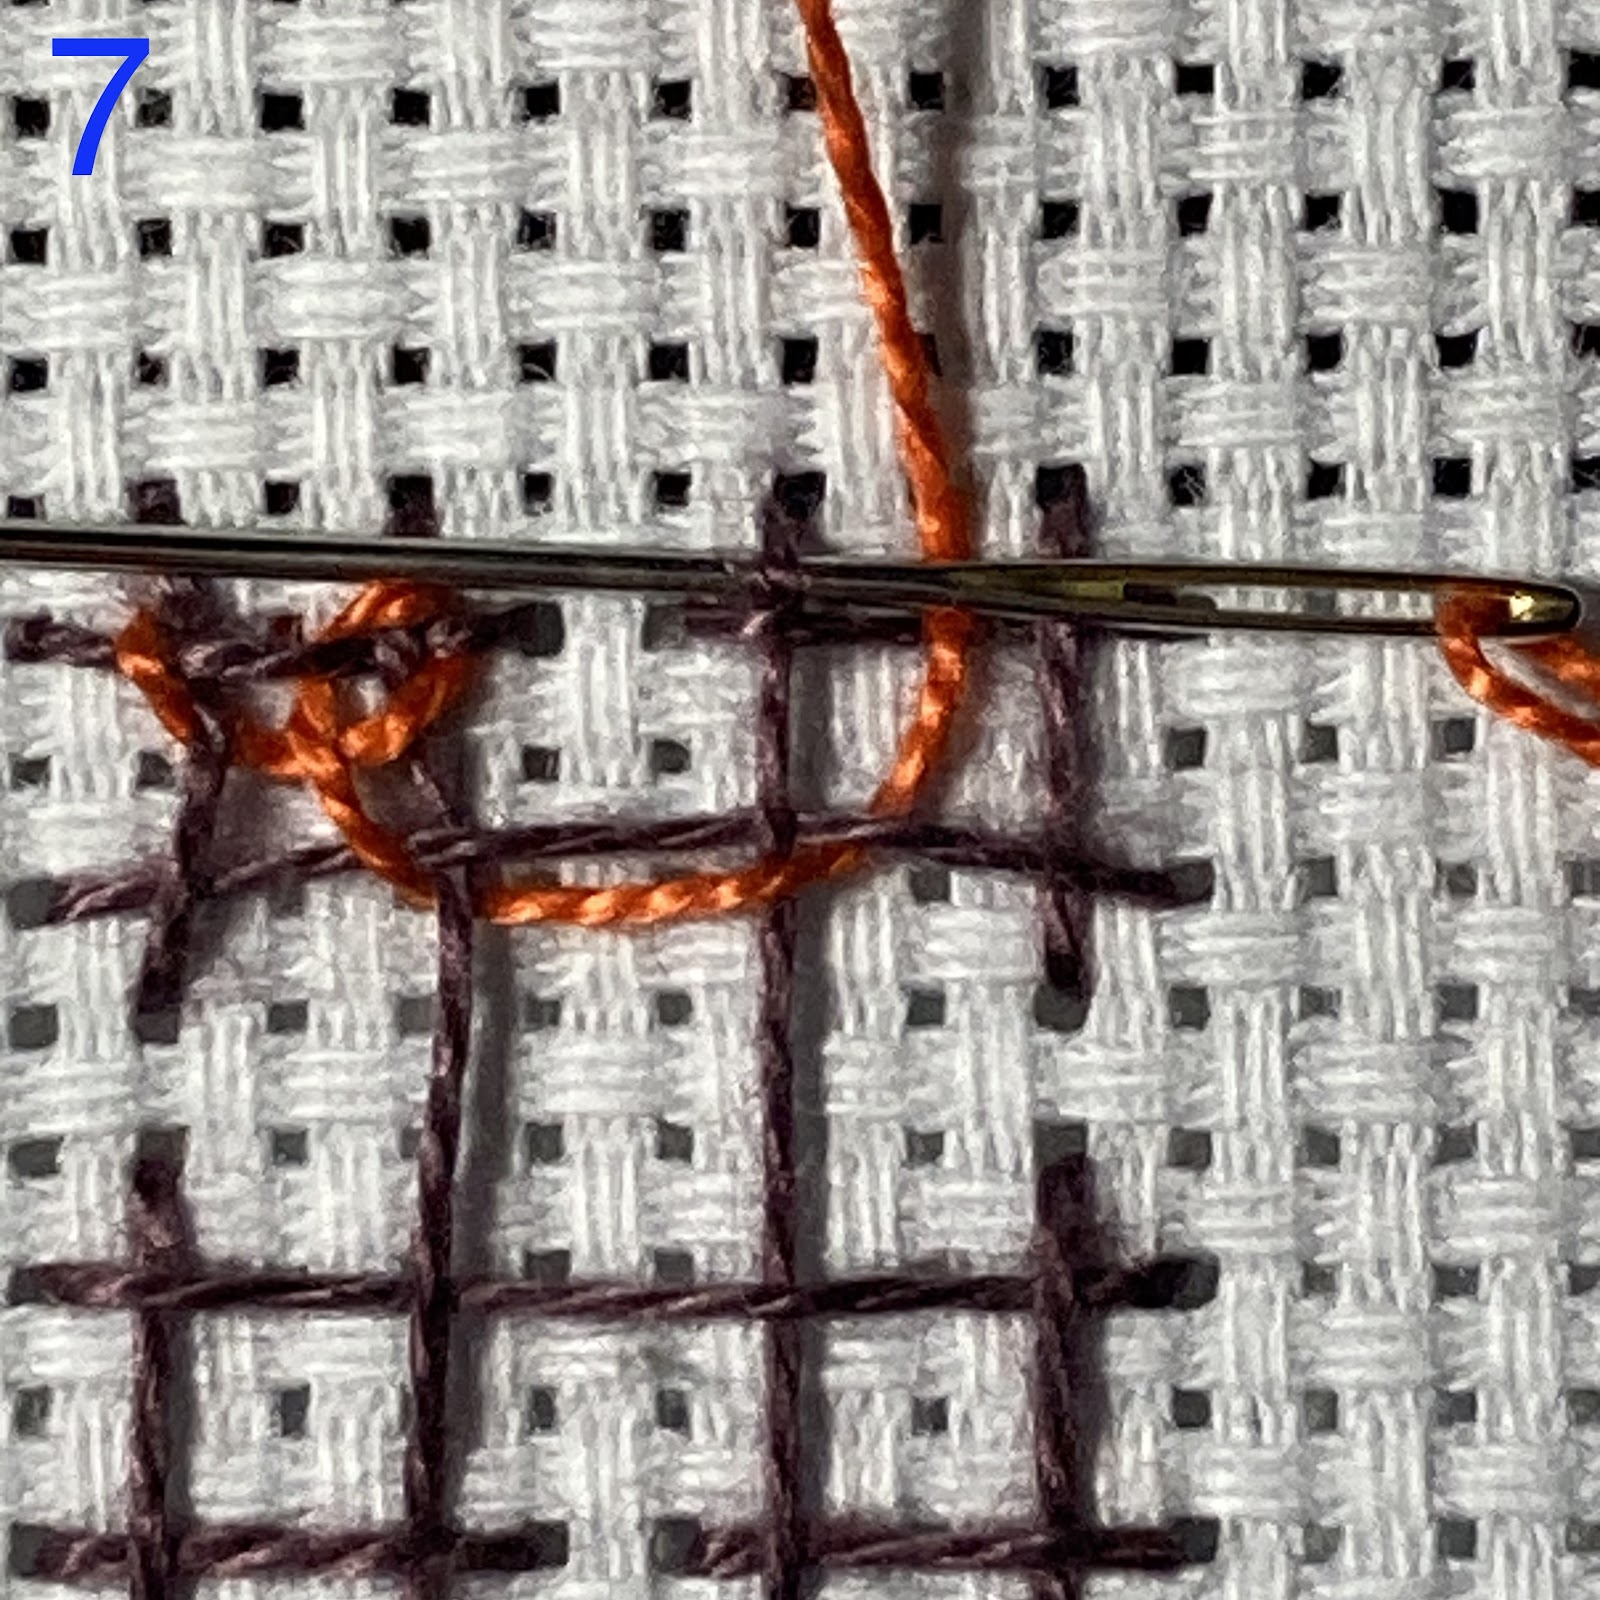
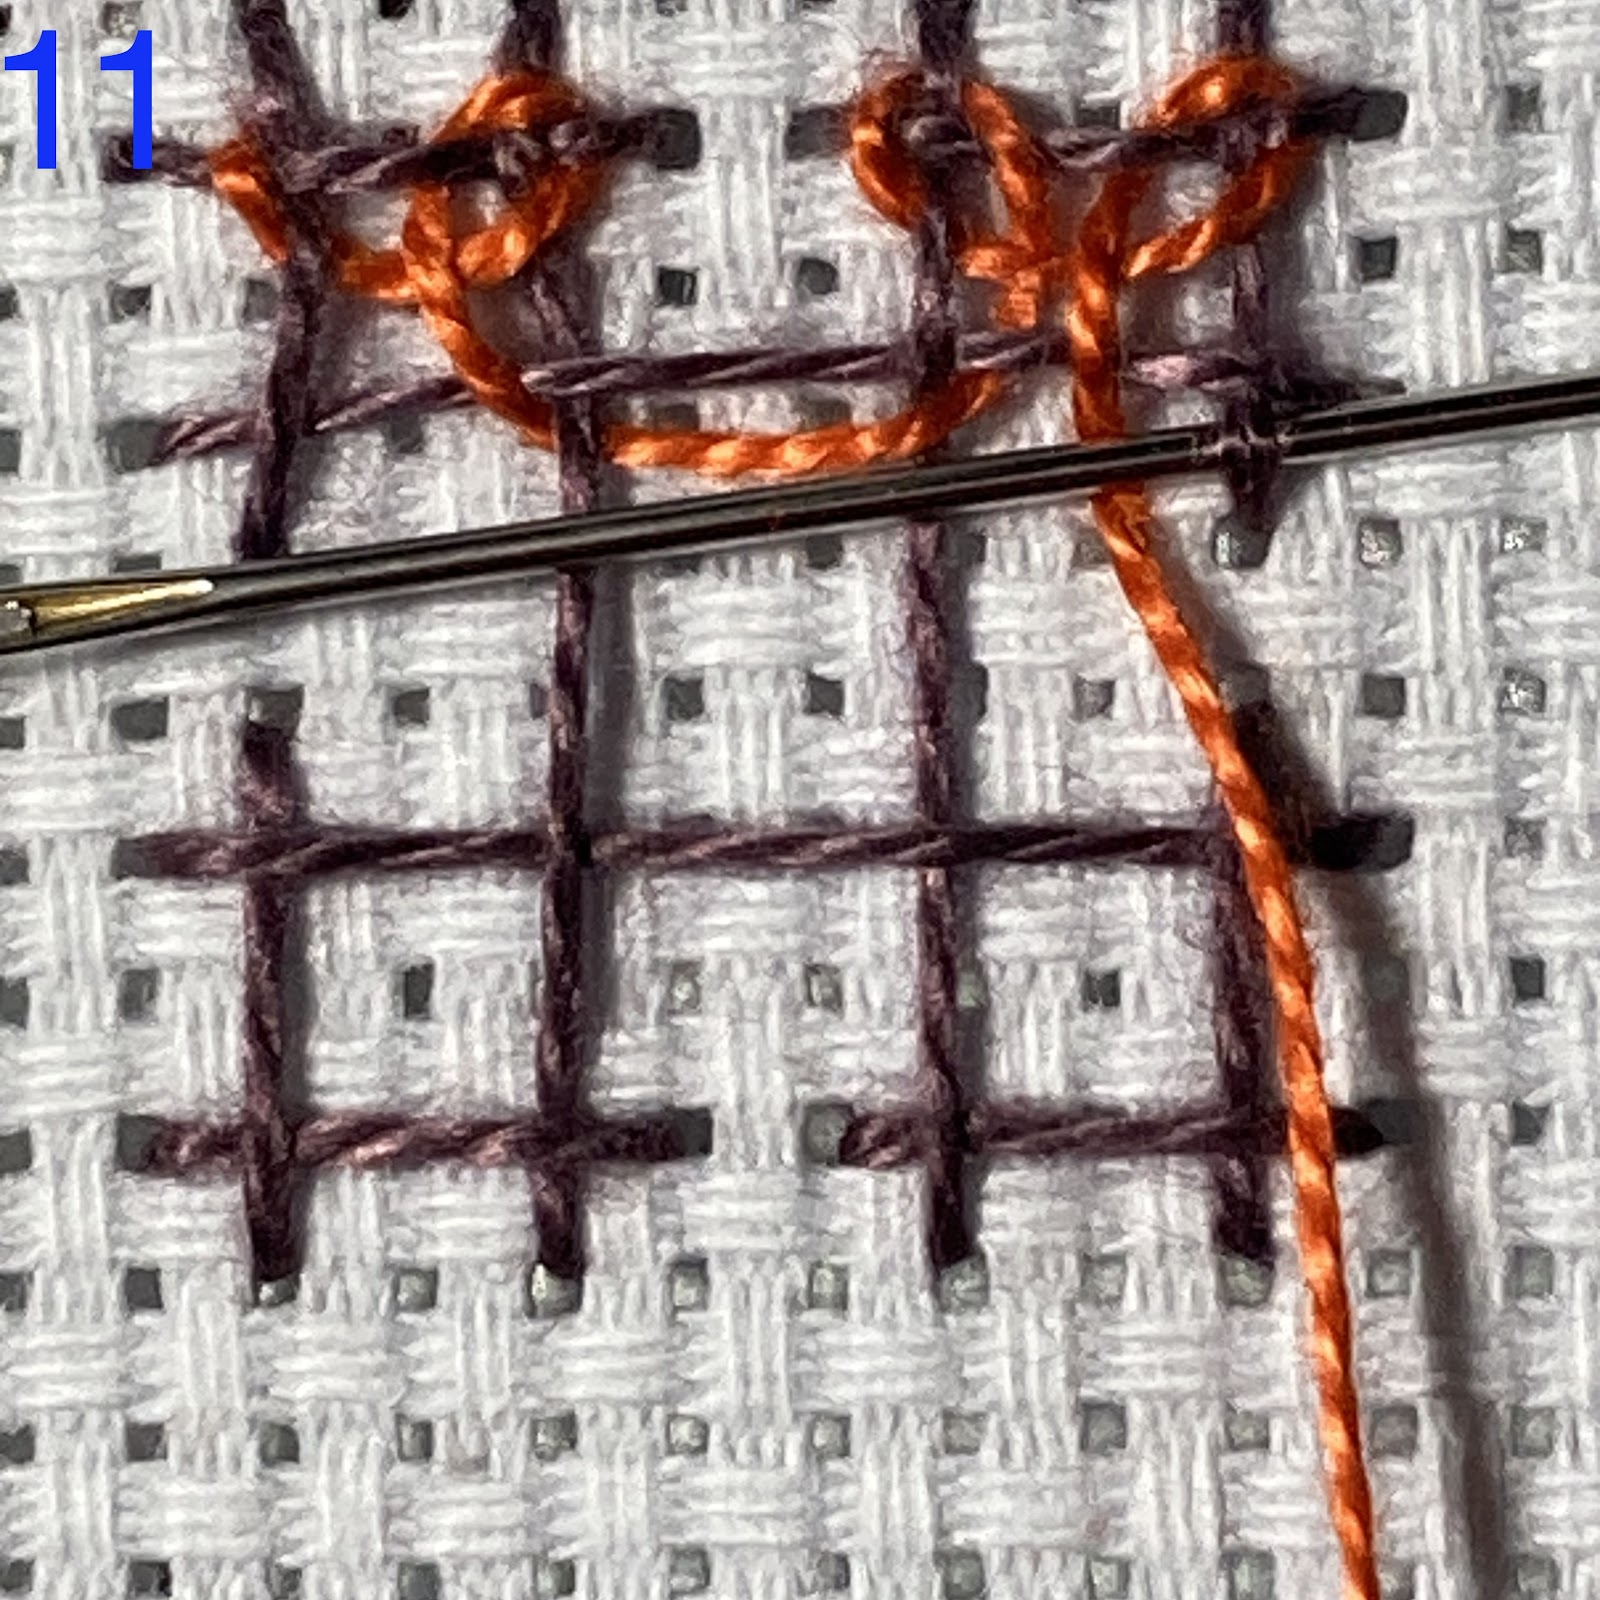
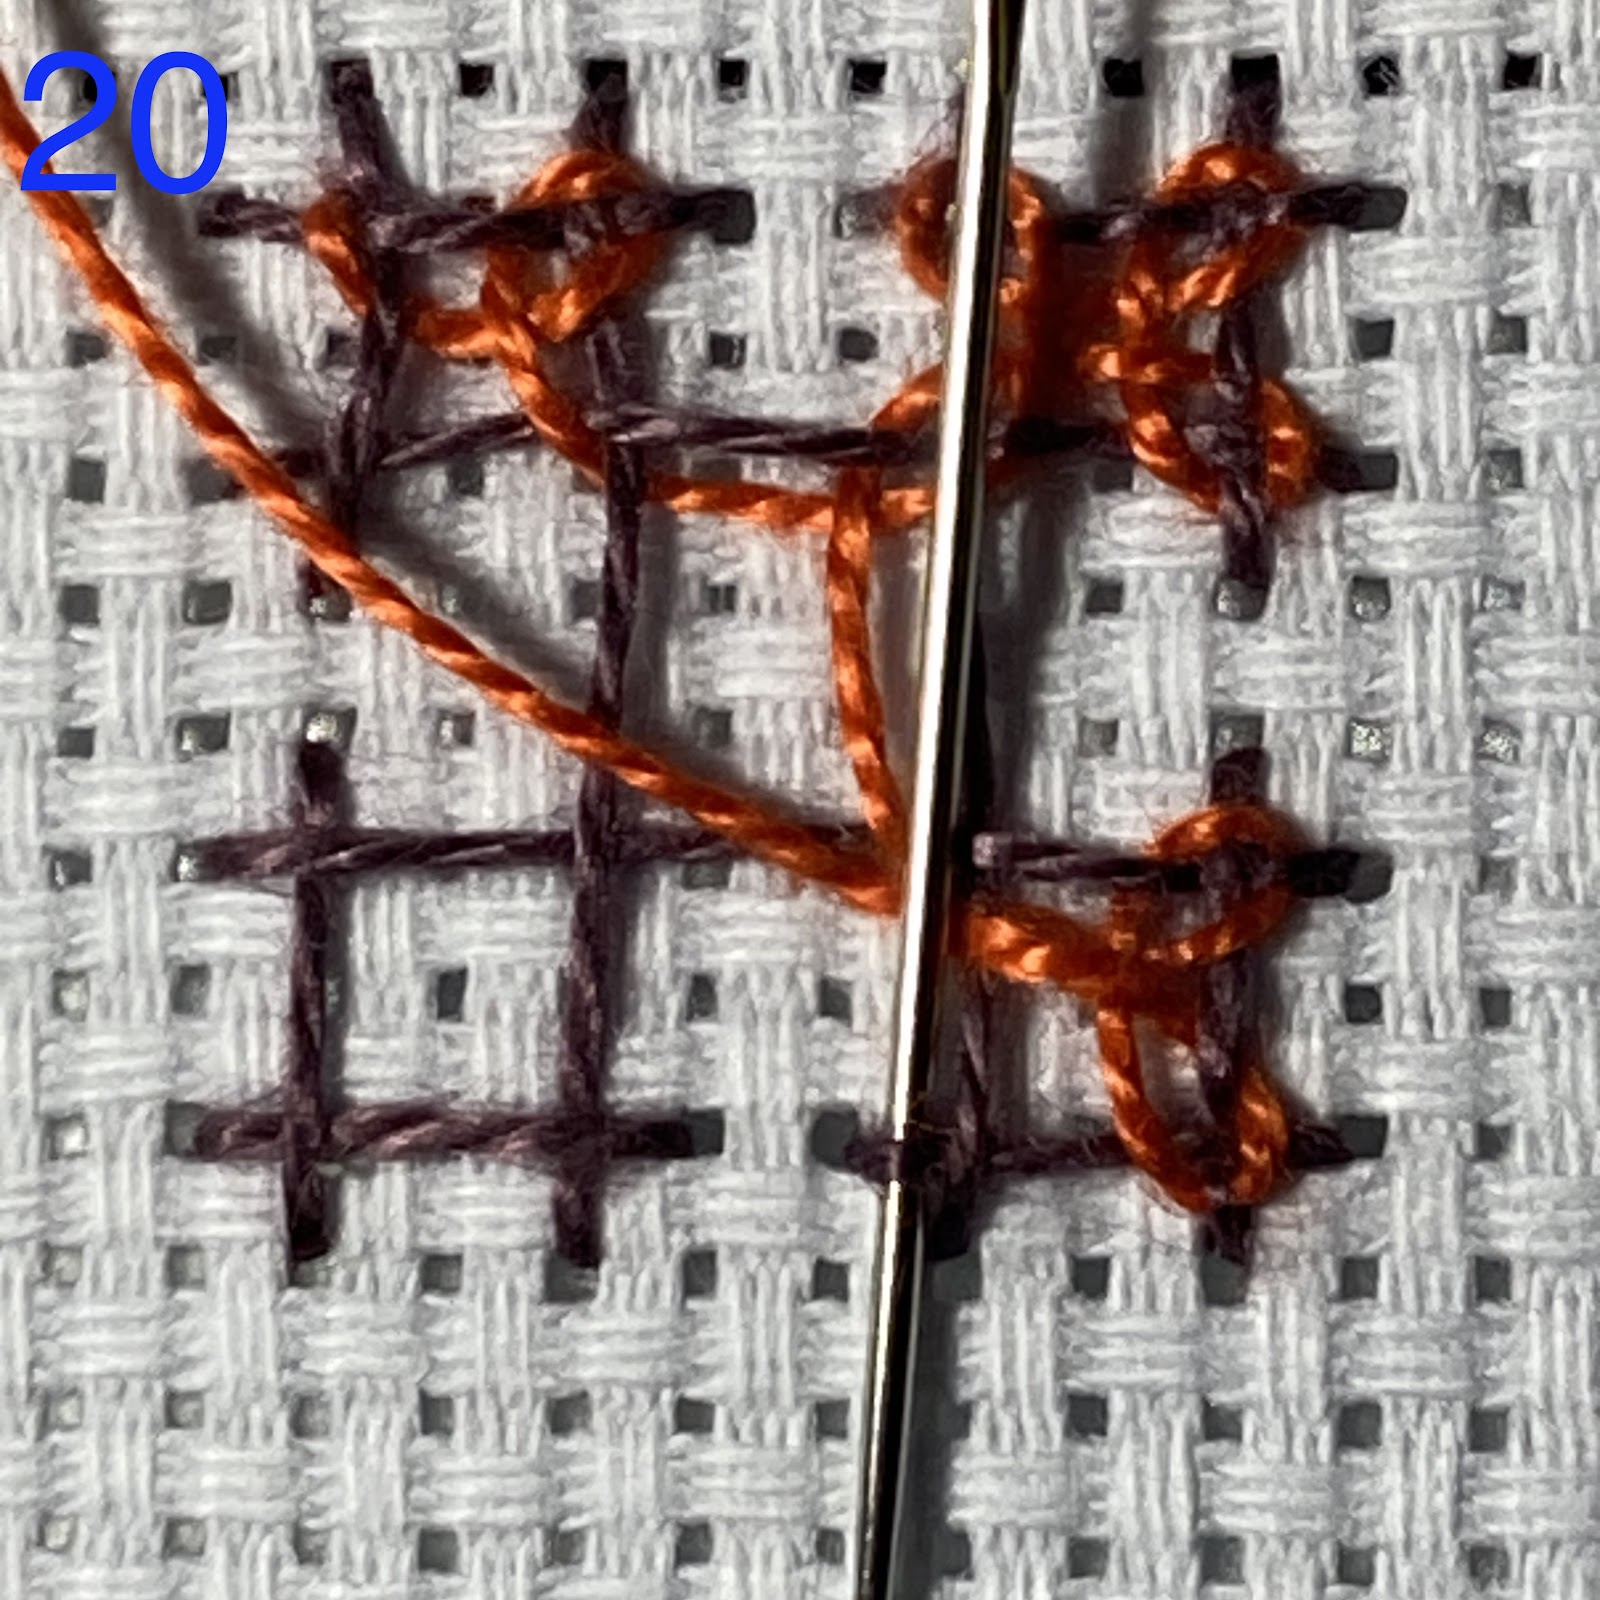
Here are my photo instructions, 

be prepared for an overload of photos:


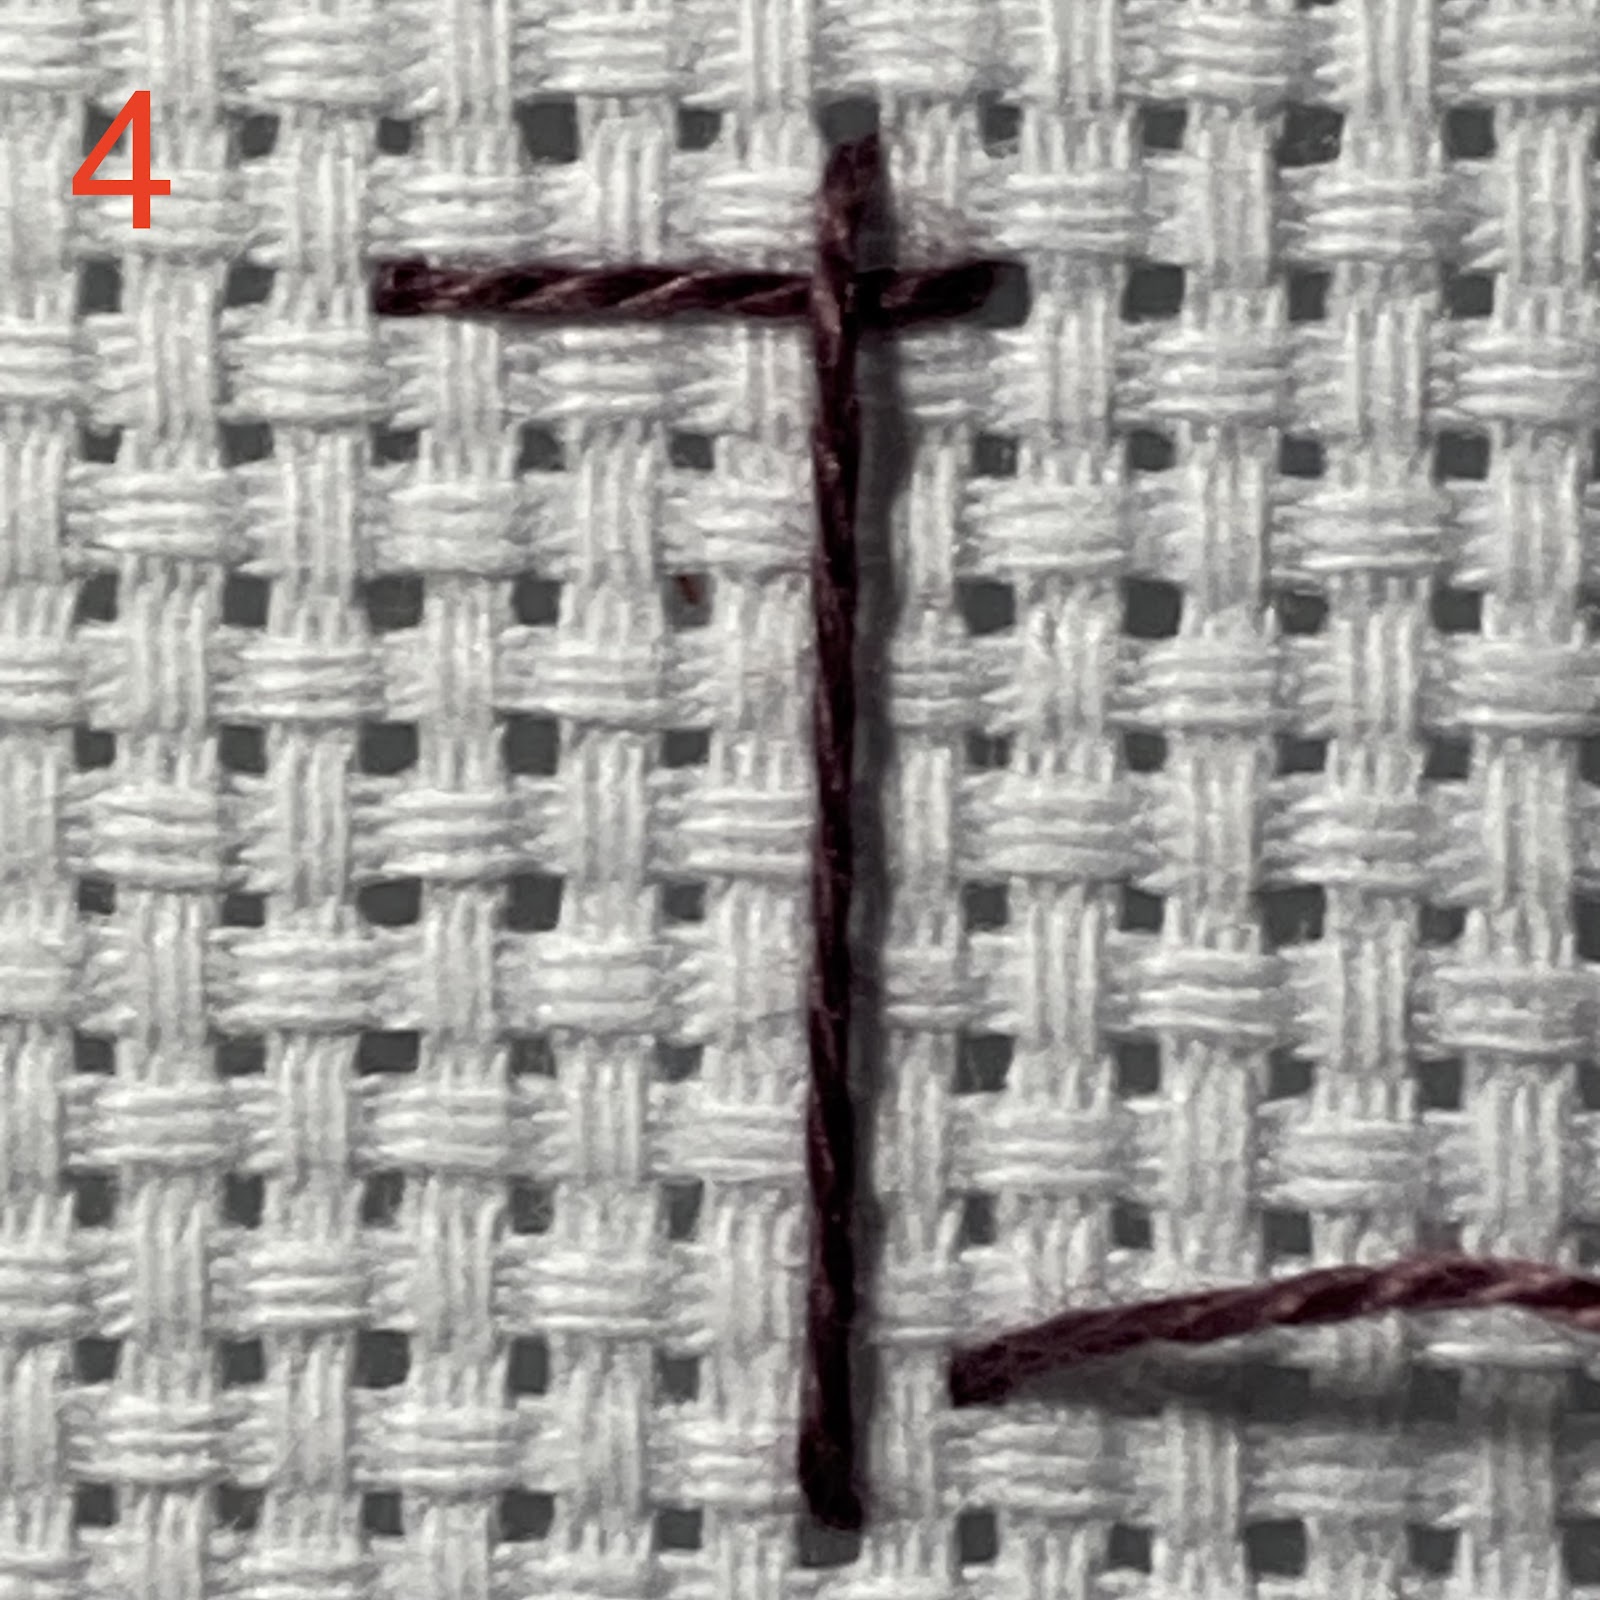
First, you make this grid. Count the number of 

holes on the Aida to understand the spacing.


Please note, here you have to weave the needle over 

and under the threads.


Weaving!


Weaving!


Weaving!


Anchor the thread.


Can you see the weaving?


It should look like this on the back.


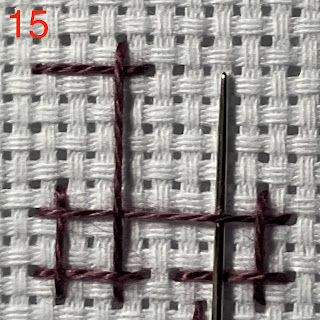
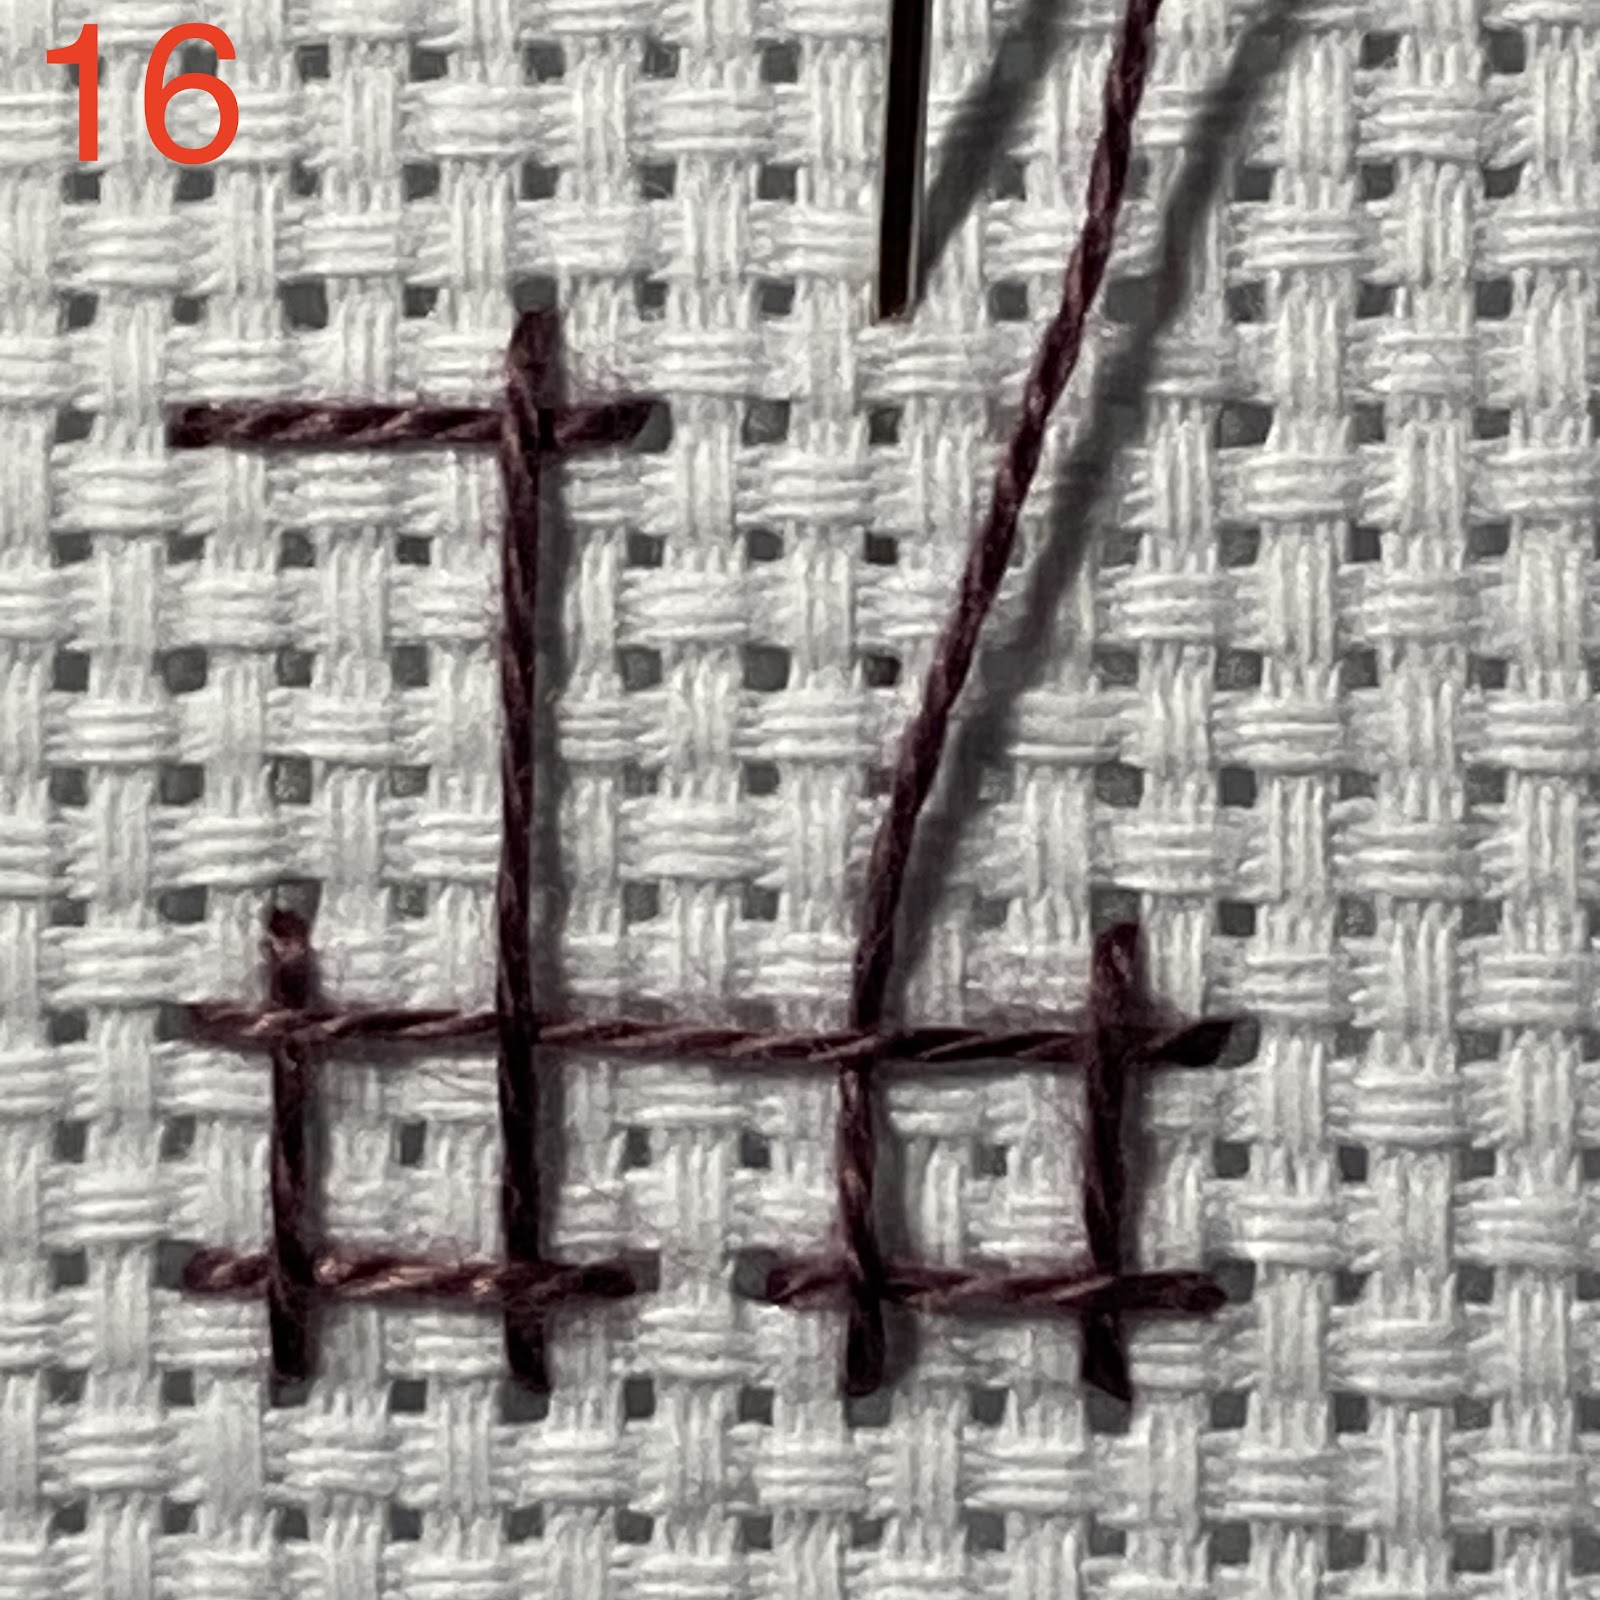
The next step is the interlacing:

It's all about weaving.


Notice the weaving!


Completed.


Turn to see the cross.

Homework: 

Add here.