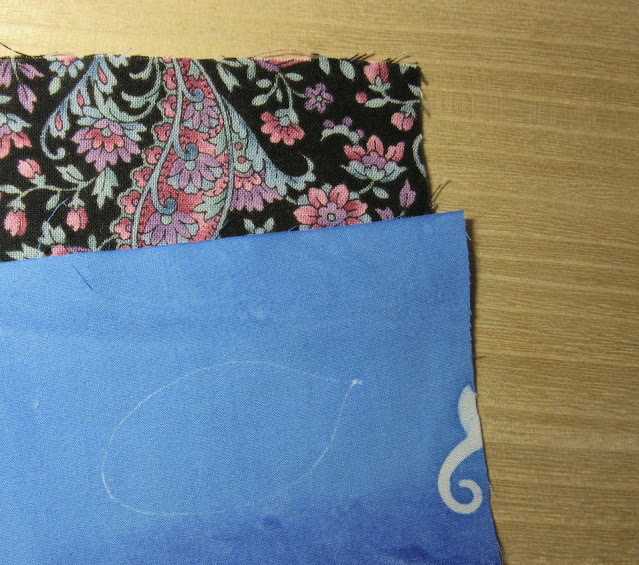
For block number three, let's look at reverse appliqué.
Appliqué usually means that we add a patch of fabric on top of the foundation fabric.
In Reversed Quilting, holes are cut out in the top fabric to reveal the foundation fabric underneath.
This technique is quite fun.
Here is a tutorial:
Layer two pieces of fabric, both right way up. Mark the cut-out design on the top piece.
Baste the two layers together outside the stitching line.
Cut out an opening in the top layer only, be sure to leave a seam allowance. Make small slits along any curved lines.
Use the needle to turn the seam allowance under the marked line. Make small stitches.
This technique is used for Hawaiian Quilting, Mola, and Stained Glass Quilting among others.
Have a look at Mola master Fumiko Nakayama here. (The website is in Japanese with computerised translation into (funny) English.
Updated: If the website is in Japanese and you can see the mark indicated by the red circle in the browser bar, click it and select the language you wish the page to be translated into.
If you are interested in reading more about The Green Men found in Norfolk churches, check out this website.
To be continued...


This is great! The two green fabrics are very appropriate.
ReplyDeleteIt's a long time since I did reverse applique.
ReplyDeleteI keep meaning to have a go at reverse applique, and so far I've never got around to it.. One fine day, I hope!
ReplyDeleteYou are so good with instruction! You make me feel like I could actually do this!
ReplyDeleteGreat tutorial! Reverse applique is really fun to do! I may like it better than regular applique!
ReplyDelete