Hello there.
This week's stitch is a filling stitched called Blanket Stitch Honeycomb. I found it at Sarah's Hand Embroidery Stitch Tutorials where you can see a photo tutorial.
On YouTube, there is this neat video.
Both these tutorials show clearly how to stitch so I recommend that you have a look.
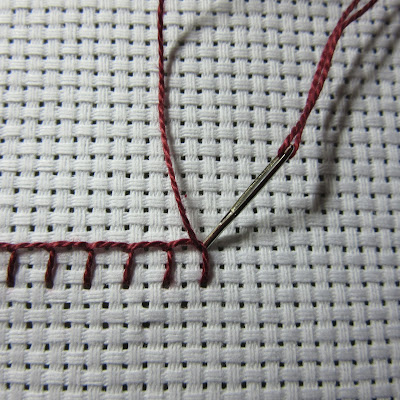
However, I wanted my edges to be a bit neater and have made some changes:
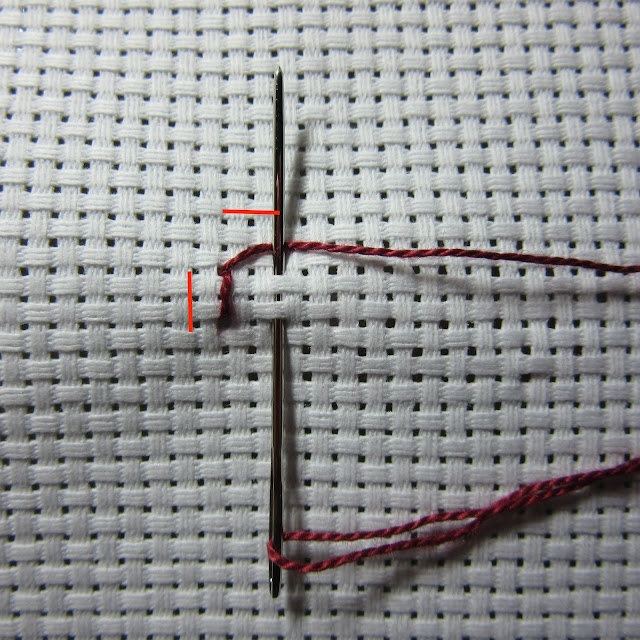
Start with an upright Back Stitch


Are you confused? Have you fallen asleep after seeing all these pictures? With a bit of patience and care it is quite straight forward.
Homework:
Add to the samplers.

No I'm not confused! Very good tutorial and an impressive stitch with many possible uses, good filler and good texture. Thank you for sharing.
ReplyDeleteThat's an intriguing stitch. Much better on a grid, I suspect!
ReplyDeleteI like this one.
ReplyDeleteI think I would have to rule all my lines first if not using Aida fabric.
ReplyDeleteIt's a pretty filling stitch and I think it's a nice one to play with.
ReplyDeleteIt took a lot of patience and care to take all those photos and post them! It looks like a fun stitch.
ReplyDelete