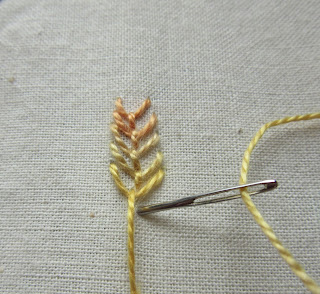
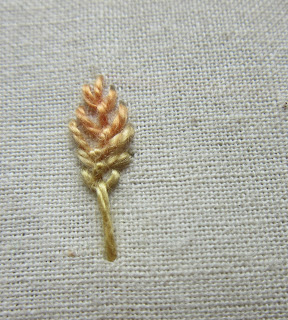
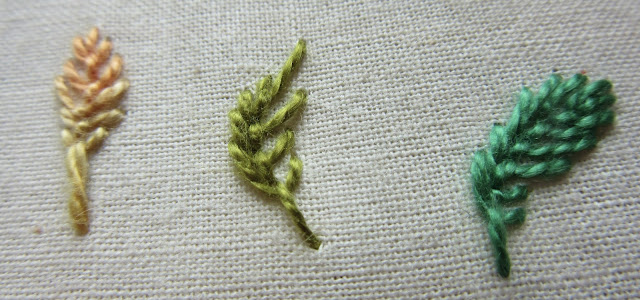
Today we are looking at Closed Fly Stitch, the perfect stitch for simple leaves.
I have used this stitch so many times, and most recently on the Velveteen Cushion, that I had forgotten to add it to Sunday Stitch School. Well, let's rectify that today!
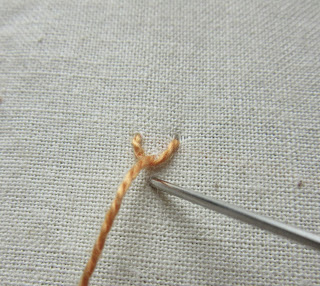
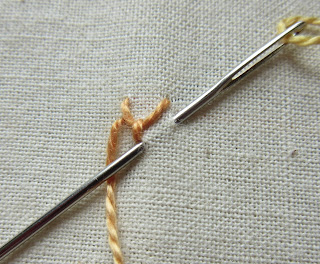
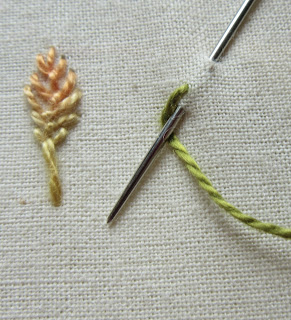
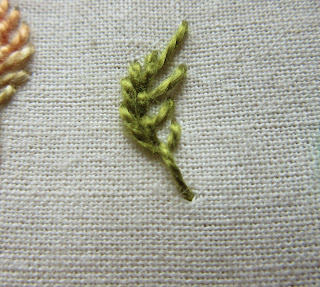
Work the Closed Fly Stitch just as you would the original Fly Stitch - simply stack the stitches neatly together.
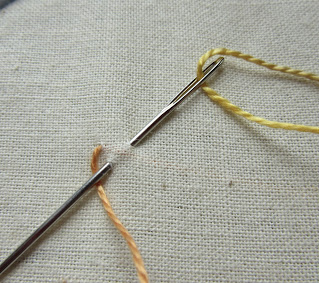
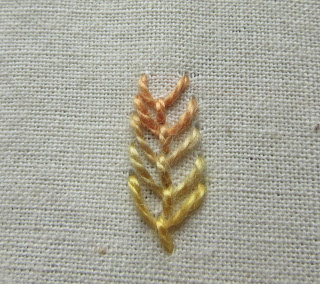
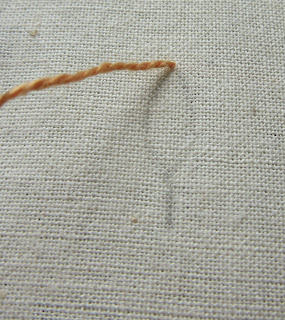
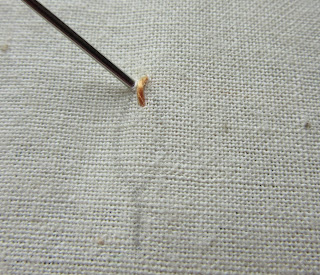
To make a leaf, draw the outlines and start with a Straight Stitch.
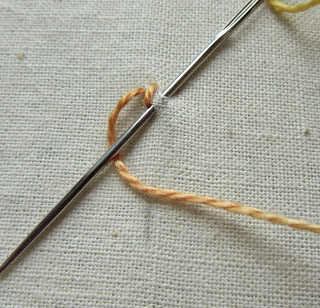
Or make a wonky Fly Stitch with one of the arms longer than the other.
Endless possibilities!
You can find instructions in several books, like: The Essential Guide to Embroidery and The Embroidery Stitch Bible.
Shami at My Craft Works has a beautiful design where she used this stitch for both flowers and leaves.Mary Corbet over at Needle 'n Thread has a beautiful tutorial, too.
Homework:
Add here to these samplers.

This stitch works great for leaves. I think it would be a good pine cone too.
ReplyDeleteWhat a great way to do this stitch! Love it!
ReplyDeleteThis is a very useful stitch!
ReplyDeleteThanks for the tutorial, beautiful leaves and a reminder of a good stitch.
ReplyDelete
ReplyDeletesuper versitile stitch.
One of my old favourites.
ReplyDeleteI always use this stitch for leaves. Thanks for linking my blog post here. Making the last stitch with long arms is new idea to me. Thanks for sharing.
ReplyDeleteBeautiful for ferns!
ReplyDelete